The first time I tried chrome powder, I ended up with what can only be described as five dusty grey fingernails. Not mirror. Not liquid metal. Just… dusty. I blamed the powder, ordered a more expensive jar, and got exactly the same result.
The powder was never the problem. My top coat was.
That one detail – which top coat you rub the chrome onto, and how long you cure it – is the difference between a nail that looks like polished steel and a nail that looks like a chalkboard. Once it clicked, chrome became the fastest impressive manicure in my routine. Fifteen minutes, no painting skills required.
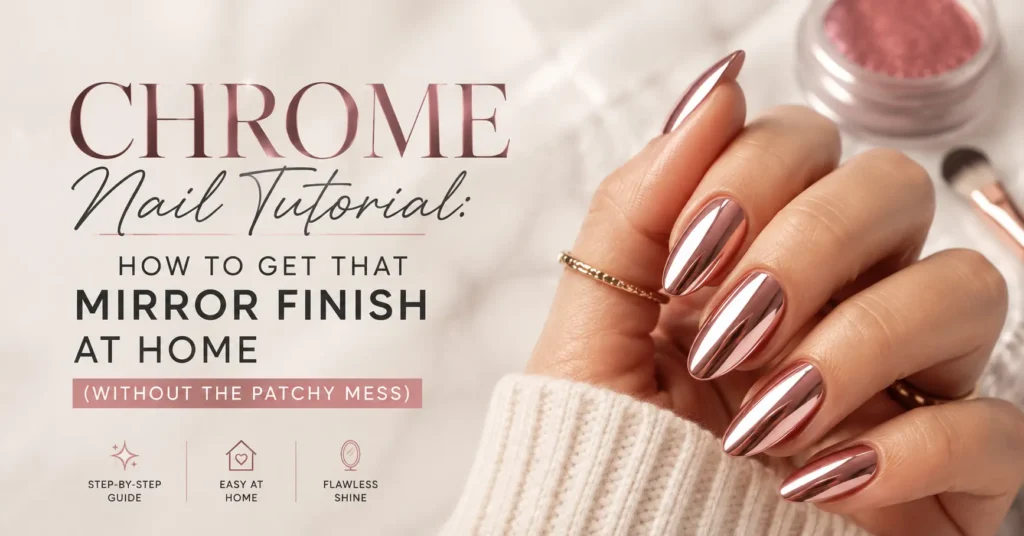
This guide walks through the full method: what chrome powder actually is, the four things you need, the exact step-by-step, a no-lamp version for anyone without gel, eight chrome looks worth trying, and every mistake that makes chrome go patchy. Skip around using the headings – the troubleshooting section is near the bottom if you’re mid-manicure and something has gone wrong.
Quick Answer: How Do You Do Chrome Nails?
To do chrome nails, apply a gel base coat and gel colour, cure each layer, then apply a thin layer of no-wipe top coat and cure it for the full time on the bottle. While the surface is smooth and non-sticky, rub ultra-fine chrome powder onto the nail with a silicone applicator or eyeshadow sponge using firm, small circles until it turns reflective. Brush off the excess, seal with a second layer of top coat, and cure again. Finish with cuticle oil.
Total time: 15–25 minutes for a full set. Expected wear: 2–3 weeks over gel.
The single most important rule: chrome powder needs a fully cured, no-wipe top coat to bond to. Not a tacky layer, not a regular top coat, not wet polish.
What Is Chrome Powder?
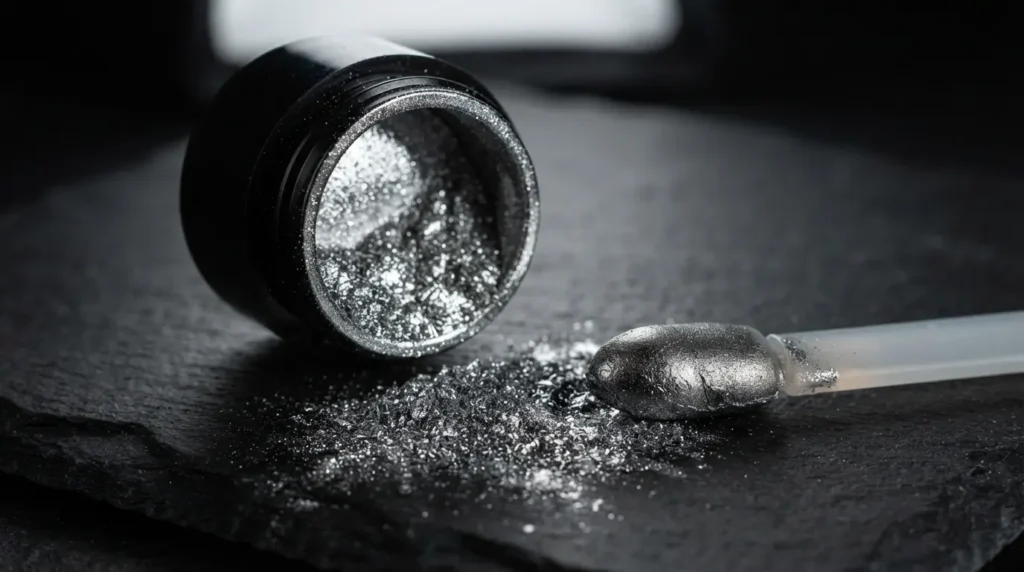
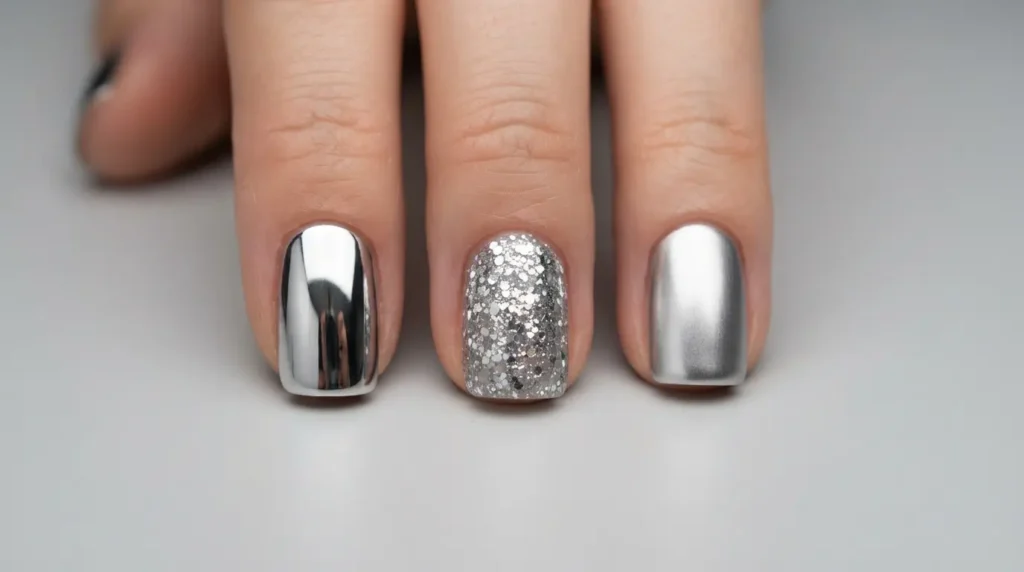
Chrome powder is an ultra-fine metallic pigment — far finer than glitter, closer to a silky dust — that creates a mirror or liquid-metal effect when buffed onto a cured gel surface.
It isn’t a polish and it isn’t a topper you paint on. The particles are so fine and so flat that when you press them into a smooth surface, they lie down in one continuous reflective sheet. That’s why chrome looks like actual metal rather than like sparkle: there are no visible individual flecks catching light in different directions.
The category has expanded a lot. What people call “chrome” now includes:
- Mirror chrome – true reflective silver, gold, or coloured metal
- Pearl / glazed chrome – the soft, iridescent glow behind the glazed-donut look
- Aurora chrome – colour-shifting pigment that flashes pink, blue and green
- Holographic chrome – rainbow prismatic reflection
- Multi-chrome – shifts through two or three distinct colours depending on angle
They all apply the same way. The difference is only in how much light the pigment bounces back and whether it shifts colour.
Chrome vs. Glitter vs. Metallic Polish
| Chrome powder | Glitter polish | Metallic polish | |
|---|---|---|---|
| Texture | Ultra-fine dust | Visible flakes | Liquid with fine shimmer |
| Finish | Mirror / liquid metal | Sparkly, dimensional | Shiny but not reflective |
| Applied with | Rubbed on with applicator | Brushed on | Brushed on |
| Needs gel? | Almost always | No | No |
| Surface feel | Perfectly smooth | Slightly textured | Smooth |
| Removal | Soak-off with gel | Standard remover | Standard remover |
The short version: glitter reflects light in scattered points, chrome reflects it as one surface. That’s why a chrome nail can genuinely mirror your ceiling light and a glitter nail can’t.
What You Need for Chrome Nails
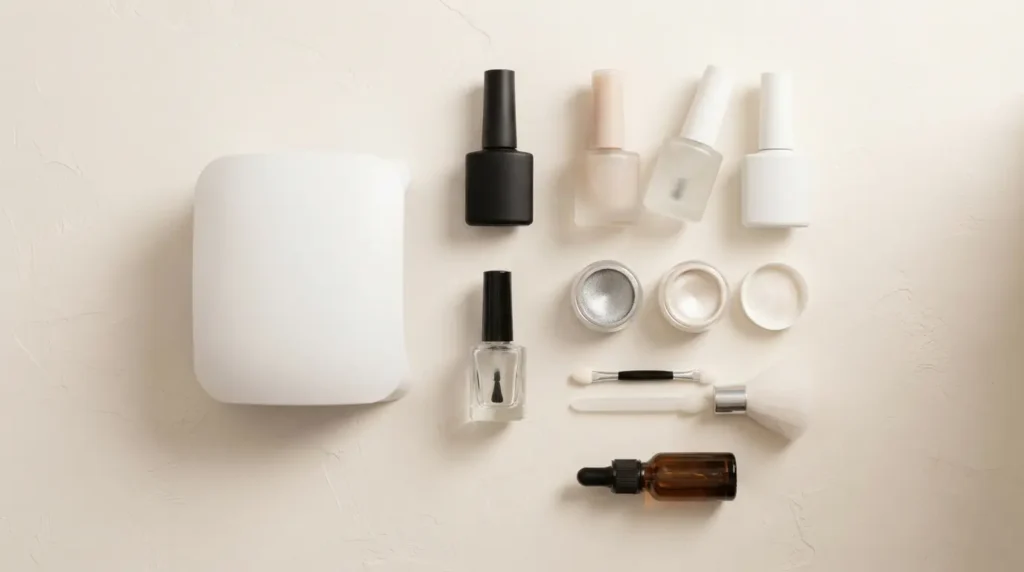
Four things do the heavy lifting. Everything else is optional.
| Item | Why it matters | Rough cost |
|---|---|---|
| UV/LED lamp | Cures the gel layers chrome bonds to | $20–$40 |
| Gel base coat + gel colour | Creates the smooth, hard foundation | $8–$15 each |
| No-wipe top coat | The bonding surface – the most important product here | $8–$12 |
| Ultra-fine chrome powder | The pigment itself | $5–$12 per jar |
| Silicone applicator or eyeshadow sponge | Presses pigment flat; beginners get better results than with a brush | $2–$5 |
| Soft dust brush | Sweeps away loose powder before sealing | $2 |
| Cuticle oil | Rehydrates skin after curing | $5 |
A note on the top coat, because this is where nearly everyone goes wrong: it must say “no-wipe.” A regular top coat leaves a sticky inhibition layer that swallows the powder instead of letting it sit on the surface. A matte top coat won’t work at all – chrome needs a glass-smooth surface to reflect off.
If you only upgrade one product in this list, upgrade the top coat.
The Base Colour Changes the Chrome More Than the Chrome Does
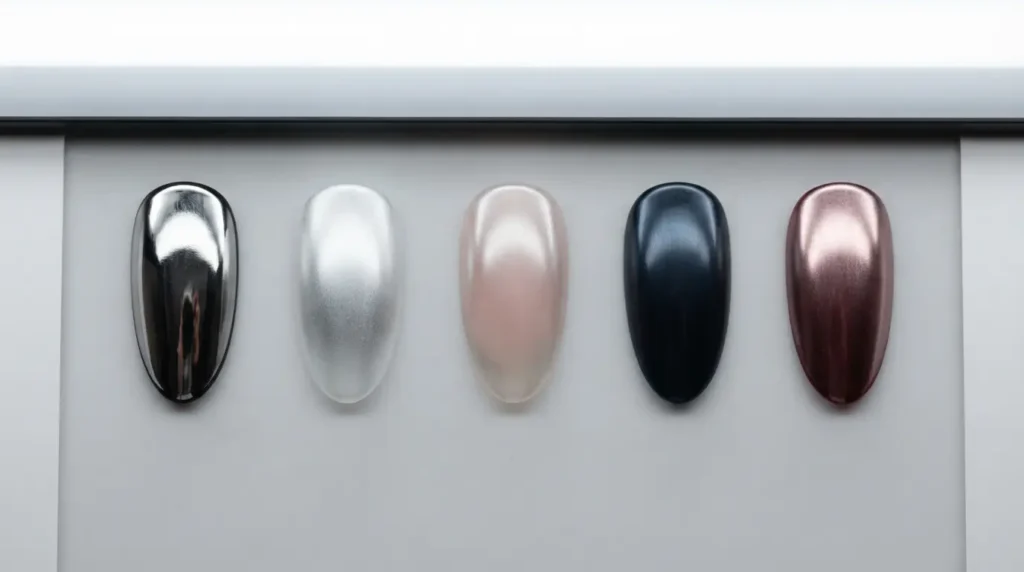
The gel colour underneath your chrome powder shifts the final result dramatically. The same jar of silver chrome will look like liquid mercury over black and like frosted ice over white.
| Base colour | Silver chrome becomes | Gold chrome becomes | Pearl chrome becomes |
|---|---|---|---|
| Black | Molten metal, high drama | Deep antique bronze | Smoky oil-slick pearl |
| White | Icy, frosted mirror | Soft champagne | Bright glazed donut |
| Sheer nude / pink | Delicate silver wash | Warm rose gold glow | The classic glazed donut |
| Navy or deep teal | Cool steel blue | Vintage brass | Moonstone shimmer |
| Burgundy or plum | Gunmetal rose | Rich copper | Mauve pearl |
| Grey | Brushed aluminium | Warm pewter | Soft platinum |
This is the cheapest way to expand your chrome collection. Two jars of powder plus five gel colours gives you far more looks than five jars of powder over one base.
Practical tip: always cure your colour layer fully opaque. Chrome is completely unforgiving of streaks – because the surface is reflective, any unevenness underneath shows up magnified, not hidden.
How to Do Chrome Nails: Step-by-Step
Read the whole sequence once before you start. Chrome is fast, but step 5 has a short window.
1. Prep the nail properly
Push back the cuticles, gently buff away the natural shine from the nail plate, and wipe each nail with isopropyl alcohol to remove oil and dust. Skipping this is the number one cause of chrome lifting at the edges in week one. Prep takes four extra minutes and roughly doubles your wear time.
2. Apply and cure a thin base coat
One thin layer of gel base coat, capped at the free edge. Cure for the time on the bottle – usually 30–60 seconds.
3. Build your colour in thin layers
Two thin coats of gel colour, curing between each. Thin is non-negotiable: thick gel doesn’t cure all the way through, and an under-cured layer underneath will cause the chrome to wrinkle or peel. If the colour still looks sheer after two coats, do a third thin one rather than one thick one.
4. Apply a thin, even layer of no-wipe top coat
Float it on. Don’t flood the cuticle area, and cap the free edge. Then cure it for the exact time the bottle specifies. Not longer “to be safe.”
The finished surface should feel completely smooth and dry – glassy, not tacky. If your finger sticks slightly, cure for another 15 seconds.
5. Rub the chrome powder in
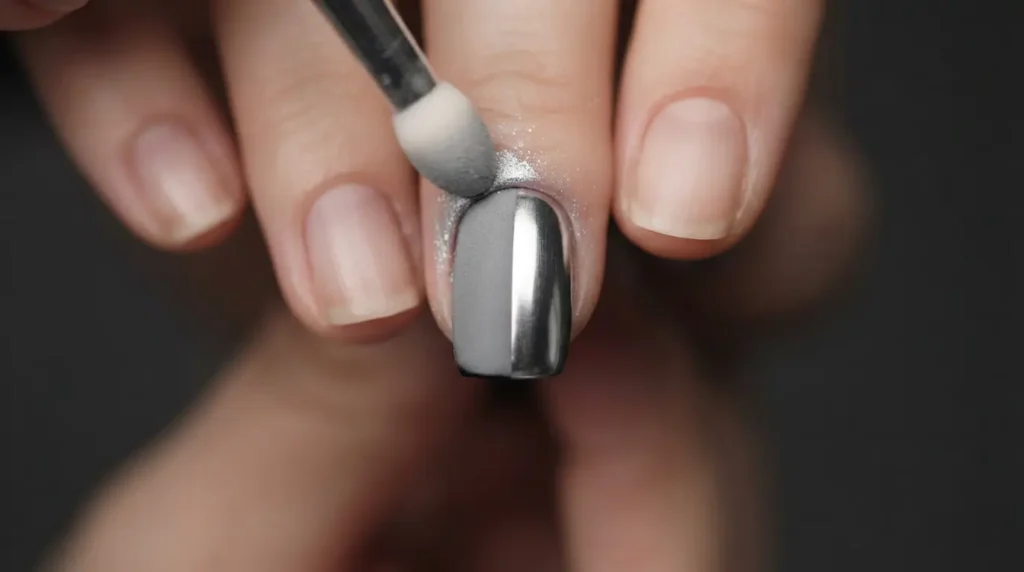
Dip your silicone applicator or a small eyeshadow sponge into the jar, tap off the excess, and buff the powder onto the nail using firm, small circular motions. Keep going for 20–30 seconds per nail. You’ll feel the surface change from gritty to slick, and watch it flip from dull grey to reflective.
Two things people get wrong here: they use too much powder (a tiny amount covers a whole nail) and they’re too gentle. Pressure creates the mirror. Press like you’re polishing a spoon.
6. Buff the edges and sweep away the excess
Work the powder right into the cuticle line and sidewalls with the edge of your applicator – an un-chromed border around the nail is the most common giveaway of a home job. Then use a soft dust brush to remove every loose particle. Any powder left floating will look cloudy once sealed.
7. Seal with a second layer of no-wipe top coat
Apply it in one confident stroke per section and try not to go back over the same spot repeatedly – dragging the brush can disturb the pigment and leave streaks. Cap the free edge. Cure fully.
Some artists apply two thin sealing layers for extra durability. If you do, cure between them.
8. Oil the cuticles
Curing dehydrates the skin around the nail. A drop of cuticle oil on each finger, massaged in, finishes the manicure and keeps the surrounding skin from looking dry and flaky against all that shine.
How to Do Chrome Nails Without a UV Lamp
You can get a chrome-adjacent finish without gel, but be realistic about the trade-off: it will not be a true mirror, and it will not last two weeks.
The method: Paint your regular polish base and let it dry completely – properly dry, not just touch-dry, so give it 30 minutes. Apply one thin coat of a fast-dry glossy top coat and wait until it is almost dry but still very slightly firm to the touch. Rub the chrome powder on with a sponge applicator at that moment. Brush off the excess and seal with a second top coat, applied in one smooth pass.
What to expect: a satiny metallic sheen rather than a reflective mirror, and around 3–5 days of wear before it starts to dull. The chemistry is working against you — regular top coat stays porous and slightly soft, so the pigment sinks in instead of sitting on top.
The better no-lamp option: chrome press-on nails. They give you the true mirror finish, apply in ten minutes, and can be removed the same evening. For anyone who wants the look for one event, press-ons genuinely make more sense than fighting with polish.
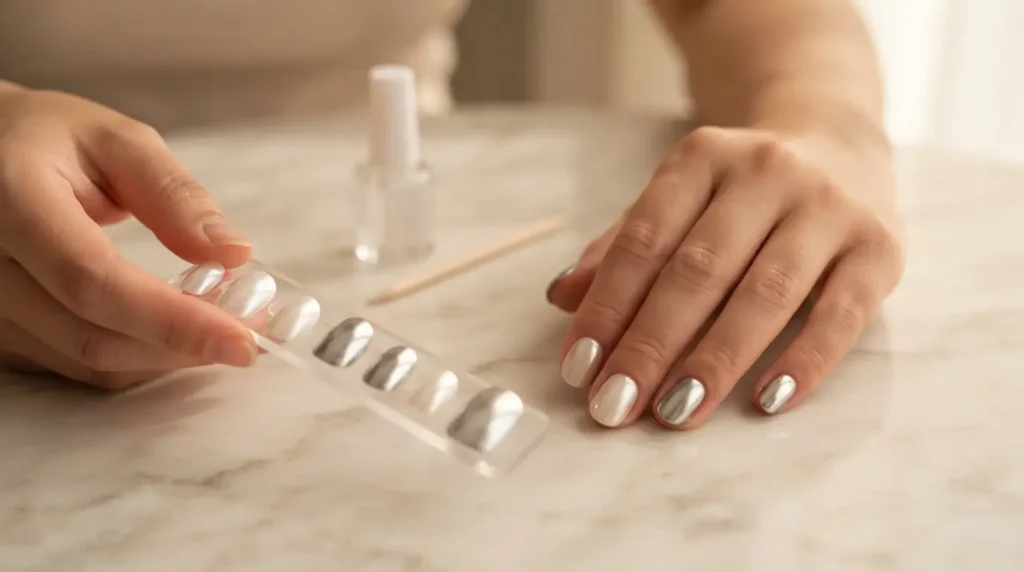
8 Chrome Nail Looks Worth Trying
Each of these uses the same technique above. Only the base colour and powder change.
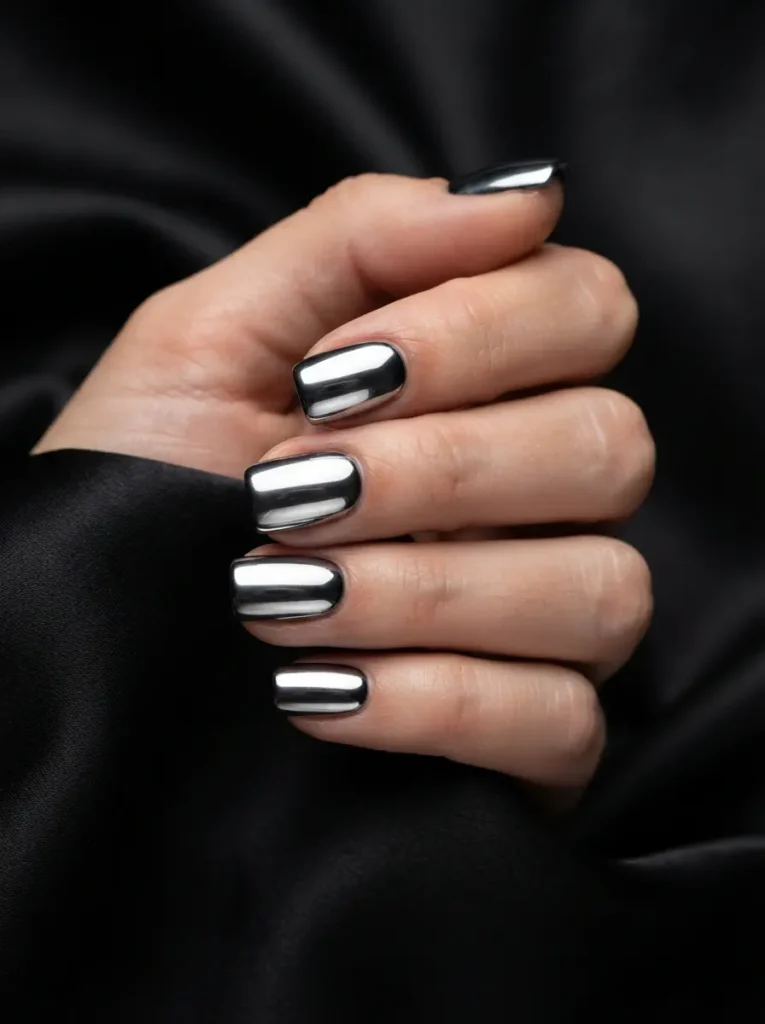
1. Silver Mirror Chrome Nails
Silver mirror chrome is a black or charcoal gel base topped with silver chrome powder, producing the sharpest, most reflective liquid-metal finish of any chrome look.
Best for: nights out, parties, anyone who wants maximum impact.
Difficulty: easy – but the least forgiving of poor prep.
Tools: black gel polish, silver chrome powder, no-wipe top coat.
Every flaw shows on true mirror chrome. If your nail plate has ridges, buff them smooth first or the reflection will ripple. On short square nails this reads modern and editorial; on long coffin nails it reads full glam.
2. Glazed Donut Nails
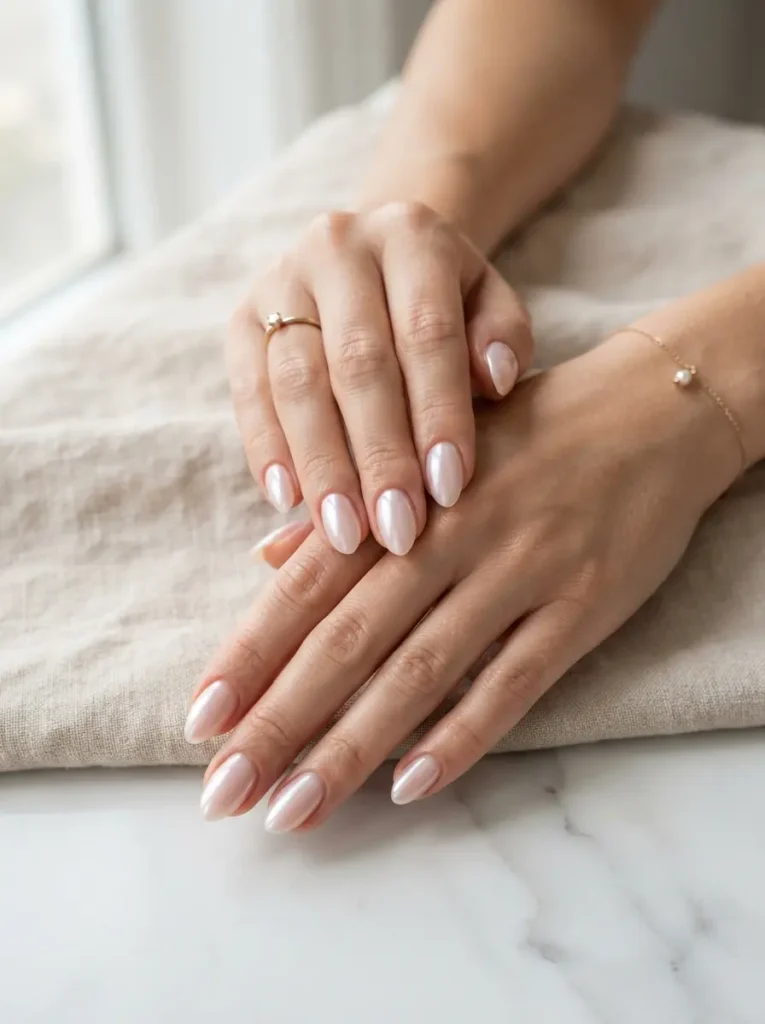
Glazed donut nails are a sheer milky-pink or white base finished with pearl chrome powder, creating a soft, wet, translucent glow rather than a metallic shine.
Best for: weddings, work, anyone who wants shine without loudness.
Difficulty: easy.
Tools: sheer nude or milky pink gel, pearl or white chrome powder, no-wipe top coat.
This is the most universally flattering chrome finish because the pearl pigment reads as light rather than as colour, so it doesn’t clash with any undertone. If you only ever buy one chrome powder, make it pearl white.
3. Rose Gold Chrome Nails
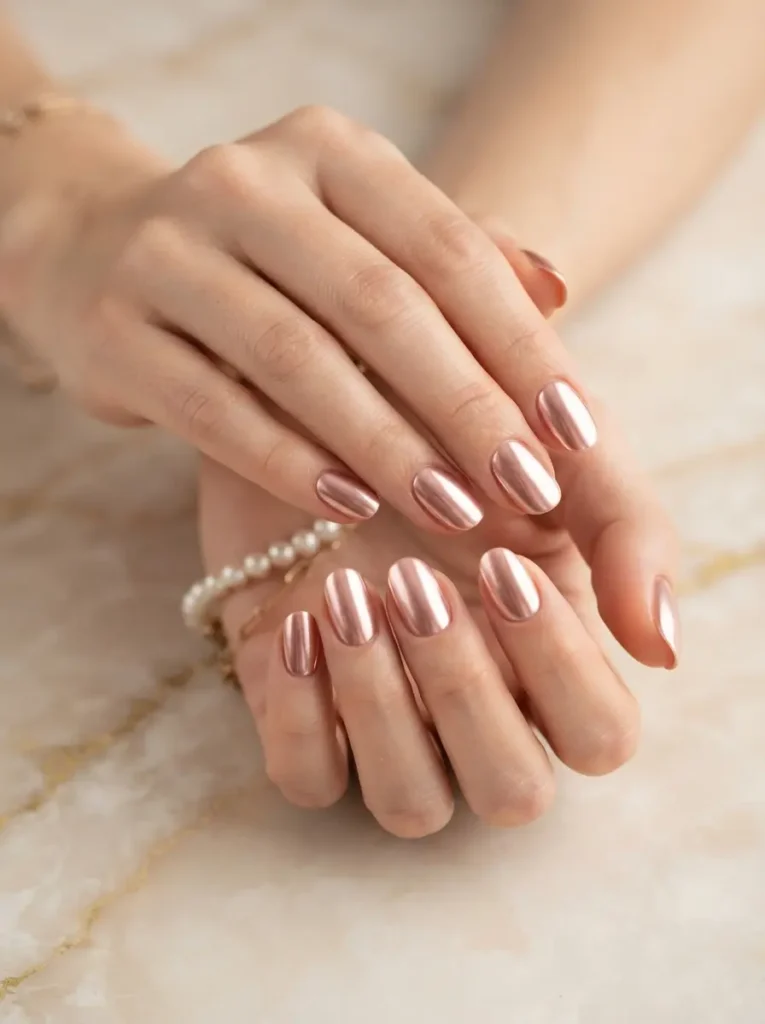
Rose gold chrome pairs a warm nude or soft peach base with rose gold powder for a pink-tinged metallic that sits between glam and neutral.
Best for: everyday wear, warm and olive undertones, autumn.
Difficulty: easy.
Tools: nude or peach gel polish, rose gold chrome powder, no-wipe top coat.
Rose gold is the gentlest way into metallic nails if full silver feels like too much. It also photographs beautifully, which is why it dominates Pinterest bridal boards.
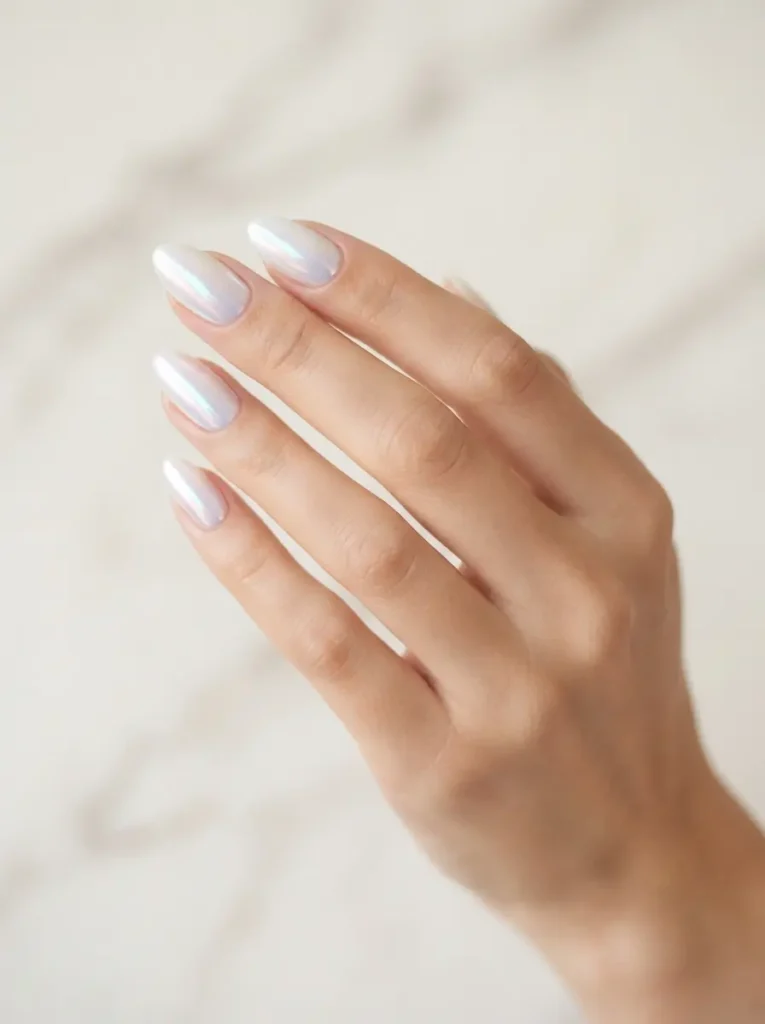
4. Aurora Chrome Nails
Aurora chrome uses a colour-shifting pigment over a white or pastel base, producing an opal-like flash of pink, blue and green as the hand moves.
Best for: spring, summer, anyone bored of flat colour.
Difficulty: easy to apply, harder to photograph well.
Tools: white or pastel gel polish, aurora chrome powder, no-wipe top coat.
The shift is much stronger over a white base than a dark one – darkness absorbs the light the pigment needs to bounce. Test on one nail before committing the set.
5. Chrome French Tips Nails
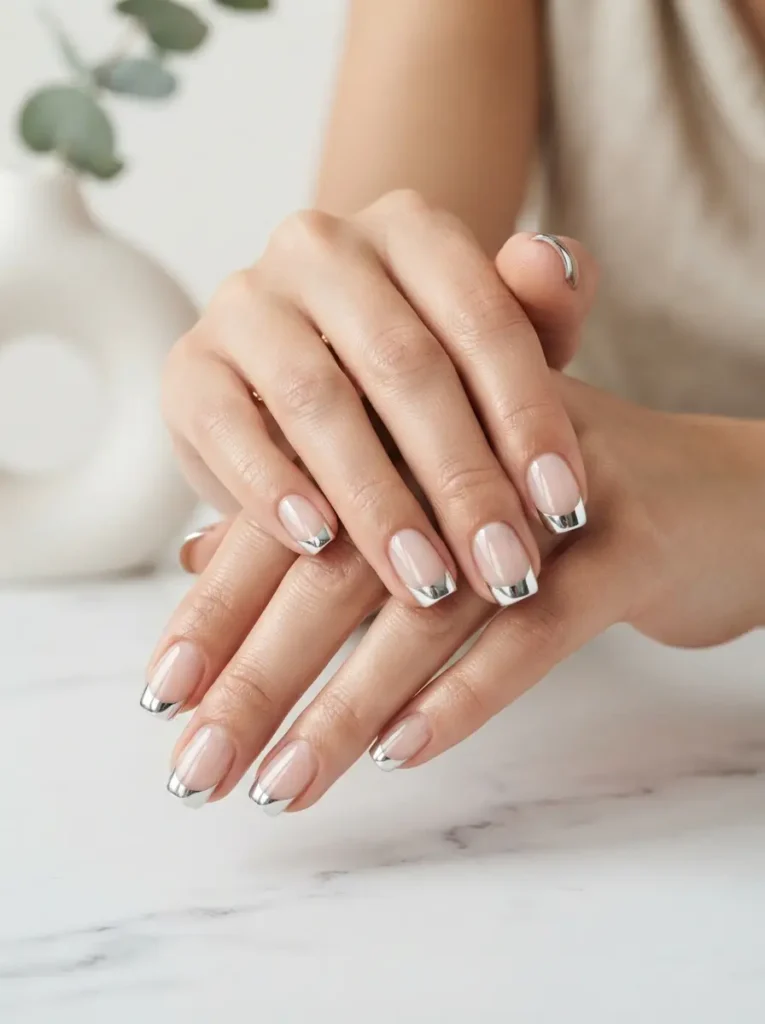
Chrome French tips place chrome powder only on the smile line, leaving the rest of the nail sheer or nude.
Best for: office-appropriate wear, short nails, subtle shine.
Difficulty: medium – the placement takes a steady hand.
Tools: sheer base gel, no-wipe top coat, nail art brush, chrome powder of choice.
The technique: cure your sheer base, then paint the no-wipe top coat only on the tip area using a fine art brush. Cure. Rub the chrome onto that section – the pigment will only stick where the fresh top coat is. Seal the whole nail.
6. Magic Mirror (Cat Eye Chrome) Nails
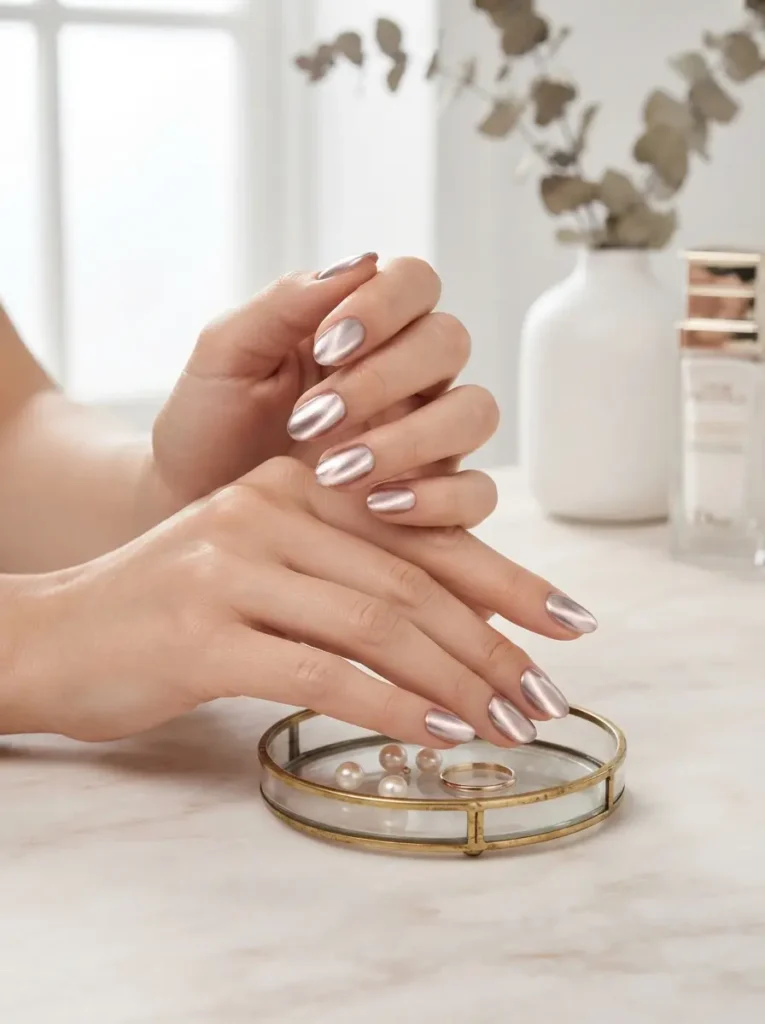
Magic mirror chrome combines magnetic cat eye gel with a chrome layer, creating a glowing stripe that moves across a metallic surface.
Best for: statement sets, gift-worthy manicures, anyone who already owns a cat eye magnet.
Difficulty: medium.
Tools: magnetic cat eye gel, magnet, chrome powder, no-wipe top coat.
Hold the magnet over the uncured cat eye layer for 5–10 seconds to pull the particles into a stripe, cure, then chrome over the top. The result has a depth that flat chrome can’t reach. If you’ve read our cat eye nails guide, this is the natural next step.
7. Black Chrome / Oil Slick Nails
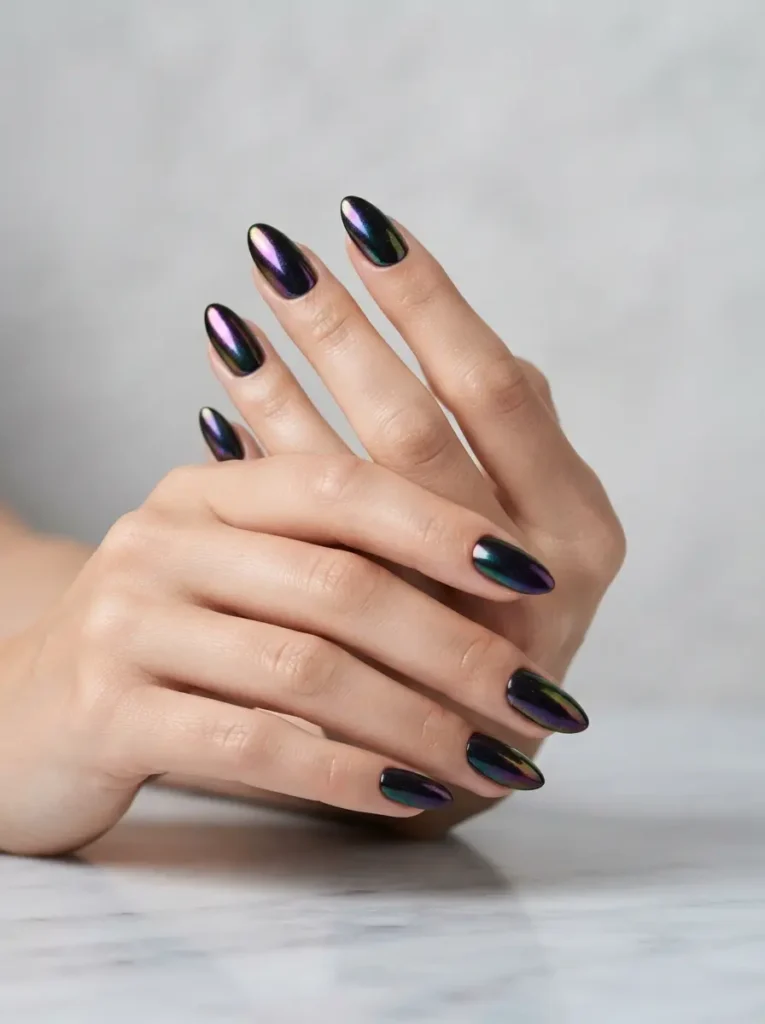
Black chrome uses a black base with a dark multi-chrome or purple-green shifting powder for a petrol, oil-on-water effect.
Best for: autumn and winter, edgy looks, longer nail shapes.
Difficulty: easy.
Tools: black gel polish, multi-chrome or oil-slick powder, no-wipe top coat.
Dark chromes hide minor application flaws better than silver does, which makes this a forgiving choice for a first attempt at a dramatic look.
8. Single Chrome Accent Nails
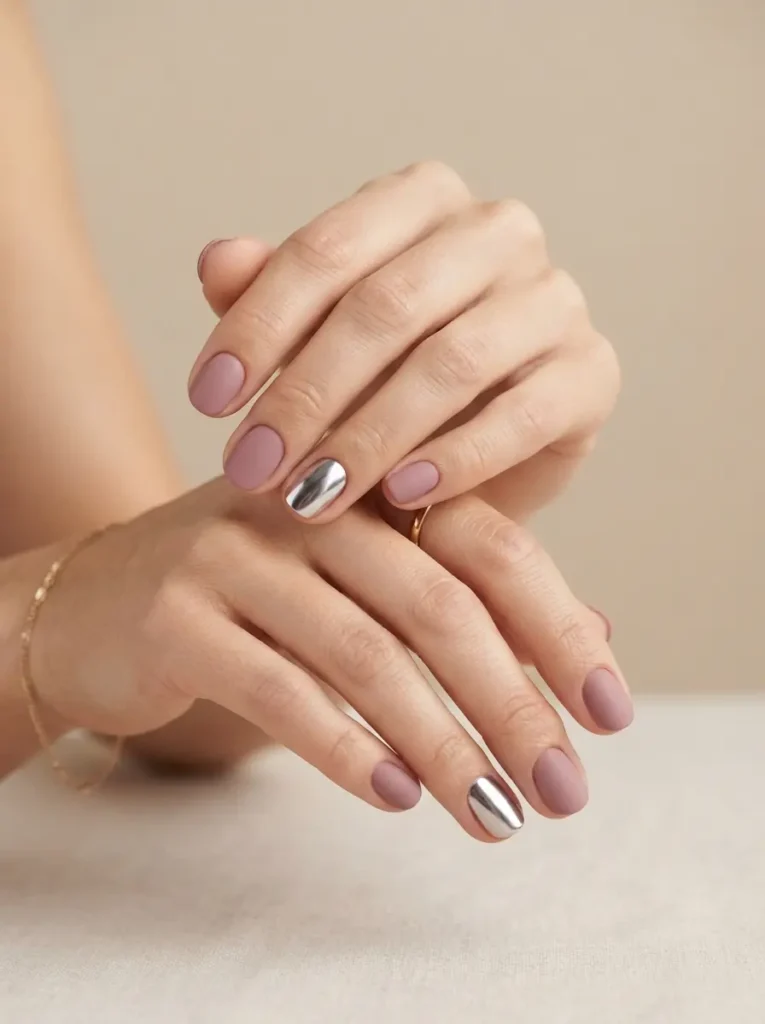
A chrome accent nail applies chrome to one or two fingers while the rest of the set stays in flat colour.
Best for: first-timers, professional settings, budget-conscious sets.
Difficulty: easy.
Tools: any gel colour, one chrome powder, no-wipe top coat.
Ring finger and thumb is the most balanced combination visually. This is also the smartest way to test whether a new powder suits you before committing all ten nails.
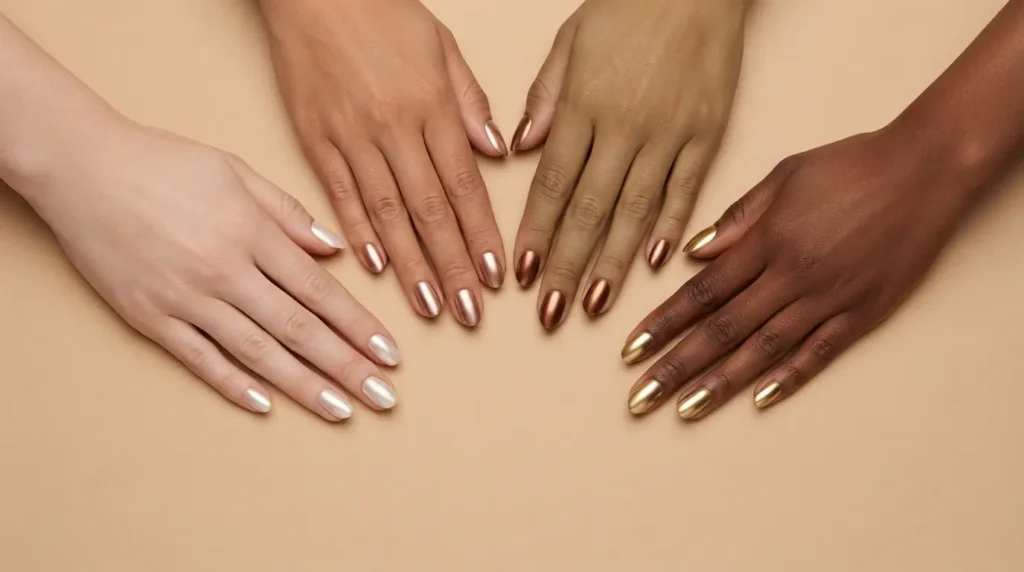
Which Chrome Suits Your Skin Tone?
Metallics interact with skin more visibly than cream polishes do, because they reflect the colour of everything around them – including your hands.
| Undertone | Most flattering chromes | Approach with care |
|---|---|---|
| Cool (blue/pink veins, silver jewellery suits you) | Silver, pearl white, icy blue, gunmetal, holographic | Warm brass and orange-toned copper |
| Warm (green veins, gold jewellery suits you) | Gold, rose gold, bronze, copper, champagne | Stark cool silver on its own |
| Neutral | Pearl, rose gold, soft platinum, mauve chrome | Very little — most metallics work |
| Deep skin tones | Gold, bronze, copper, emerald chrome, true mirror silver | Very pale pearls that can read ashy |
| Fair skin tones | Pearl, silver, lilac chrome, soft rose gold | Heavy bronze, which can overwhelm |
Pearl and rose gold are the two most skin-tone-flexible chromes on the market. If you’re shopping blind, start there. For a deeper breakdown of undertone matching across all polish colours, see our full skin tone nail colour guide.
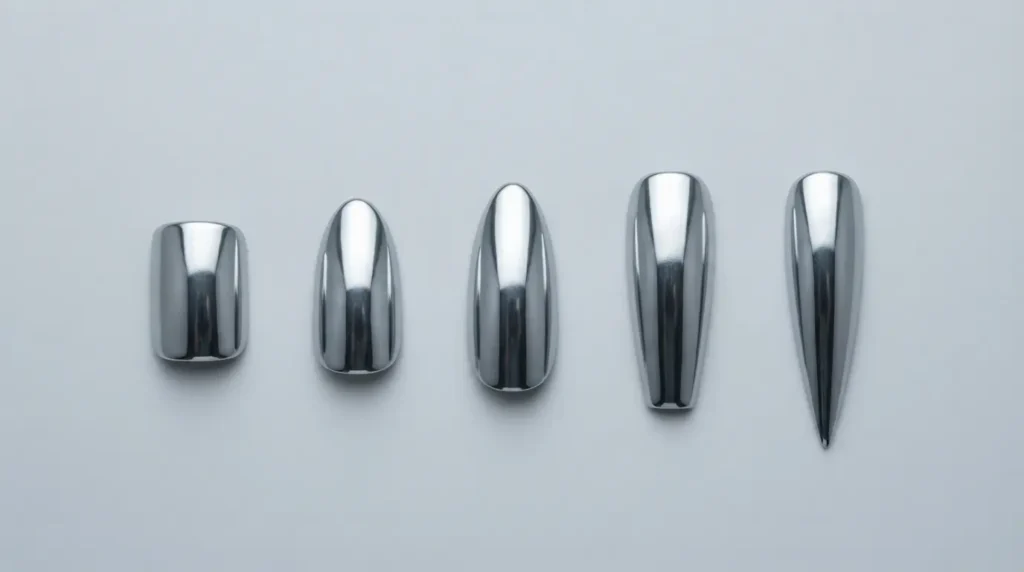
Best Nail Shapes and Lengths for Chrome
Chrome exaggerates whatever shape it sits on, because a reflective surface draws the eye along its lines.
- Short square or squoval – reads clean, modern and editorial. Currently the most-worn everyday shape.
- Short almond – softens the metallic effect and elongates the finger. The safest all-round choice.
- Medium almond – the most photographed shape for chrome on Pinterest; the taper gives the reflection somewhere to travel.
- Coffin / ballerina – maximum drama; best with mirror silver or black chrome.
- Long stiletto – striking, but the narrow tip makes even application harder.
On very short or bitten nails, skip full mirror silver and choose pearl or glazed instead – high-contrast metal draws attention straight to the nail length, while pearl blends with the natural nail.
How to Make Chrome Nails Last Three Weeks
- Prep like it matters. Buff the shine off, dehydrate with alcohol, and never let base coat touch your cuticle skin. Lifting starts at the edges.
- Cap every free edge. Run a thin line of each layer – base, colour, top coat – across the very tip of the nail. This one habit adds days.
- Keep layers thin. Thick gel under-cures, and under-cured gel peels.
- Seal twice. Two thin top coat layers over the chrome protect the pigment from everyday abrasion far better than one thick one.
- Wear gloves for washing up. Prolonged hot water is the main enemy of any gel manicure.
- Oil daily. Cuticle oil keeps the surrounding skin flexible, which reduces the tugging that lifts gel edges.
Realistic expectations: chrome over gel typically wears 2–3 weeks before regrowth becomes obvious. The chrome itself rarely fails first — the gel underneath does.
How to Remove Chrome Nails Safely
Never peel. Peeling chrome takes layers of your natural nail plate with it, and the damage takes months to grow out.
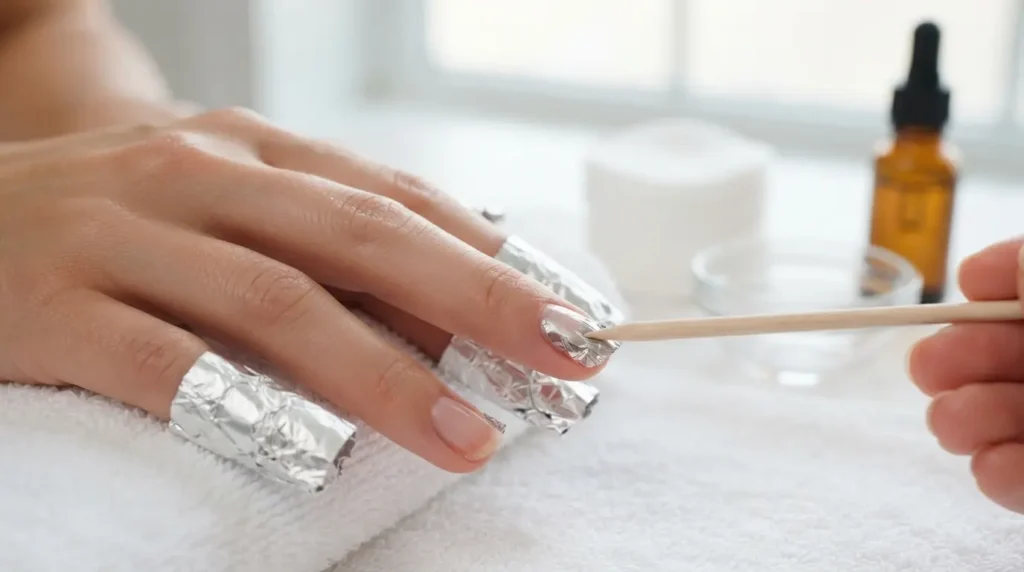
The soak-off method: Gently buff through the top coat and chrome layer until the surface looks dull – you’re breaking the seal so acetone can get in. Soak a small cotton pad in pure acetone, place it on the nail, wrap the fingertip in foil, and leave it for 10–15 minutes. The gel should lift away in soft sheets when you nudge it with a wooden cuticle stick. If it resists, re-wrap for another five minutes rather than scraping.
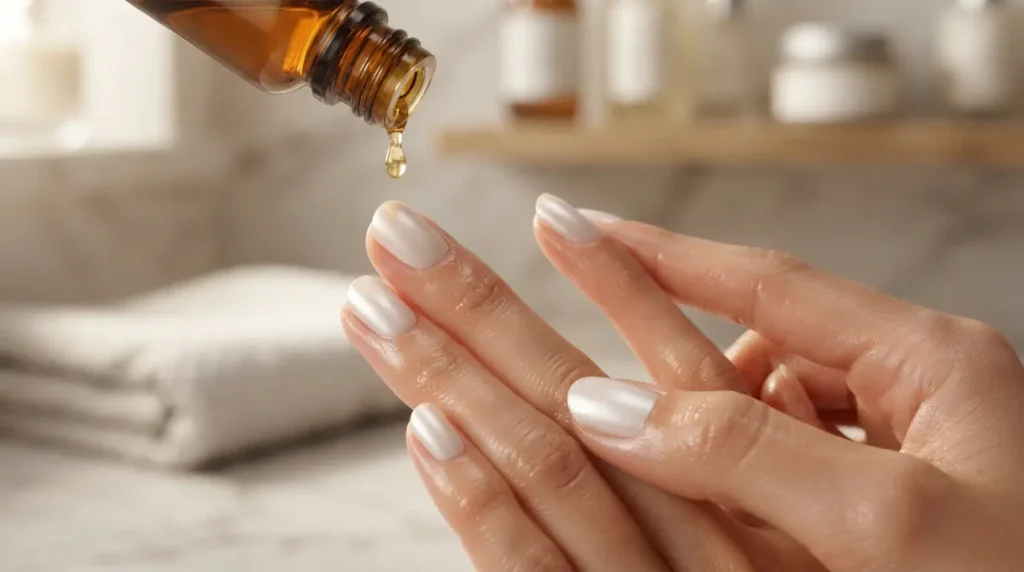
Afterwards, buff any residue away lightly, wash your hands, and apply cuticle oil and a nourishing hand cream. Acetone is extremely drying, so rehydrating isn’t optional.
Give your nails a breather between sets if you notice thinning, white patches, or sensitivity. A week in a strengthening base coat does more for long-term nail health than any single product.
Common Mistakes to Avoid with Chrome Nails
- Using a regular top coat instead of no-wipe. The sticky layer absorbs the pigment and you get chalky grey instead of mirror. This causes more failed chrome manicures than everything else combined.
- Under-curing or over-curing the top coat. Under-cured stays tacky and grabs powder unevenly; over-cured can leave the surface too hard-set to bond well. Follow the bottle time exactly.
- Rubbing too gently. Chrome needs friction and pressure. Light dabbing leaves a dusty finish every time.
- Using too much powder. A dab the size of a pinhead covers a full nail. Excess just gets brushed off and wasted.
- Not brushing off the loose powder before sealing. Trapped particles cloud the finish and can create visible drag lines under the top coat.
- Dragging the sealing top coat back and forth. Each pass disturbs the pigment layer. One confident stroke, then move on.
- Applying oil or hand cream before chroming. Any oil on the nail surface stops the pigment bonding. Oil comes last, always.
- Skipping the sidewalls and cuticle edge. An un-chromed border is the single most obvious sign of a rushed home manicure.
Chrome Nails by Season
Chrome is one of the few finishes that genuinely works year-round; only the palette shifts.
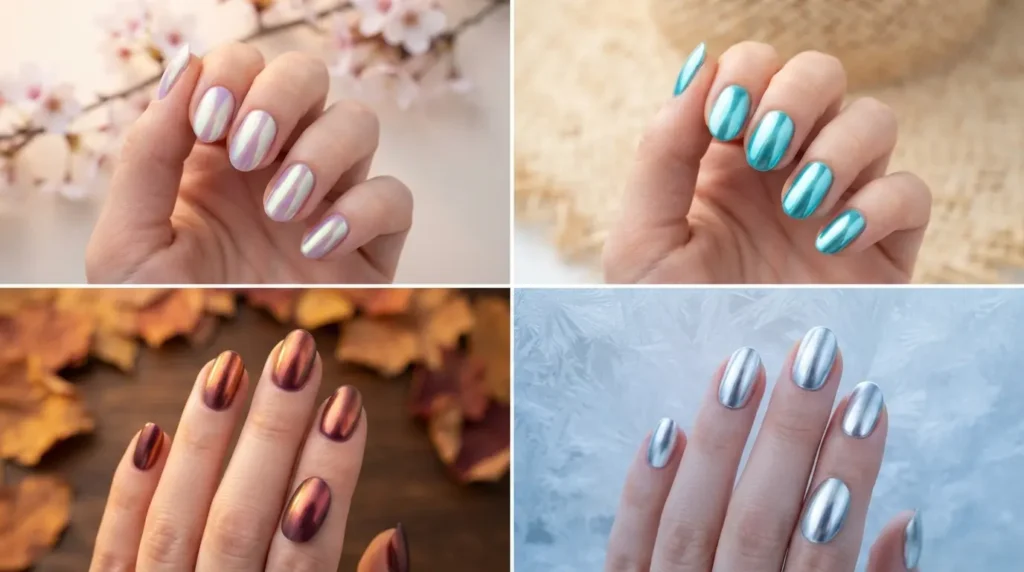
- Spring: aurora chrome over pastel lilac, mint or baby blue; pearl over milky pink.
- Summer: aqua chrome, chrome over butter yellow, glazed pearl on tanned hands.
- Autumn: copper, bronze, and chrome over deep plum, chocolate or oxblood.
- Winter: silver mirror, icy blue chrome, and black oil-slick – the most-searched chrome season by a wide margin, and a natural pairing with winter nail ideas and New Year’s manicures.
Salon vs. DIY: The Honest Cost Comparison
| Salon chrome set | DIY chrome at home | |
|---|---|---|
| Upfront cost | $0 | $45–$80 for lamp, gels, powder |
| Per manicure | $45–$80 | Roughly $1–$3 in product |
| Time | 60–90 min appointment | 15–25 min once practised |
| First-attempt result | Consistently good | Often patchy; improves fast |
| Break-even | — | Usually after 1–2 sets |
Chrome is one of the best-value techniques to learn at home precisely because the salon markup is high and the skill ceiling is low. It looks far harder than it is.