
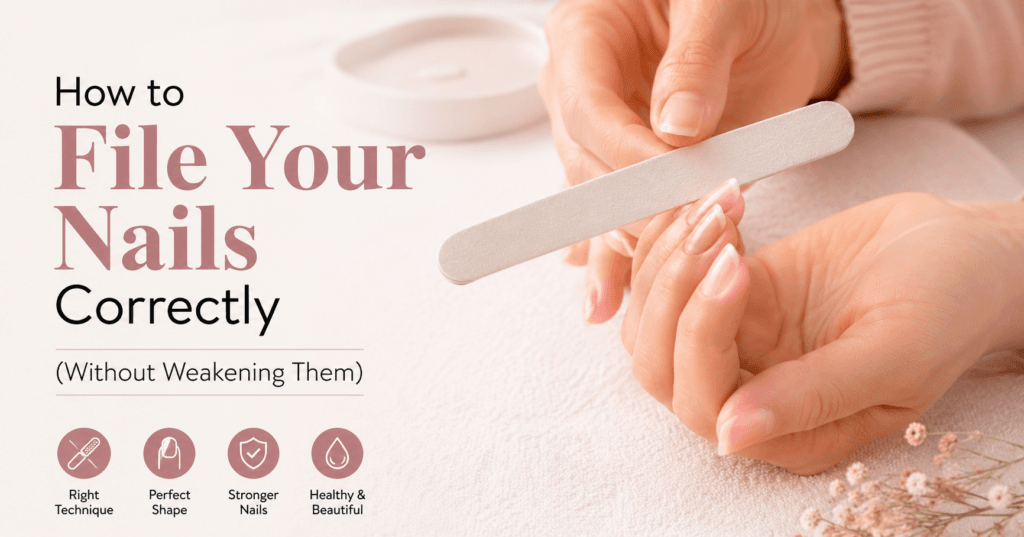
Filing is the most frequent thing anyone does to their nails and the least examined. Most people learned it by watching someone else, use whatever file came free in a set, and saw back and forth until the shape looks right — a routine that quietly explains a great deal of splitting, peeling and thinning that gets blamed on genetics or nail polish.
It’s worth taking seriously for one reason: filing removes material permanently. Nails contain roughly a hundred layers of compacted keratin cells, and aggressive filing can strip away a substantial portion of them in a single session. This guide covers what the grit numbers mean, how to choose the right file, the correct technique, and the surprisingly contested question of whether one-directional filing is really necessary.
Quick Answer: How Should You File Your Nails?
File dry nails with a fine-grit file of 240 or higher, working from the outer corner toward the centre of the nail with light pressure and short strokes, then repeating on the other side. Avoid sawing back and forth across the free edge, which frays the layered structure and leads to splitting. Use clippers to reduce major length first, and let the file’s grit do the work rather than pressing hard.
Key points at a glance:
- Higher grit numbers mean finer, gentler files; 240+ suits natural nails
- Coarse files of 80–180 grit are for enhancements, not natural nails
- File dry – wet nails are softer and tear more easily
- Pressure and grit matter more than stroke direction
- Friction heat is a warning sign that you’re filing too hard
Understanding Grit: The Number That Matters Most
Grit describes how many abrasive particles occupy a given area of the file’s surface, and the system runs opposite to intuition: lower numbers such as 80 to 100 indicate very coarse files that remove material quickly, while higher numbers of 240 and above indicate finer, gentler files that remove less with each stroke.
The comparison used in professional training is helpful. Picture a one-inch square filled with 100 grains of sand – it will be very rough. Fill the same square with 240 grains and it becomes much smoother, so higher grit means less impact on the nail surface and less material removed.
The practical guidance from nail professionals is consistent: files of 240 grit or higher are appropriate for natural nails, while grits of 180 or lower are intended for enhancements such as acrylics and gels. Very coarse files also suit thicker toenails, but the everyday emery board you use on fingernails should sit in the fine range.
This single detail resolves a lot of unexplained nail damage. The free file bundled with a bargain manicure set is frequently 100 grit, which is a tool designed to shape acrylic – using it on a natural nail is closer to sanding wood than shaping keratin.
Why Over-Filing Causes So Much Damage
Nail educators put the scale of the risk plainly. According to professional training guidance, nails contain approximately 100 cell layers, and aggressive filing with an overly coarse file of 80 to 150 grit – or incorrect use of an electric file – can remove over half of them.
The consequences are more than cosmetic. Over-filing the natural nail can cause a thinned nail plate, nail separation, discomfort, and make the nail more prone to infection. And it explains one of the most persistent misunderstandings in nail care: enhancements are frequently blamed for damage that was actually caused by over-filing the natural nail before any product was applied, or by incorrect removal.
Three habits cause most of it: using a file that’s too coarse, pressing too hard, and filing the surface of the nail rather than just the free edge. Dermatologist-developed nail care guidance describes the same mechanisms – low-grit files strip protective keratin layers causing splitting and peeling, repeated friction from rough or metal files wears down nail thickness, and sawing back and forth leaves the free edge ragged and prone to cracking.
The One-Direction Rule: More Complicated Than You’ve Been Told
Almost every article on this subject states the rule identically: file in one direction only, never back and forth. It’s sensible advice, and it’s what most experts recommend – but it isn’t quite the settled law it’s presented as.
The case for it. Health guidance from Healthline recommends filing from the outer corner into the centre of the nail, repeating on both sides rather than sawing back and forth, and warns that incorrect filing can lead to jagged, frayed nails and even nail bed or cuticle damage. Manicurists interviewed by Makeup.com give the same instruction: file in one direction from the side of the nail toward the centre with short strokes, alternate sides, then swipe fully across once or twice to finish the shape. The reasoning is that back-and-forth motion creates micro-tears along the layered edge, which become splits.
The case against treating it as absolute. Professional nail educator Katie Barnes, writing in the industry publication Scratch, argues the opposite – that the claim natural nails must only be filed in one direction is a myth that has been busted in recent years, and that what matters more is choosing an appropriate grit, avoiding aggressive methods, and holding the file at the right pressure and angle. One manicurist quoted by Makeup.com acknowledges the same reality: most nail experts recommend one direction, but skilled technicians do work the file in both directions – while still recommending one-directional filing at home, especially for weaker nails.
What this means for you. If you’re filing your own nails at home, one direction remains the right default. It’s forgiving, it’s slower, and slower is the entire point. But understand why – the real culprits are excessive pressure, an overly coarse file, and a bad angle. A gentle 240-grit file used lightly does less damage in either direction than an 100-grit board used one-directionally with force.
How to File Your Nails: Step by Step
- Trim first if you’re removing real length. Filing away substantial length is slow and generates friction heat. Use clippers for the bulk reduction, then file to refine the shape.
- Start with completely dry nails. Nails absorb water and soften, and a softened nail tears and frays rather than filing cleanly. This is why the old advice to file after a bath is now generally reversed – file first, soak later.
- Hold the file at the point of contact. Professional guidance notes that holding only the end of the file means it will flex and fail to file the nail consistently, and that you should avoid holding the file flat against the whole nail, which over-files the surface and catches the skin.
- Work from the outer edge toward the centre. Place the file at the corner of the free edge and draw it inward in a short stroke. Lift the file completely off the nail, return to the starting position, and repeat. Then do the same from the other corner.
- Use light pressure. Let the abrasive surface remove material. If you feel warmth building, you’re pressing too hard – friction heat is a reliable signal that you’ve moved from shaping into damaging.
- Check symmetry as you go. Look at your nails straight on from a short distance rather than from directly above; shape errors are much easier to spot from a distance.
- Finish the edge, then stop. A light pass with a fine file or the gentlest side of a buffer smooths any remaining roughness. Resist the urge to keep going.
- Apply oil afterwards. Filing is a drying process. Cuticle oil restores flexibility to the freshly exposed edge.
Choosing the Right File
Glass or crystal files are the option most often recommended for natural nails – they’re fine-grit by nature, they seal the nail edge rather than fraying it, they last for years, and they can be washed. A board-certified dermatologist specialising in nails describes glass files as gentle, long-lasting and easy to clean, making them the most hygienic option.
Emery boards are the traditional cardboard file, and a standard 240-grit emery board is perfectly appropriate for natural nails. They’re cheap and disposable – which is also their weakness, since they dull quickly and a dull file makes you press harder.
Metal files are generally discouraged for natural nails. They’re too aggressive, and repeated use thins the nail plate.
Electric files belong in trained hands. Used at the wrong speed or with the wrong bit, they remove nail material extremely fast.
One overlooked point: files wear out. Guidance from nail suppliers suggests replacing them regularly and notes the signs – the surface feels smooth or dull, you have to press harder to file, or the file bends or peels at the edges. A worn file is dangerous precisely because it makes you compensate with force. Hygiene matters too: clean your file with alcohol between uses and never share one, since bacteria transfer easily.
Common Filing Mistakes
- Using whatever file is nearest. Grit is the most consequential variable, and most people never check it.
- Sawing rapidly to save time. Speed generates heat and ragged edges; the time saved is repaid in splits.
- Filing wet or freshly soaked nails. Softened nails tear.
- Filing the nail surface to remove ridges. This thins the plate permanently. A ridge-filling base coat achieves the same visual result without removing anything.
- Digging into the side walls. Filing deeply into the corners weakens the nail’s structural support and encourages breaks.
- Pressing harder when the file stops working. That’s a signal to replace the file, not to apply force.
- Over-buffing the surface for shine. Buffing removes layers exactly as filing does. Occasional and light is the rule.
How Filing Fits Into Healthy Nail Care
Shape choice matters as much as technique. Rounded and squoval shapes have no sharp corners to catch and snag, which makes them significantly more durable than square or heavily tapered shapes. If your nails break frequently, a shape change often outperforms any strengthening product.
Frequency matters too. Filing weekly to maintain a shape is reasonable; filing daily because an edge feels rough suggests the edge isn’t being sealed properly – which usually points back to a coarse file or a sawing motion.
And the most reliable protection is unrelated to technique: hydrated nails flex under stress rather than snap. Daily cuticle oil does more to prevent breakage than any filing adjustment.
Frequently Asked Questions
What grit nail file should I use for natural nails?
Use 240 grit or higher. Files of 180 grit or lower are designed for acrylics and gels, and using them on natural nails strips keratin layers, causing splitting and peeling.
Should you file nails in one direction only?
For at-home filing, yes – it’s the safer default, particularly for weak nails. Some professional educators argue the rule is overstated and that grit, pressure and angle matter more, but one-directional filing removes the risk of fraying the edge.
Should you file nails wet or dry?
Dry. Water softens the nail plate, and a softened nail frays and tears rather than filing cleanly. File first, then soak or moisturise afterwards.
Are glass nail files better than emery boards?
Glass files are gentler on the nail edge, reusable, washable and long-lasting, which makes them the preferred choice of many dermatologists. A fresh 240-grit emery board is a perfectly acceptable alternative.
Why do my nails split after filing?
The usual causes are a file that’s too coarse, a back-and-forth sawing motion, filing wet nails, or pressing too hard. Switching to a fine-grit file used with light one-directional strokes resolves most cases.
How often should I replace my nail file?
Replace an emery board when the surface feels smooth, when you find yourself pressing harder, or when the board bends or peels – often every few weeks with regular use. Glass files last for years if not dropped.
Final Thoughts
Filing is subtractive: everything you remove is gone until it grows back, which takes about six months for a fingernail. That single fact should shape the whole approach — fine grit, light pressure, short strokes, and stopping a little earlier than feels necessary.
Change one thing this week and make it the file itself. A 240-grit glass file used gently will do more for your nail strength than most treatments sold to fix the damage a coarse one causes.

Pingback: 1 Winter Nail Ideas That Look Cozy, Expensive, and Nothing Like Last Year's - TheZelovo.com