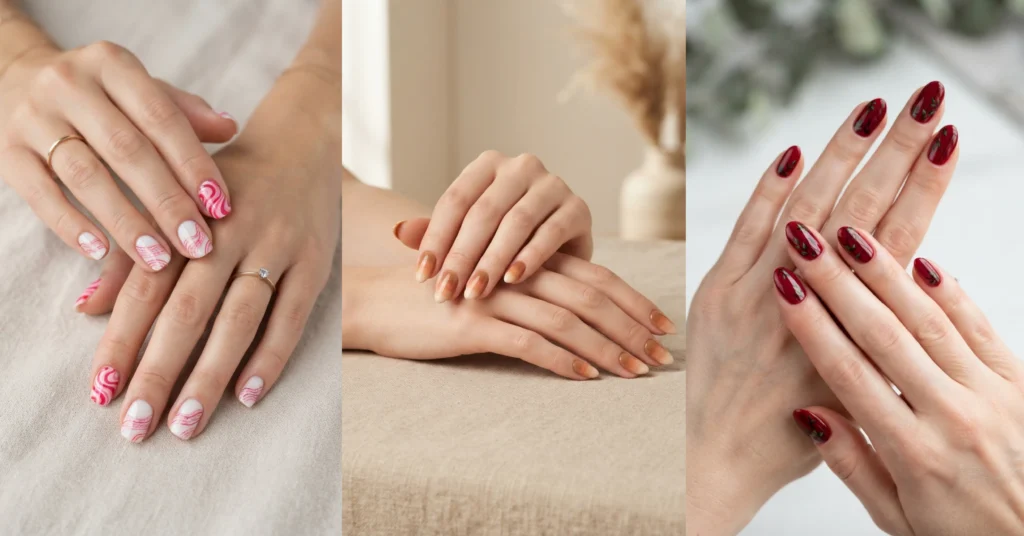
I first noticed “Tame Impala nails” at a coffee shop – the girl in front of me had pink and red swirls on her fingers that looked exactly like the Currents album cover, and I couldn’t stop staring. It turns out this is a whole aesthetic now: dreamy pastel swirls, sunset gradients, wavy lines, and kaleidoscope patterns all pulled from Kevin Parker’s psychedelic universe.
If you love the band, or you just want nails that look like a warm 70s daydream, this list has you covered. Skip around – every idea has a “best for” note and the tools you’ll need, so you can pick one that matches your patience level.
What Are Tame Impala Nails?
Tame Impala nails are a nail-art style inspired by the visuals of Tame Impala’s albums – heavy on psychedelic swirls, warm pastel palettes (pink, coral, lilac, soft orange), wavy retro shapes, and dreamy gradients that echo album covers like Currents, Lonerism, and The Slow Rush. It’s less about copying the covers exactly and more about capturing that hazy, 70s-tinted, slightly melancholy mood.
Most designs lean toward short-to-medium nails in either a round or almond shape – the softness of the nail shape matches the softness of the aesthetic. Now, the 10 ideas.
1. Currents Swirl Nails
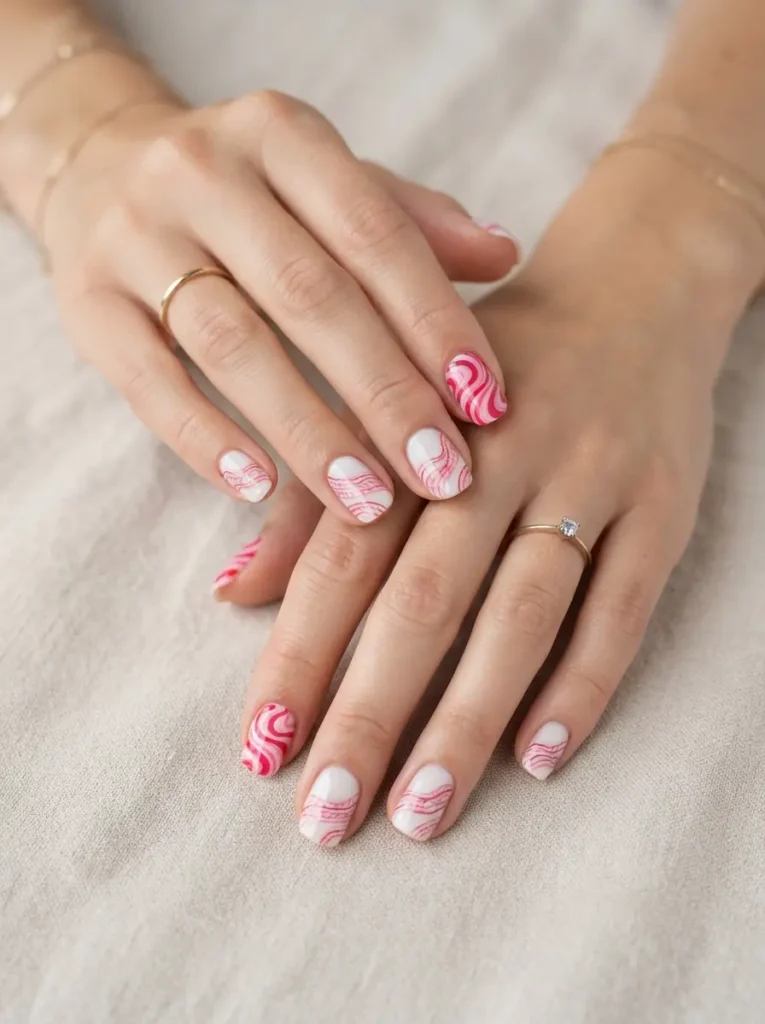
Currents swirl nails recreate the pink-and-red wave pattern from the Currents album cover, usually on a nude or white base with a single accent nail featuring the full swirl.
Best for: medium-length almond nails and Tame Impala superfans.
Difficulty: medium.
Tools: a nude base polish, hot pink and red gel polish, a striping brush, a glossy top coat.
The key is not overworking the swirl. Two or three waves per nail is plenty. Move your brush in one confident stroke rather than trying to perfect each line – a slightly imperfect wave actually looks more like the original.
2. Pastel Psychedelic Swirls Nails
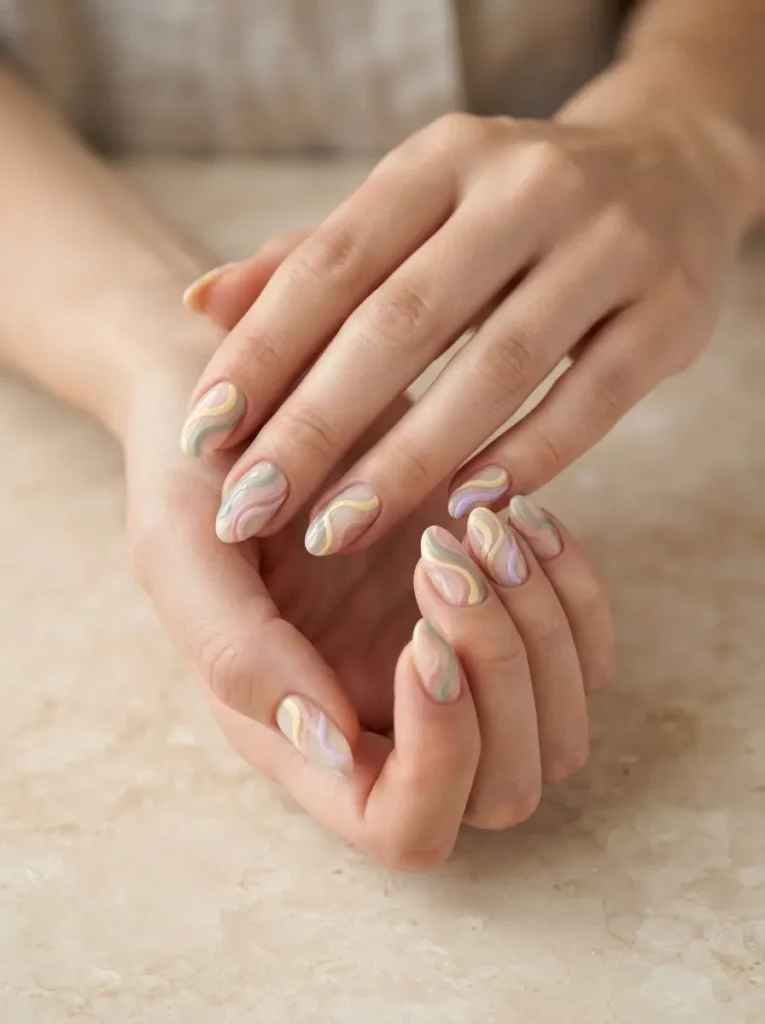
Pastel psychedelic swirls are soft, curling lines in muted 70s colors – think butter yellow, dusty pink, sage green, and lilac – laid over a milky nude base.
Best for: everyday wear when you want the vibe without shouting it.
Difficulty: easy to medium.
Tools: four soft pastel polishes, a fine detail brush or toothpick, a matte or glossy top coat.
I like these matte – it makes them look like they belong on a vintage record sleeve. If your swirls come out too neat, drag a toothpick through them gently while still wet to soften the shape.
3. Sunset Gradient Nails
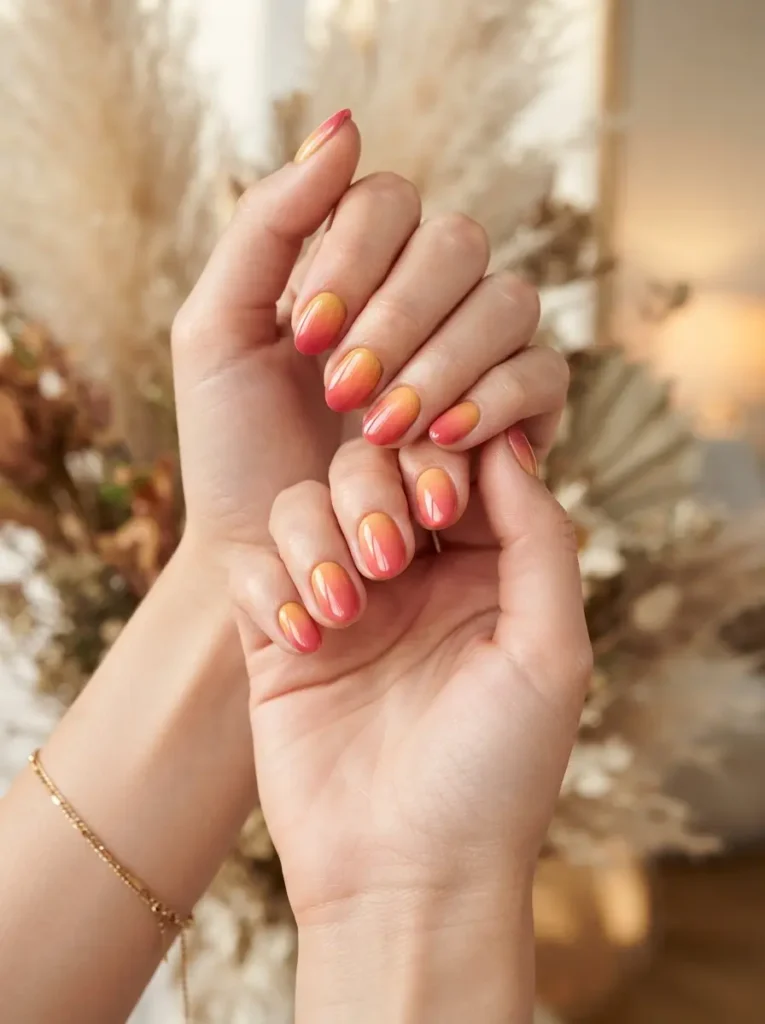
Sunset gradient nails fade from warm yellow through coral into a deep pink or red at the tip, matching the sunset feeling of tracks like “Yes I’m Changing” or “Eventually.”
Best for: summer nails and anyone who wants a set without hand-painting anything.
Difficulty: easy.
Tools: three warm-toned polishes, a makeup sponge, top coat.
Dab the colors onto the sponge in strips, press it onto the nail, and repeat until the fade smooths out. The trick is layering – three thin passes look better than one thick one.
4. Kaleidoscope Accent Nails
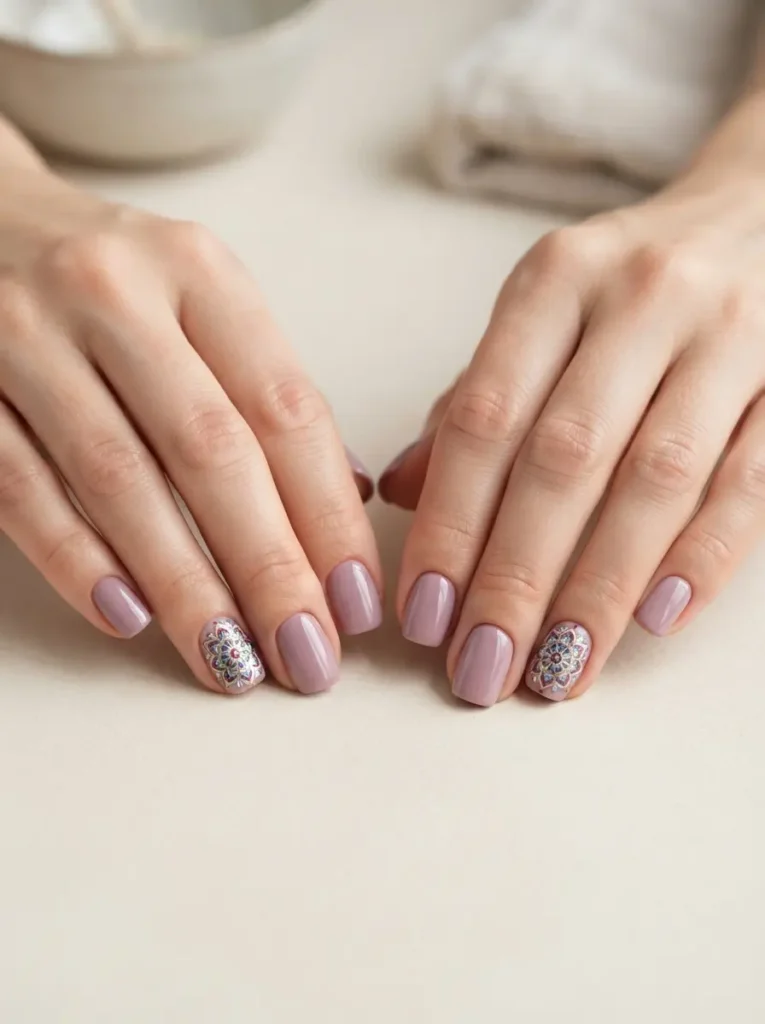
Kaleidoscope accent nails put a symmetrical, mandala-style pattern on just one or two nails (ring finger, usually), with the rest of the fingers in a solid Tame Impala color like dusty pink or lilac.
Best for: short nails, because the small canvas makes the pattern read as intentional rather than busy.
Difficulty: medium to hard.
Tools: a black-and-white nail sticker or reverse stamping plate, base color, top coat.
Doing this freehand is a nightmare. Save yourself the pain and use a kaleidoscope-print water decal – the results look almost identical to hand-painted for a fraction of the effort.
5. Wavy Line Minimalist Nails
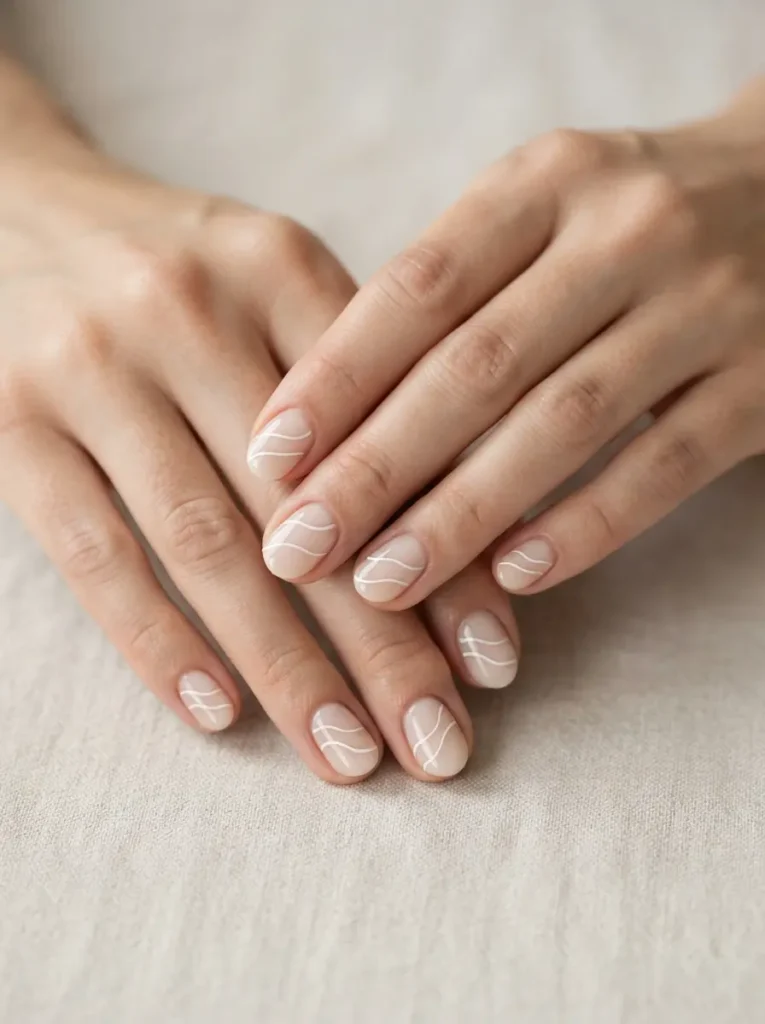
Wavy line minimalist nails are just two or three thin, uneven wavy lines running horizontally across a bare or nude base – the least busy Tame Impala look, and probably the most wearable.
Best for: work, school, and anyone who wants a subtle nod to the aesthetic.
Difficulty: easy.
Tools: a nude polish, one accent color, a very fine striping brush.
Uneven is the point. If your wave has a hiccup halfway through, leave it. Perfect nail art always looks like nail art; slightly wobbly hand-painted looks like real art.
6. Lonerism Red Gate Nails
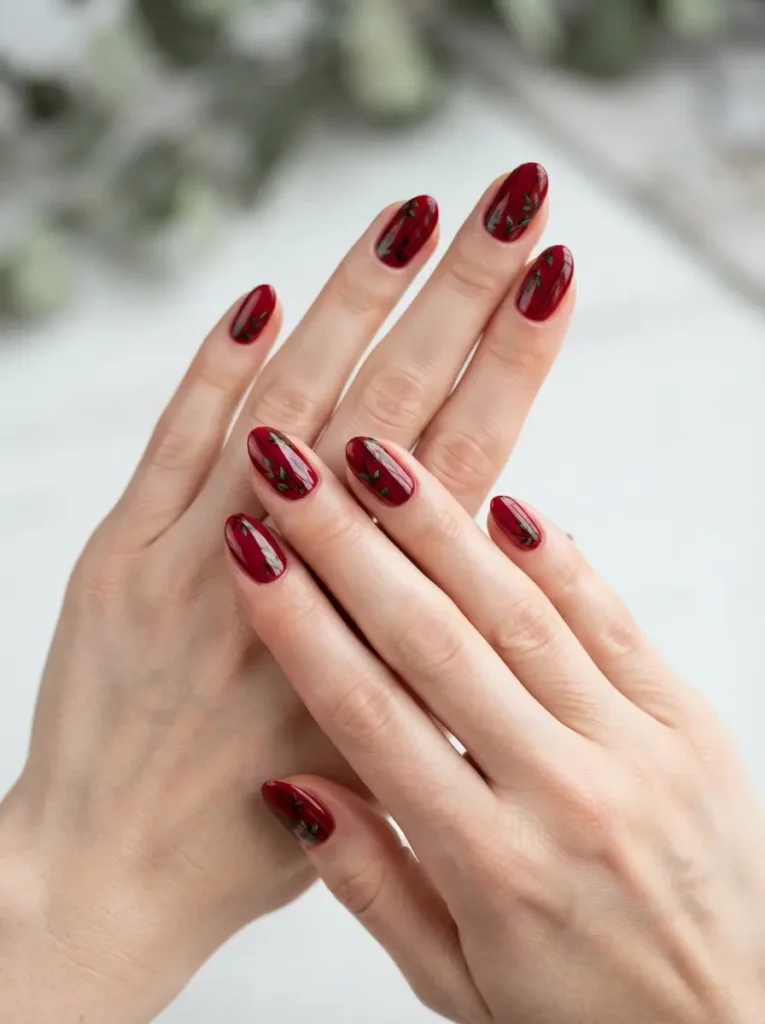
Lonerism red gate nails borrow the deep red, green foliage, and iron-gate vibe of the Lonerism album cover, translating it into a red base with tiny green leaf accents and thin dark lines.
Best for: fall and winter, when the moodier palette makes sense.
Difficulty: medium.
Tools: dark red base, forest green polish, a fine detail brush, black polish for the “gate” lines.
Skip the gate detail if you don’t feel confident – just red with a few small leaves already reads as Lonerism-inspired. Nail art is about suggestion, not literal reproduction.
7. Slow Rush Dune Nails
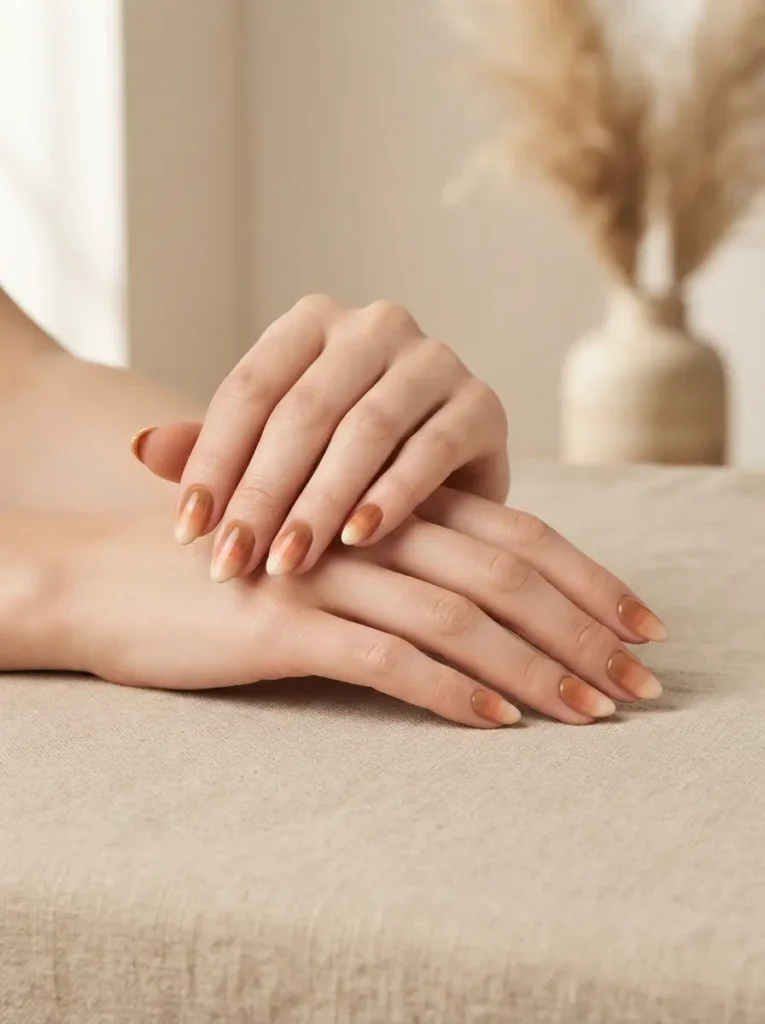
Slow Rush dune nails use the warm, sandy, sun-baked palette of The Slow Rush album cover – think caramel, terracotta, dusty orange, and soft cream – often with a subtle gradient that mimics dunes at golden hour.
Best for: medium-to-long nails and warm skin tones.
Difficulty: easy.
Tools: three or four warm nude polishes, a makeup sponge, top coat.
The color story is doing all the work here, so pick your palette carefully. Swatch each polish on a piece of paper first to make sure they blend rather than clash.
8. Iridescent Chrome Nails
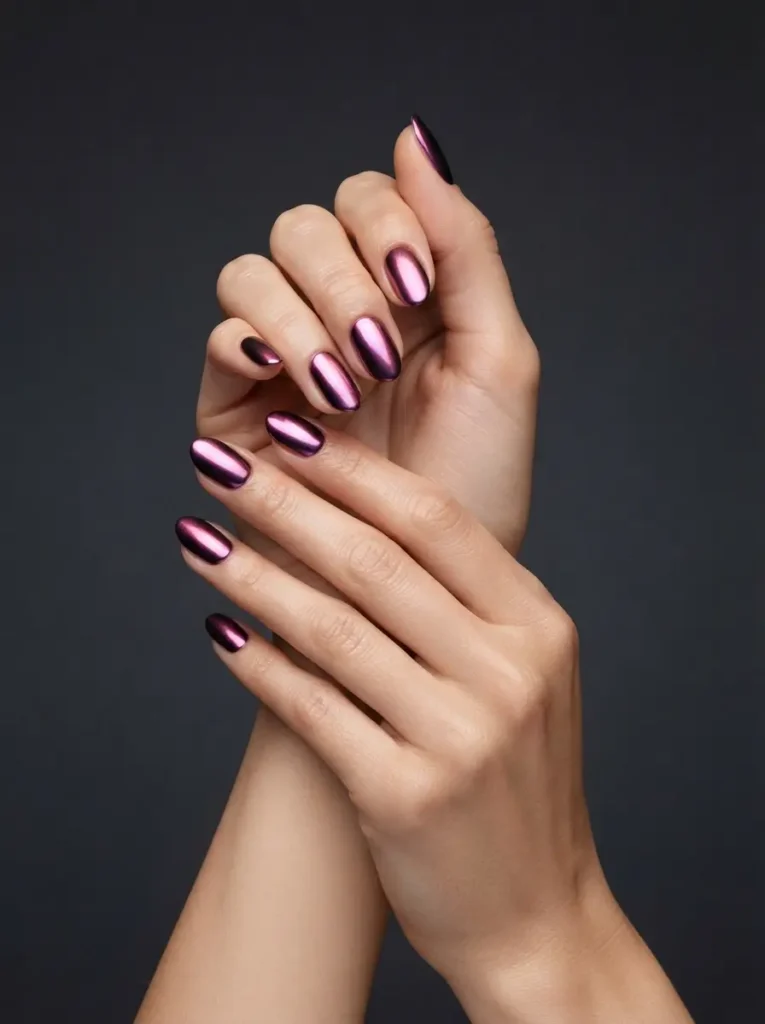
Iridescent chrome nails are all shine – a pink-purple duo-chrome powder over a black or dark magenta base, so the color shifts as you move your hand, echoing the shimmery, spacey production on Currents.
Best for: short-to-medium nails, and going out.
Difficulty: easy (if you already have the powder).
Tools: black or magenta gel base, chrome or aurora pigment powder, a small eyeshadow applicator, gel top coat.
The dark base is what makes chrome pop. Skip it and rub the pigment straight onto light polish and you’ll get a dull, chalky finish instead of that mirror-holographic look.
9. Retro Daisy Nails
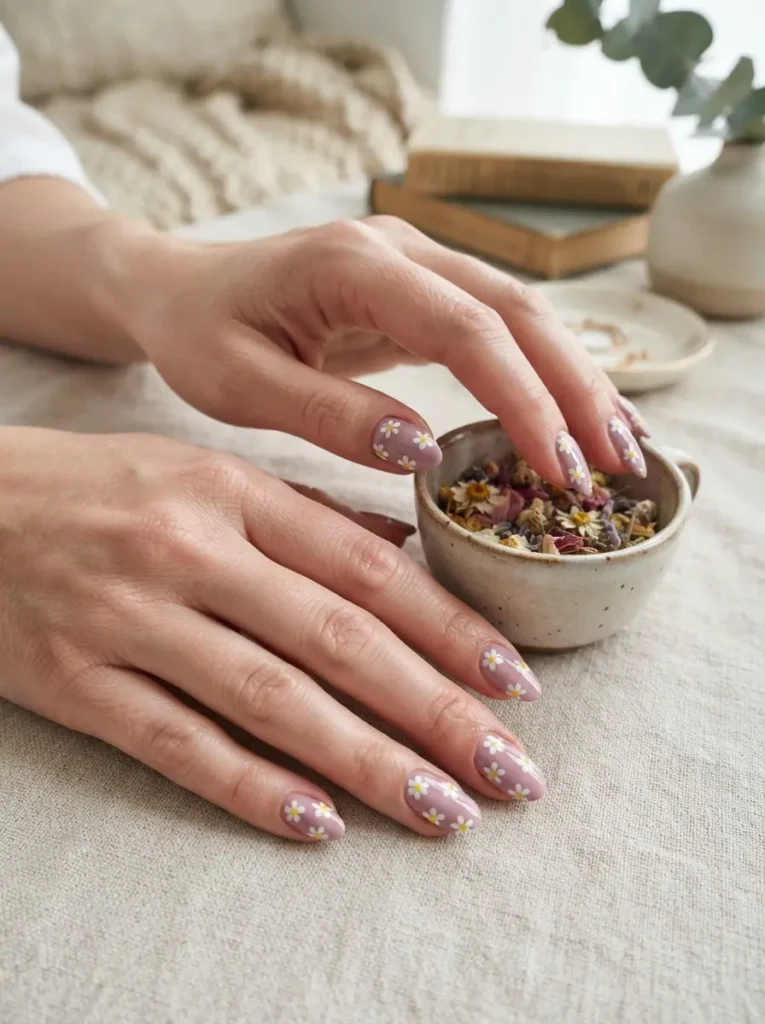
Retro daisy nails feature hand-painted white daisies with a yellow center over a Tame Impala–colored base – dusty pink, muted lilac, or warm coral work best.
Best for: spring and summer, and anyone who wants “psychedelic” without patterns that look busy.
Difficulty: easy.
Tools: base color, white polish, yellow polish, a dotting tool.
Use the dotting tool for the petals – five dots around a center yellow dot. It’s basically a nail-art starter design, but it looks great when the base color is right.
10. Holographic Space Nails
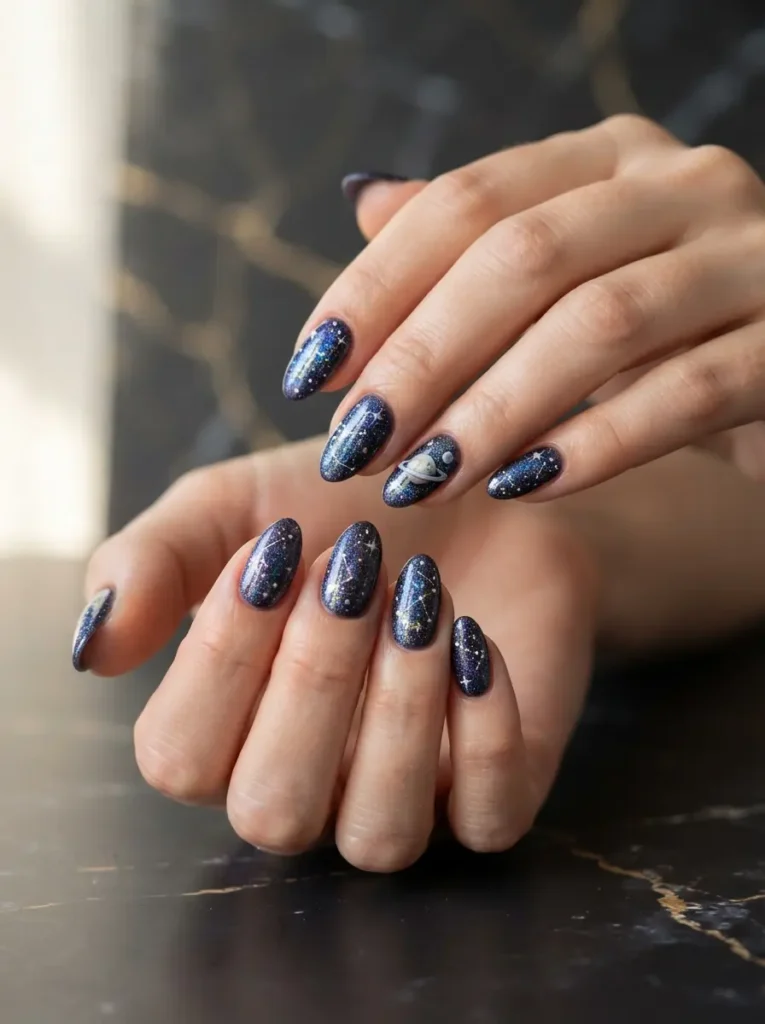
Holographic space nails go full cosmic – a deep blue-purple base with holographic glitter, small silver stars, and a tiny hand-painted planet on an accent nail – matching the “spaceship” feeling of tracks like “Let It Happen.”
Best for: medium-to-long nails and party sets.
Difficulty: medium.
Tools: dark blue or purple base, holographic glitter polish, silver striping polish, top coat.
Concentrate the glitter at the tips and fade it toward the cuticle. Full-coverage glitter usually looks like a craft project; a gradient looks like the night sky.
How to Make Tame Impala Nails Last Longer
- Prep the nail properly. Push back cuticles, buff lightly, and wipe with rubbing alcohol so the polish has a clean surface to grip.
- Use a base coat. Skipping this is the number one reason nail art peels off within a day.
- Paint in thin layers. Two thin coats always outlast one thick coat.
- Cap the free edge. Run the polish along the tip of the nail – that’s where chipping starts.
- Seal with a good top coat every three days. Adds fresh shine and locks the art in.
- Wear gloves for dishes. Water is nail polish’s worst enemy.
How to Remove Nail Art Without Ruining Your Nails
Skip the scraping. For regular polish, use an acetone-based remover with cotton pads; for gel or chrome, soak cotton in pure acetone, wrap each nail in foil, and wait ten to fifteen minutes before gently sliding the polish off. Follow with cuticle oil and a hand cream – acetone dries out both nails and skin, and most cheap nail damage comes from impatient removal rather than the art itself.
Common Mistakes to Avoid with Tame Impala Nails
- Going too literal. Trying to copy the Currents cover exactly onto ten nails usually looks like a school project. Take the palette and the vibe, not the artwork.
- Skipping the base coat. Peeling art after 24 hours isn’t the polish’s fault, it’s yours.
- Using the wrong nail shape. Very sharp stiletto shapes fight the soft, dreamy aesthetic. Almond, round, or short square all work better.
- Overloading every nail. Two or three accent nails plus solid-color supporting nails almost always looks more expensive than ten busy fingers.
- Cheap top coats. A good top coat is what separates “handmade at home” from “salon quality” more than the base design.