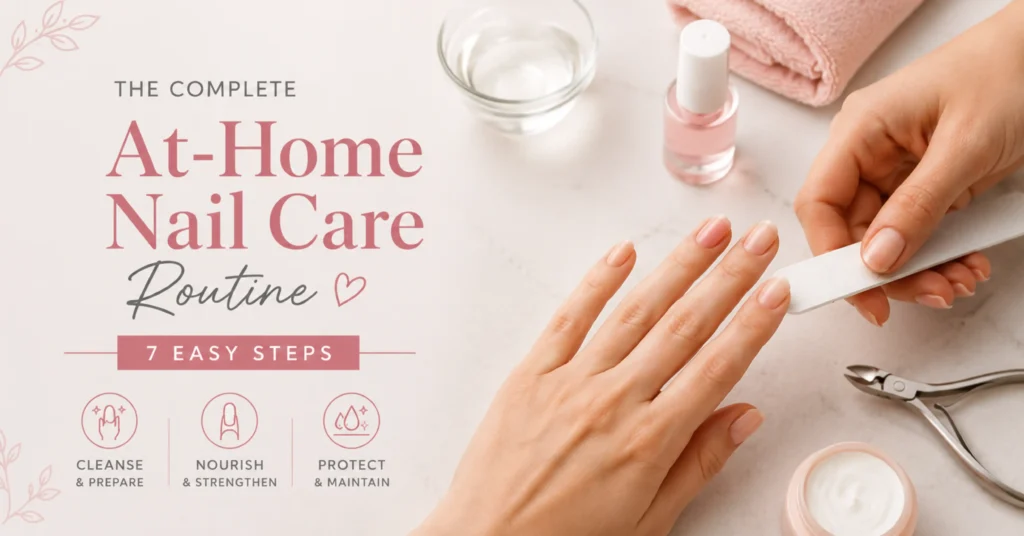
You don’t need a salon appointment to have healthy, good-looking nails. A simple routine you do at home – ideally once a week – covers everything your nails actually need: a clean surface, a tidy shape, hydrated cuticles, and a little protection. The best part is that it doubles as ten quiet minutes of self-care.
Here’s the full routine, step by step, plus the tools to gather and how often to repeat it.
What You’ll Need
Before you start, set out:
- Non-acetone polish remover and a cotton pad
- Nail clippers or nail scissors (and a separate clipper for toenails)
- A glass or crystal nail file
- A soft nail buffer
- Cuticle remover or oil, plus a wooden cuticle stick
- Hand cream
- Base coat and top coat (and color, if you want it)
A quick tip: the best time to do all this is right after a shower, when your nails and cuticles are already soft.
Step 1: Remove Old Polish and Clean
Start with a clean slate. Wipe away any old polish with a non-acetone remover – acetone is more drying to the nail and surrounding skin. Even if your nails are bare, a swipe of remover clears away oils and residue so everything that follows works better.
Step 2: Soak for 5–10 Minutes
Soak your hands (or feet) in lukewarm water for five to ten minutes to soften the nails and skin. A pinch of gentle soap or salt is a nice addition. Don’t overdo the time, though – too much water exposure works against you.
Step 3: Trim Straight Across
Trim with clippers or nail scissors, cutting almost straight across, then rounding the corners just slightly. For toenails, trim straight across with no rounding to lower the risk of ingrown nails. Use the toenail clipper for toes — the tools are shaped differently for a reason, and the wrong one leads to uneven or painful cuts.
Step 4: Shape With a Glass File
File your nails into the shape you like – square, round, almond, or a soft natural curve. Reach for a glass or crystal file rather than a rough emery board: glass leaves a smoother, sealed edge and is far less likely to cause the tiny tears that turn into splits and flaking. File gently and in one direction.
Step 5: Care for Your Cuticles (Don’t Cut Them)
Resist the urge to cut your cuticles – dermatologists are firm on this, because cuticles protect the nail’s growth area from bacteria and infection. Instead, dab on a little cuticle remover or oil, let it soften the skin for a minute, then gently push the cuticles back with a wooden stick. Easy pressure only; this should never hurt.
Step 6: Buff Lightly, Then Moisturize
If your nail surface is uneven or dull, a light buff can smooth it and help polish stick – but go easy, since over-buffing thins and weakens the nail. Then moisturize generously: massage cuticle oil into each nail and follow with hand cream. This is the step that keeps nails flexible and cuticles from drying out.
Step 7: Polish (Optional)
If you want color, start with a base coat to prevent staining and help everything adhere. Apply your color in thin coats — one to three depending on the shade – letting each dry before the next, since thick polish peels easily. Finish with a top coat to seal it and fight chipping, swiping a little along the free edge of each nail to “cap” the tip.
FAQs
When's the best time to do my nails?
Right after a shower or bath, when nails and cuticles are soft and easy to work with. Avoid trimming nails when they’re bone dry and brittle.
How long does the whole routine take?
About 15–20 minutes without polish, or 30–40 with polish and drying time. The care steps themselves are quick – it’s the drying that takes patience.
Do I really have to leave my cuticles alone?
Yes. Pushing them back gently is fine, but cutting them removes a natural barrier against infection. It’s the single most agreed-upon piece of nail advice from dermatologists.
Acetone or non-acetone remover?
Non-acetone is gentler and less drying for routine use. Acetone removes stubborn or glitter polish faster but dries out the nail, so save it for when you need it.
Final Thoughts
A weekly routine plus a few daily habits is really all it takes to keep your nails healthy without ever booking a salon. Soak, trim, shape, tend the cuticles, buff lightly, moisturize, and protect — then let consistency do the rest.
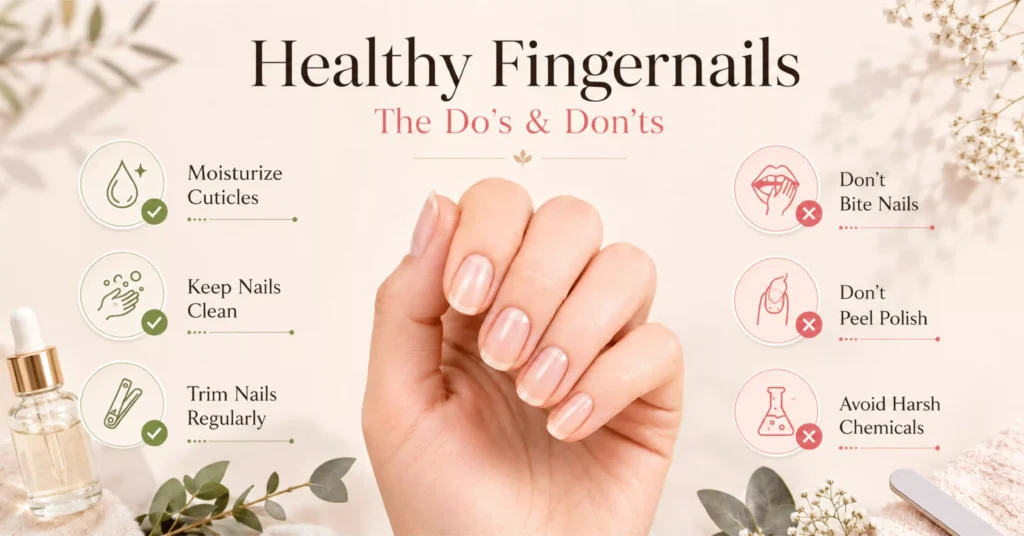
For more, see our do’s and don’ts of nail care, our dermatologist-approved tips for stronger nails, and our guide to caring for your specific nail type.
This article is general information, not medical advice. See a board-certified dermatologist for any nail change that concerns you.