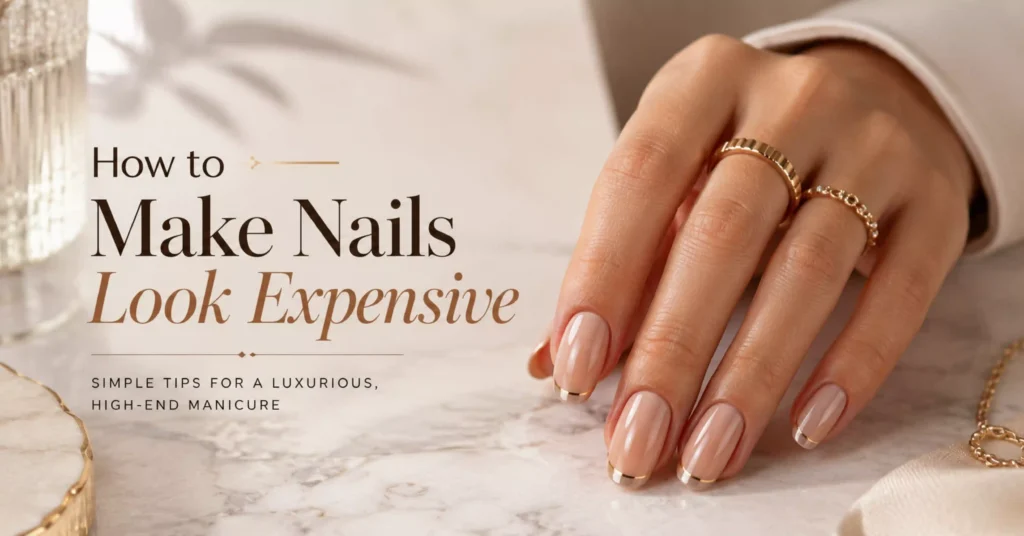
I used to think expensive-looking nails came from the salon and the price tag. Then I started paying attention to what the good manicurists actually did, and realized most of it was prep and finish – things I could copy at home for the cost of a couple of bottles.
This guide walks through exactly how to make your nails look expensive at home: the shape, the prep, the colors that punch above their price, the drugstore dupes, and the upkeep. Skip to whatever you need.
What Makes Nails Look Expensive?
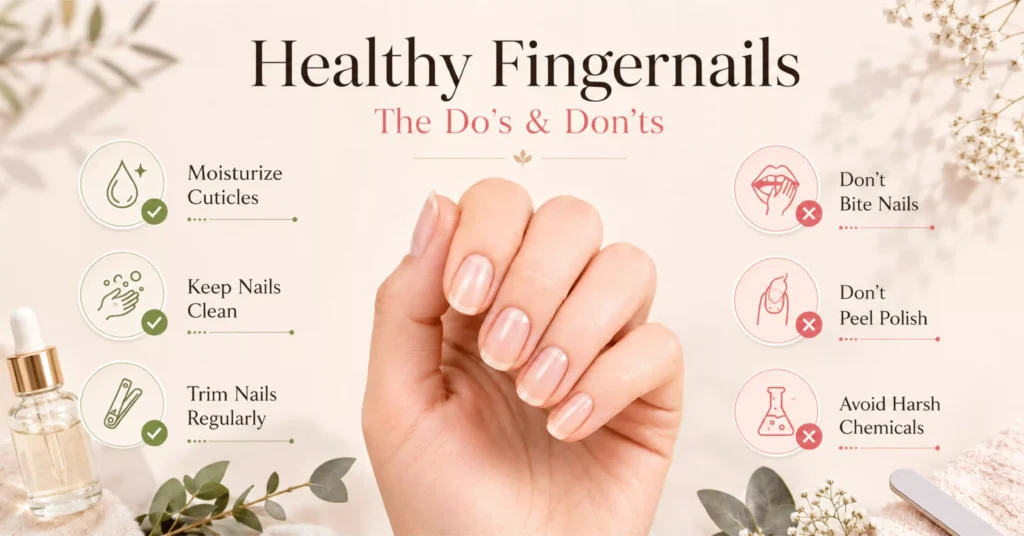
Nails look expensive when they’re well-shaped, smooth, and glossy, with clean cuticles and a flawless even color. It has very little to do with how much the polish cost. A cheap bottle applied carefully over good prep looks pricier than an expensive one slapped on in a rush.
The two cues people read as “expensive” are a healthy shine and obvious care – neat edges, no chips, hydrated skin.
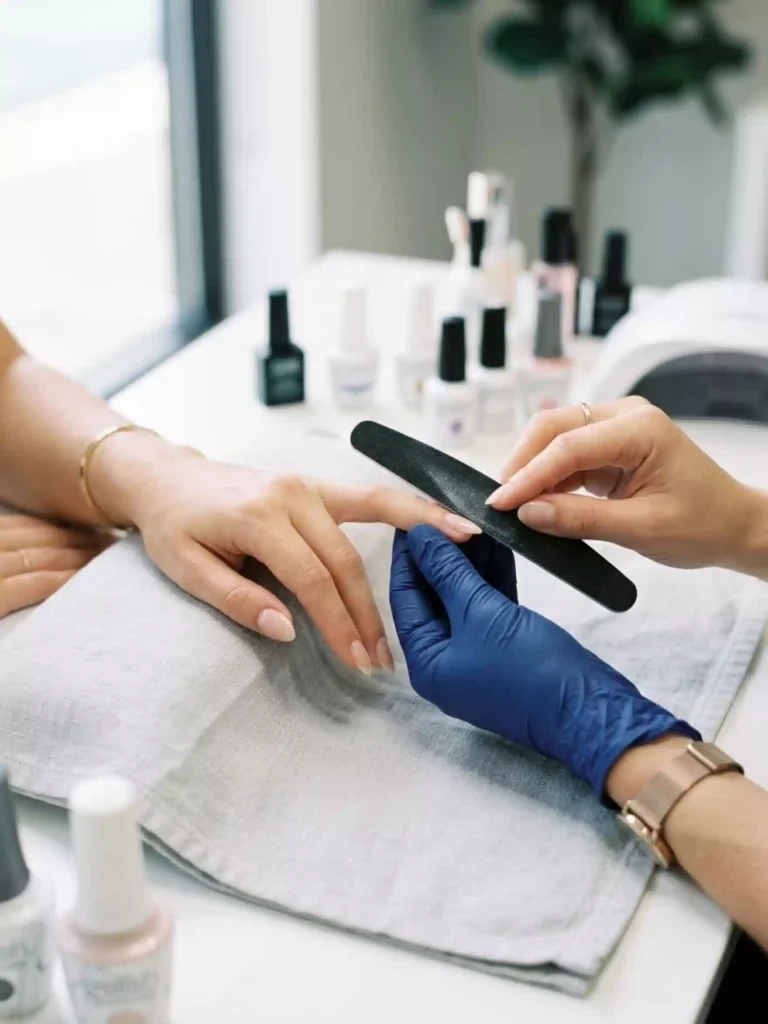
Start With the Shape
The shape sets the tone before any color goes on. A clean, symmetrical shape – almond or oval for most people – instantly looks intentional.
Best for: every manicure, no exceptions.
Cost: the price of a good file.
Don’t skip: filing all ten to match, checking symmetry from above.
File in one direction toward a soft point or round, and keep the ten consistent. Uneven shapes are the fastest giveaway of a home job.
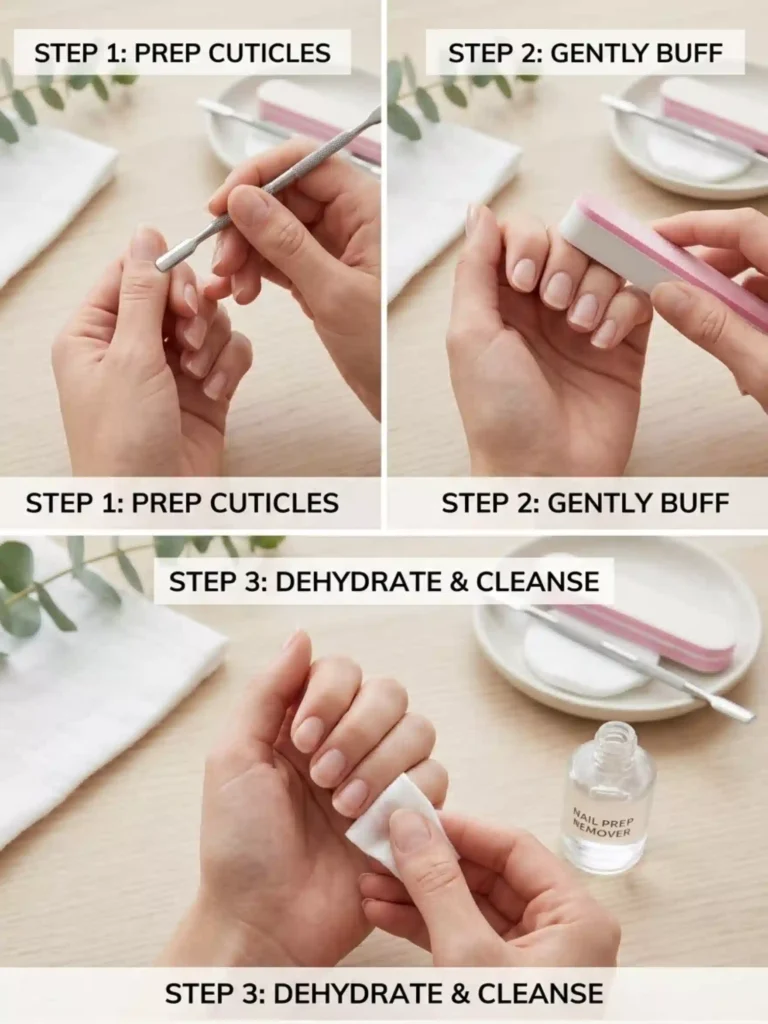
Prep Like the Pros
Prep is the invisible step that makes everything else look better. Clean, buffed nails hold polish evenly and longer.
Best for: longevity and a smooth finish.
Cost: low – a cuticle pusher and buffer.
Don’t skip: pushing back cuticles and a light surface buff.
Push back (don’t cut) your cuticles, lightly buff away shine so polish grips, and wipe the nail with remover to remove oils before you start.
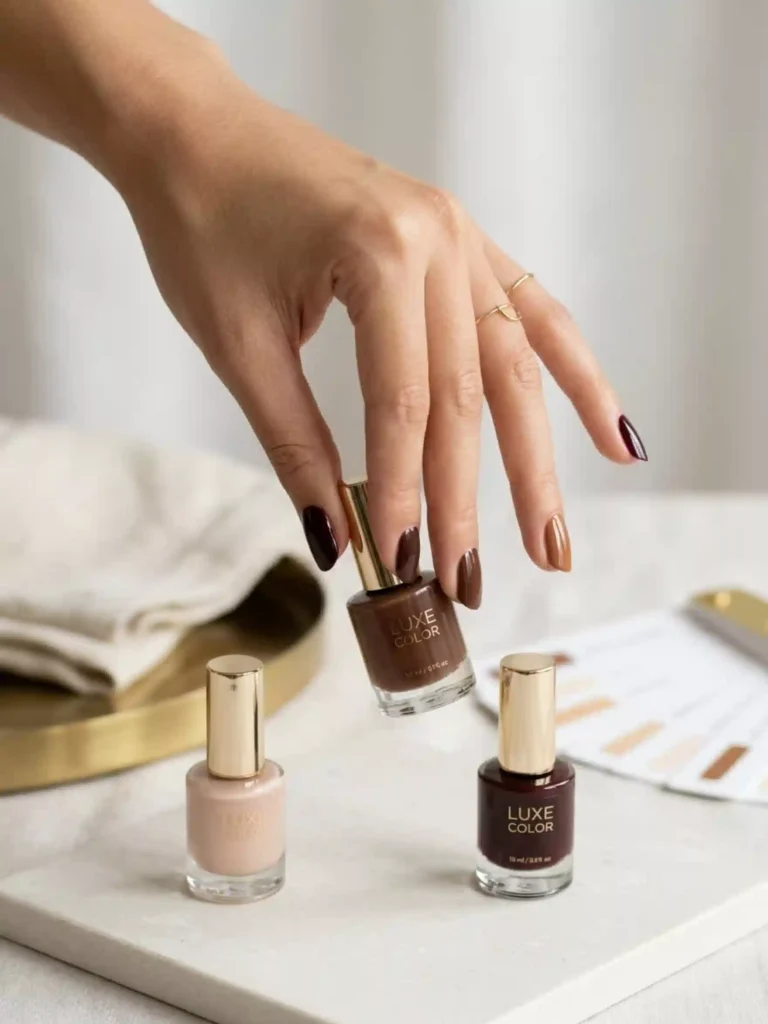
Choose Colors That Look Expensive
Some shades read pricey no matter the brand. Rich neutrals, deep jewel tones, and milky sheers all punch above their cost.
Best for: an instant luxe look.
Cost: one or two well-chosen bottles.
Don’t skip: matching the shade to your undertone.
Chocolate brown, burgundy, caramel, milky nude, and dark cherry are reliable winners. For matching a shade to your skin, see the skin-tone color guide.
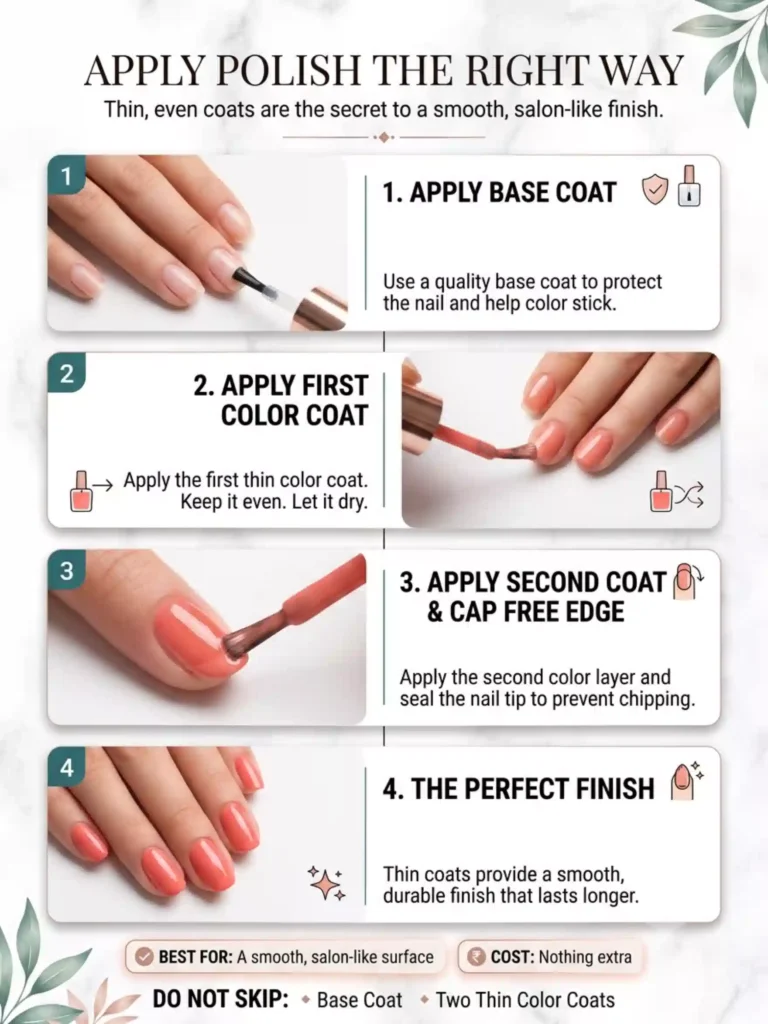
Apply Polish the Right Way
Application is where most home manicures go wrong. Thin, even coats are the whole secret.
Best for: a smooth, salon-like surface.
Cost: nothing extra.
Don’t skip: the base coat and two thin color coats.
Use a base coat, then two thin coats of color rather than one thick one, and cap the free edge by swiping polish along the tip. Thin layers dry smoother and chip less.
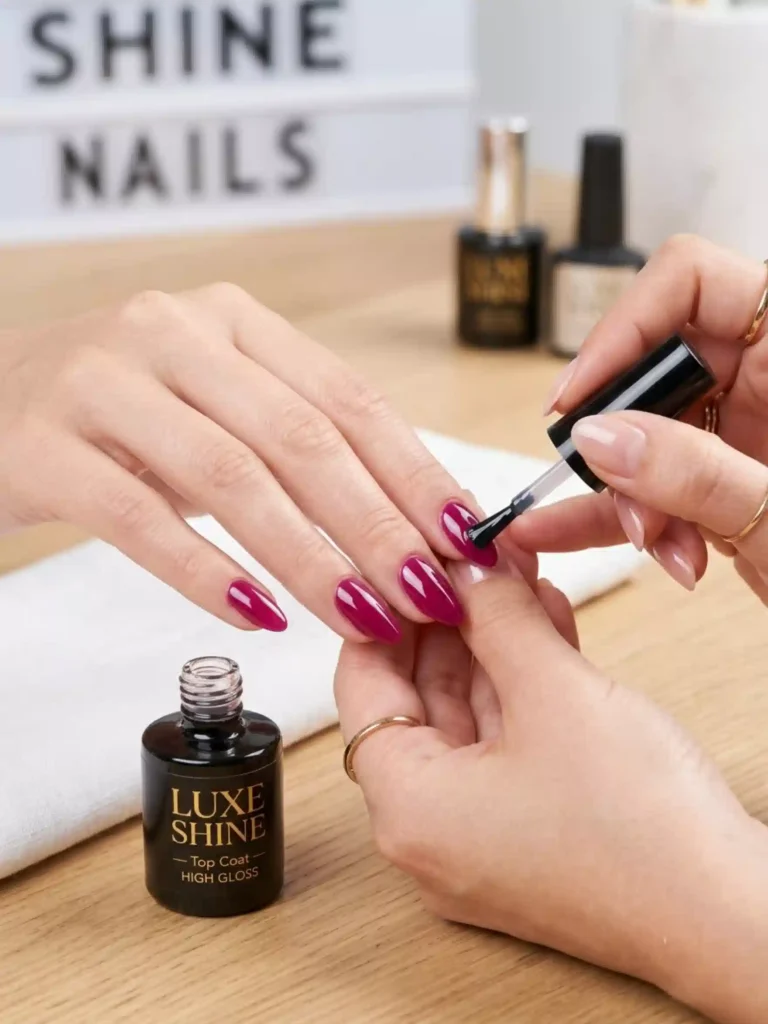
Finish for Shine
The top coat is the single most “expensive-looking” step. Glossy mimics the healthy-nail shine people associate with luxury.
Best for: the final luxe finish.
Cost: one good top coat.
Don’t skip: a quality glossy (or deliberate matte) top coat.
A glass-like top coat makes any color look richer. For specific looks, a matte or chrome top coat changes the whole feel.
Drugstore Dupes That Punch Above Their Price
You don’t need luxury polish to get the look. A few smart swaps do the job:
- A gel-effect top coat gives drugstore polish that thick, glossy gel shine.
- Chrome powder (a few dollars) turns any base into a glazed, expensive finish.
- A quick-dry top coat prevents smudges that ruin a home manicure.
- A nude matched to your undertone reads custom, even from the drugstore.
- Cuticle oil is the cheapest upgrade – hydrated skin makes the whole hand look cared-for.
How to Keep Them Looking Fresh
Expensive-looking nails stay that way with upkeep, since a single chip undoes the effect. Reapply a thin top coat every two or three days to refresh shine and protect the edges. Wear gloves for dishes and cleaning, keep cuticle oil by the sink, and avoid using your nails as tools. If you wear gel, soak it off rather than peeling to protect the natural nail.
Common Mistakes That Make Nails Look Cheap
- Skipping the top coat. Flat, shineless color is the biggest cheap-looking giveaway.
- Uneven or mismatched shapes. File all ten to match before painting.
- Flooding the cuticles. Leave a tiny gap around the skin; polish on the cuticle looks messy.
- Thick, gloopy coats. Two thin coats beat one thick one every time.
- Dry, ragged cuticles. Oil and hydration matter as much as the polish.