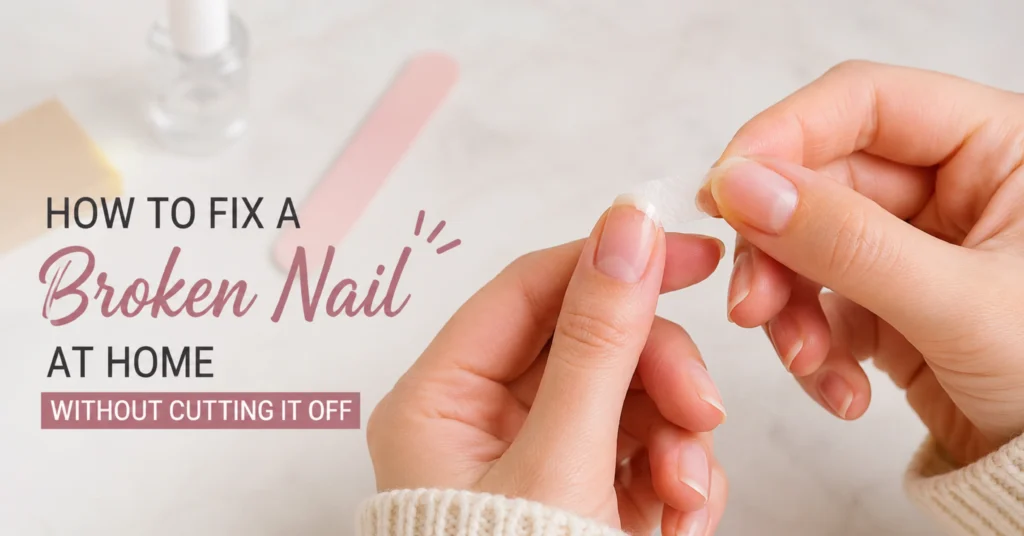
It always happens at the worst moment. Mine broke reaching into the dryer two days before a wedding – a sickening horizontal crack halfway down the nail, deep enough to sting, on a set I’d spent six weeks growing. My first instinct was to cut all ten short and mourn. My second, better instinct was the tea bag trick a nail tech had once shown me – and that nail made it to the wedding fully intact.
A broken nail isn’t always a lost nail. If the crack hasn’t gone all the way through, you can usually patch it, reinforce it, and let it grow out safely. Here’s how to assess the break, the famous tea bag repair step by step, and the honest signs that a nail does need to come off.
First, Figure Out What Kind of Break You Have
How you fix a broken nail depends on where and how deep it broke. A surface crack that hasn’t gone through the nail just needs sealing and protection. A partial tear – cracked through, but the piece is still attached – is the classic candidate for a patch repair. A break into the pink (the nail bed area), where it’s painful or bleeding, needs gentleness first: this is more first-aid than manicure.
And a clean full break at the free edge, where the piece is gone? That one, honestly, just gets filed smooth and grown out. No patch can reattach a piece that’s already in the dryer lint trap.
What You Need for the Tea Bag Repair
The beloved tea bag method reinforces a cracked nail with a tiny fiber patch — the same idea as a silk wrap at the salon, using things already in your kitchen:
- A tea bag (emptied) or a paper coffee filter – cut a patch slightly smaller than your nail, big enough to cover the crack generously.
- Clear base coat or clear polish – this is your adhesive.
- A fine file and a gentle buffer – for smoothing before and after.
- Small scissors and tweezers – for cutting and placing the patch.
- Optional: nail glue for a stronger version of the same repair.
That’s it. The whole fix takes about ten minutes.
How to Fix a Broken Nail with a Tea Bag: Step by Step
- Clean the nail and remove any polish gently – no aggressive swiping across the crack. Make sure the nail is completely dry.
- Cut a patch from the empty tea bag, sized to cover the crack with a small margin on every side.
- Paint a layer of clear polish (or a dot of nail glue) over the crack area.
- Place the patch onto the wet polish with tweezers and gently smooth it flat, pressing out wrinkles so it hugs the crack. Let it dry fully.
- Seal the patch with two more thin layers of clear polish, letting each dry, until the fibers disappear into the surface.
- Buff very lightly over the patched area once dry, just to level any edges – then finish with base coat and color if you like. Polish hides the repair completely.
The patched nail isn’t invincible, but it’s shockingly sturdy – strong enough to protect the crack for one to two weeks while the nail grows. Refresh the top layer of clear polish every few days, and redo the patch if the edges start lifting.
The Nail Glue Method for Bigger Breaks
For a tear that flexes when you press it, glue adds real structure. Apply a small drop of nail glue directly into and over the crack, gently press the nail together in its natural position, and hold for thirty seconds. Once set, buff the surface smooth, then add the tea bag patch on top for reinforcement, sealing with clear coats as above.
Glue-plus-patch is essentially a DIY version of a salon silk wrap, and it can carry a serious break for weeks. One warning: use actual nail glue, and keep it off your skin – and never glue a break that’s bleeding or throbbing.
How to Handle a Break That’s Into the Skin
If the break reaches the nail bed – painful, pink exposed, maybe bleeding – put the repair kit down. Clean the area gently with mild soap and water, apply a plain antibiotic ointment if the skin is broken, and protect the nail with a bandage for a day or two until tenderness fades.
Once it’s calm and sealed, you can do a gentle patch over the stable part of the nail to shield it while it grows. But glue, acetone, and buffing have no place on an open or painful break – infection risk isn’t worth saving a manicure. If you see swelling, pus, or worsening pain, have a doctor look at it.
When You Really Should Just Cut It
Sometimes the kindest fix is the file. Cut or file the nail down when the break is a clean loss at the free edge, when a patched crack keeps re-splitting, or when the break sits so low that daily flexing will keep tearing it deeper. A short, smooth nail grows out cleanly; a repeatedly re-torn one can split all the way down and take months to recover.
If one nail goes short, you don’t have to sacrifice the other nine – but shaping them slightly rounder while the short one catches up makes the difference less noticeable.
How to Stop Nails Breaking in the First place
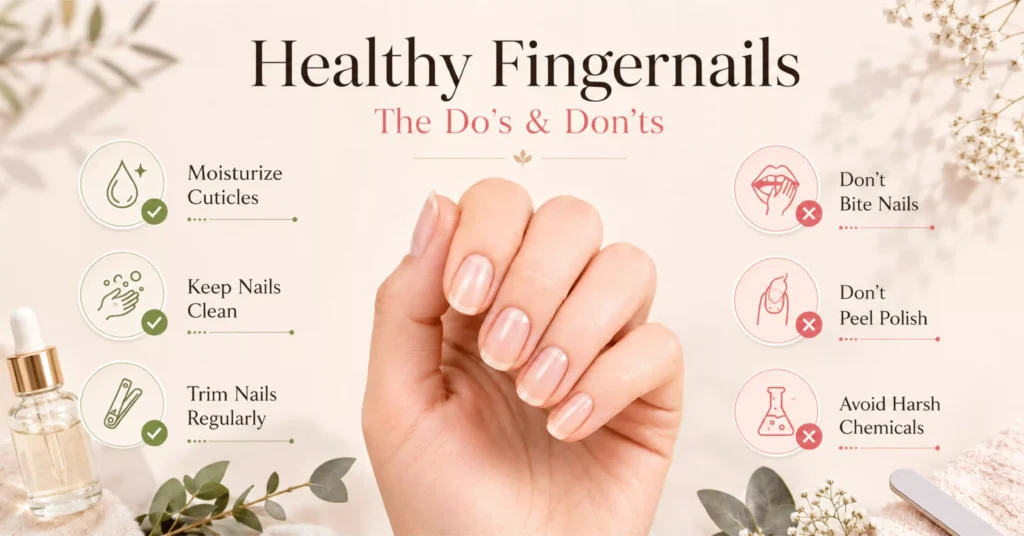
Most breaks trace back to the same few causes: dry, brittle nails that snap instead of bending; long thin tips with sharp corners that catch; and using nails as tools. Daily cuticle oil keeps nails flexible, a round or squoval shape removes the snag points, filing in one direction keeps edges sealed, and gloves for dishes prevent the swell-and-shrink cycle that weakens nails.
None of that helps the nail that broke this morning – but it’s why your next set survives the dryer.
FAQs
How long does a tea bag nail repair last?
Typically one to two weeks with a clear-coat refresh every few days – usually enough for the crack to grow past the danger zone or to bridge you to a salon visit.
Can a cracked nail heal itself?
No – nails are keratin, not living tissue, so a crack never fuses back together. Repairs hold the crack stable while new, intact nail grows up from the base to replace it.
Should I put gel or acrylic over a broken nail?
A salon can reinforce a stable crack with gel or a silk wrap, and it works well. Skip it if the break is painful or reaches the skin – sealing product over an injured nail bed can trap trouble underneath.
What if my nail broke really low, into the pink part?
Treat it as a small wound first: clean, protect, and let the tenderness settle before any cosmetic repair. See a doctor if there’s significant bleeding, swelling, or signs of infection – that matters more than the manicure.
Final Thoughts
A broken nail feels like a small disaster, but it’s usually a ten-minute fix: assess the break, patch what’s stable, protect what hurts, and let growth do the slow part. The tea bag in your kitchen has rescued more manicures than any product I own.
Save this one for the moment you’ll inevitably need it — probably reaching into a dryer, two days before something important.