
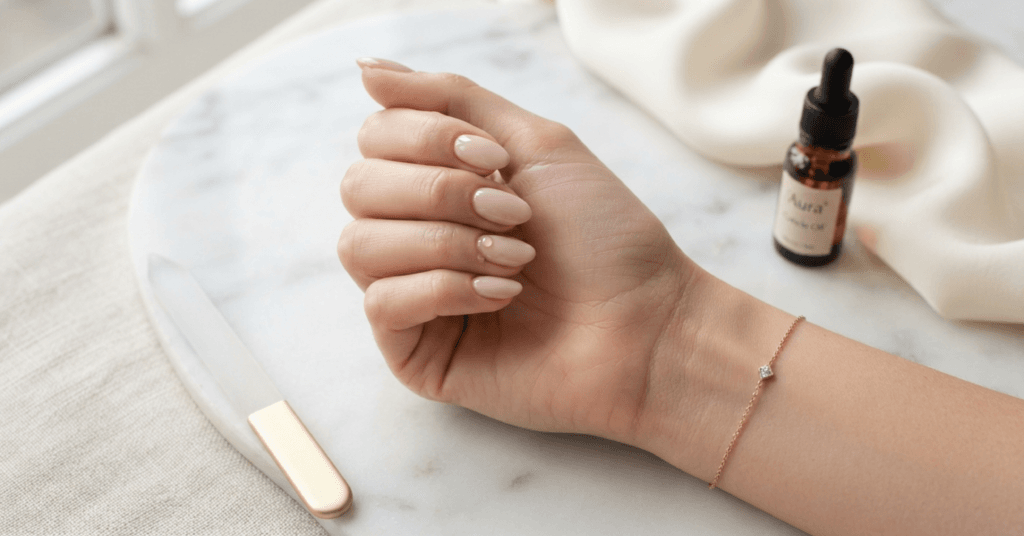
I used to think I was cursed. I’d spend a full hour on a careful at-home manicure, admire it under every light in the house, and by day two there would be a chip on my right index finger. Always the same finger. It took me embarrassingly long to figure out that the problem wasn’t bad luck or cheap polish — it was a handful of small habits I was getting wrong before, during, and after painting.
Once I fixed those habits, my regular polish started lasting a full week, sometimes longer, without a single chip. This guide walks you through everything that actually made the difference: how to prep your nails, how to apply polish so it bonds instead of peels, and the daily nail care habits that quietly protect your manicure. Feel free to skip to the section you need most.
Why Does Nail Polish Chip So Fast?
Nail polish chips because it loses its grip on the nail plate – usually from oil left on the nail before painting, coats applied too thick, an unsealed nail tip, or repeated contact with hot water. Your nails also flex and swell slightly throughout the day, and dried polish doesn’t flex with them. When the bond between polish and nail is weak, that constant tiny movement is enough to crack the color, and almost every chip starts at the tip, where your nails take the most impact.
That’s the whole battle in one paragraph: better adhesion, thinner layers, a sealed edge, and less water exposure. Every tip below serves one of those four goals.
Start With a Squeaky-Clean, Dry Nail Plate
A long-lasting manicure starts with a nail surface that has zero oil, lotion, or moisture on it. Polish is basically paint, and paint won’t stick to a greasy wall.
Wash your hands, then swipe each nail with rubbing alcohol or a bit of white vinegar on a cotton pad right before you paint. This removes the natural oils your skin produces constantly – even if your nails look clean. I skipped this step for years because it felt unnecessary, and it turned out to be the single biggest reason my polish peeled off in sheets.
One important rule that surprises people: this is the one time your nails should be dehydrated. Skip the hand cream and cuticle oil on manicure day. Moisture and oil are wonderful for nail health, but they belong after your polish is done, never before.
Push Back Your Cuticles (Gently)
Polish painted over cuticle skin will lift within a day or two, and that lifted edge becomes the starting point for a chip. After a warm shower or a short soak, use a soft wooden stick to gently nudge your cuticles back so you’re painting on a clean nail only.
Leave a hair-thin gap between your polish and the skin all the way around. It feels counterintuitive — you’d think more coverage means more protection – but polish that touches skin gets pulled and lifted every time your skin moves. A tiny margin keeps the edges sealed and, as a bonus, makes grow-out far less obvious.
Never Skip the Base Coat
A base coat is the primer of your manicure: it fills in tiny ridges, gives your color something grippy to hold onto, and stops pigmented polish from staining your nails yellow. If your polish routinely peels off in one satisfying-but-tragic sheet, a missing base coat is almost always the reason.
If your nails are naturally soft or bendy, choose a strengthening base coat. Flexible nails are one of the sneakiest causes of chipped nail polish, because the nail bends and the rigid polish on top simply can’t.
Paint Thin Coats – and Actually Wait Between Them
Two or three thin coats of polish will always outlast one thick coat. Thick polish looks dry on the surface while staying soft underneath, and that soft layer dents, smudges, and peels.
Load the brush lightly and aim for three strokes per nail: one down each side, one down the middle. Then wait a full two minutes before the next coat. I put on an episode of something so I’m not tempted to rush – impatience between coats has ruined more of my manicures than anything else on this list.
Cap the Free Edge (the Step Most People Miss)
Capping the free edge means running your brush horizontally across the very tip of your nail with each layer — base coat, color, and top coat. This seals the exposed edge where nearly every chip begins.
Think about what your nail tips go through in a day: typing, opening packages, digging through a bag. That edge takes constant micro-impacts, and unsealed polish there is like wallpaper with a loose corner – once it starts lifting, it doesn’t stop. Give your thumb and index finger an extra swipe, since they chip first for almost everyone.
Finish With a Quality Top Coat – Then Keep Reapplying It
Your top coat is the armor of the whole manicure, so this is the one product worth spending real money on. A good chip-resistant top coat adds shine, hardens the surface, and shields the color underneath from scratches and wear.
Here’s the part most people don’t know: top coat is not a one-and-done step. Reapply a thin layer every two to three days. This single habit can double the life of a manicure, because you’re refreshing the protective layer before wear ever reaches your color. It takes three minutes and makes a week-old manicure look freshly done.
Respect the First 24 Hours
Nail polish feels dry within the hour, but it keeps hardening for a full day. During that window it’s still soft enough to dent, imprint, and lift – which is why a manicure that “chipped overnight” usually didn’t chip at all; it got damaged before it finished curing.
For the first 24 hours, avoid long hot showers, don’t soak in the bath, and skip the dishes if you possibly can. I like to paint my nails in the evening after everything is done for the day, so the polish gets a quiet overnight stretch to harden. If you need speed, finish with a drop of quick-dry oil, and always dry your nails with cool air — heat keeps polish soft instead of setting it.
Keep Hot Water Away From Your Manicure
Water is the quiet enemy of a chip-free manicure. Your nails absorb water and swell, then shrink as they dry – and your polish cracks trying to keep up with all that movement. Hot water and harsh detergents make it worse by softening the polish itself.
You don’t have to avoid washing your hands, obviously. Just wear rubber gloves for dishes, cleaning, and anything involving a long soak, and keep your hands out of the water during baths. Of everything in this guide, gloves are the least glamorous tip and possibly the most effective one.
Hydrate Daily – After the Manicure, Not Before
Once your polish has fully set, cuticle oil and hand cream become your manicure’s best friends. Dry, brittle nails flex and crack more, and dry cuticles snag and lift polish at the edges. A drop of cuticle oil massaged in each night keeps everything flexible and healthy underneath the color.
I keep a small bottle of jojoba oil next to my toothbrush so it’s impossible to forget. Since starting that habit, my nails break less, my polish wears down gracefully instead of chipping, and my grow-out looks tidier too.
Use Your Fingerpads, Not Your Nails
Your nails are jewels, not tools – and most chips come from moments we don’t even notice. Peeling off a sticker, popping open a soda can, picking at tape, scraping something off the counter: each one is a tiny hammer blow to the free edge of your polish.
Train yourself to use the pads of your fingers for typing and phone-tapping, and reach for actual tools (scissors, a spoon handle, a letter opener) for everything else. It feels fussy for about a week, then it becomes automatic.
How to Fix a Chip Without Redoing Everything
A small chip doesn’t mean starting over. Lightly buff the chipped spot so the edge is smooth, dab a thin layer of the same color just over that area, let it dry, then seal the entire nail with top coat. Capping the free edge again while you’re at it stops the chip from spreading.
If the chip is right at the tip and your nails have some length, you can also simply file the tip down past the chip and re-seal. Whatever you do, don’t pick at it – peeling polish almost always takes layers of your natural nail with it, and that damaged surface makes your next manicure chip even faster.
Common Mistakes That Shorten a Manicure
- Shaking the polish bottle. Shaking creates air bubbles that burst into weak spots. Roll the bottle between your palms instead.
- Applying oil or lotion right before painting. Even a trace of oil breaks the bond between polish and nail. Prep dry, moisturize later.
- Filing back and forth like a saw. This frays the nail edge and invites peeling. File gently in one direction only.
- Painting thick coats to finish faster. Thick polish stays soft underneath and peels within days. Thin coats, every time.
- Ignoring the top coat after day one. A top coat wears down like shoe soles. Refresh it every few days instead of waiting for chips.
FAQs
How long should a regular manicure last without chipping?
With good prep, thin coats, a capped edge, and a refreshed top coat, regular nail polish can last five to seven days chip-free – sometimes longer with gentle daily habits.
Why do my nails chip within a day of a manicure?
Same-day chipping almost always means oil was left on the nail, the coats were too thick, or the polish met hot water before it finished hardening in its first 24 hours.
Does a top coat really make a difference?
Yes – it’s the most protective layer of the whole manicure, and reapplying a thin coat every two to three days can roughly double how long your color lasts.
Which nail shape lasts the longest?
Rounded and oval shapes chip and snag the least because they have no sharp corners to catch on things; shorter nails also survive daily life better than long ones.
Final Thoughts
A chip-free manicure isn’t about buying twelve new products — it’s about a clean start, thin patient layers, a sealed tip, and treating your nails kindly for the days that follow. Most of these habits take seconds once they’re part of your routine.
Pick two or three tips from this guide to try with your very next manicure. My money’s on the alcohol swipe and capping the free edge — those two alone took me from two-day chips to a full week of glossy, intact color, and I have a feeling they’ll do the same for you.
Pingback: 18 New Year Nail Ideas That Outshine Every Sparkler at Midnight - TheZelovo.com