I have a rule now: nails get done before the suitcase gets packed. I learned it the hard way after a trip to the coast where I spent the whole first day staring at chipped winter burgundy polish in every beach photo. Never again.
The right spring break nails do something a little magical – they make you feel like you’re already on vacation before the plane even boards. This guide walks you through 10 spring break nail ideas that actually feel fresh, from juicy jelly tips to sea glass shimmer, plus how to make your vacation manicure survive sunscreen, sand, and pool chlorine.
Skip around to whatever catches your eye.
What Counts as a Spring Break Nail Look?
A spring break nail look is any manicure built around warmth, water, and play – think sun-washed colors, glossy finishes, tropical motifs, and designs that photograph well against sand, pools, and cocktails. The best getaway nails share three things: colors that pop in bright sunlight, a finish that hides small chips (because you will chip one on a beach chair), and a mood that says you’re officially off the clock.
Now for the fun part – the ideas.
1. Sunset Ombré With a Palm Silhouette
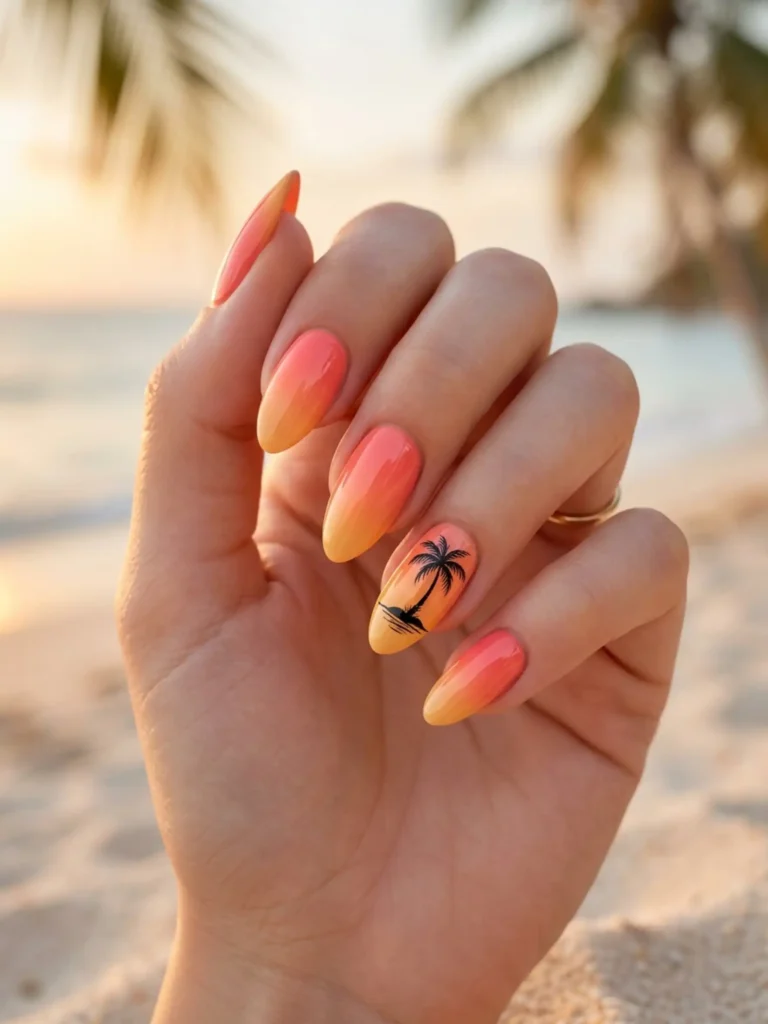
Sunset ombré nails blend coral, peach, and golden yellow from cuticle to tip, with one accent nail carrying a tiny black palm tree silhouette against the glow.
Use a damp makeup sponge to dab the colors together – it blends far better than a brush ever will. Keep the palm tree to just one or two nails so it reads as a detail, not a theme park.
Against a real beach sunset, this manicure looks almost planned by the universe.
2. Tan-Line French Tips
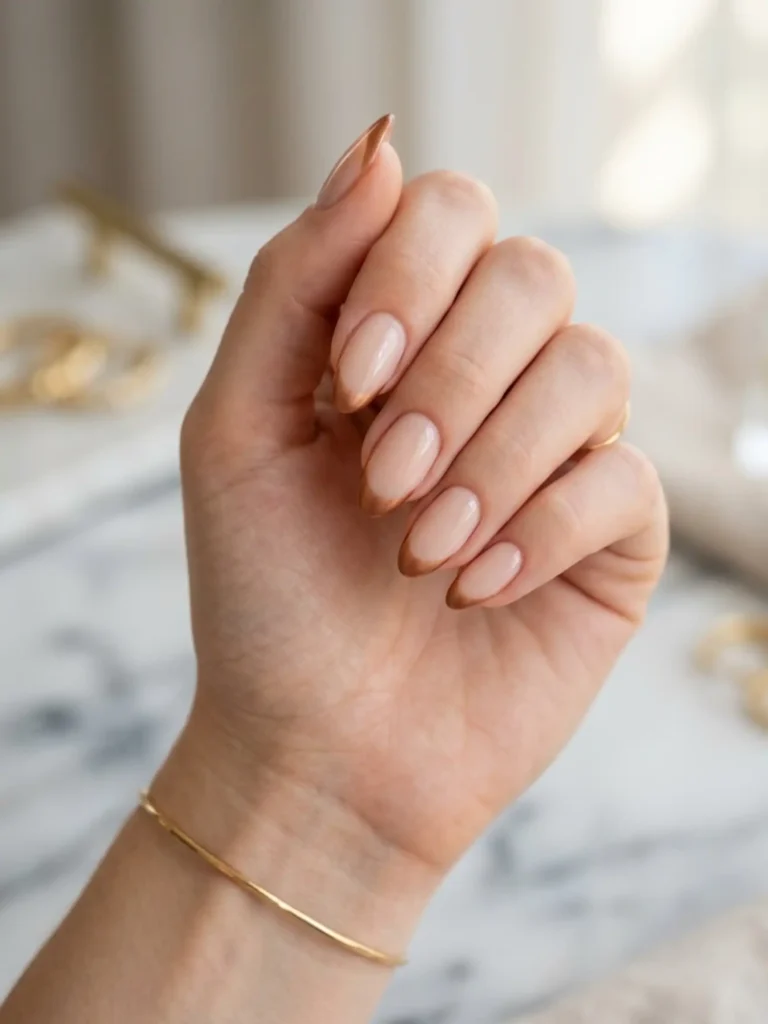
Tan-line French nails swap the classic white tip for a soft bronze one over a pale nude base, so your nails look like they caught a little sun before you did.
This is my favorite sneaky-clever idea on the list because nobody expects it. Choose a bronze that’s only two or three shades deeper than your base, and keep the smile line slightly soft rather than razor-sharp – that’s what sells the “sun-kissed” effect instead of just looking like brown tips.
3. Sea Glass Nails
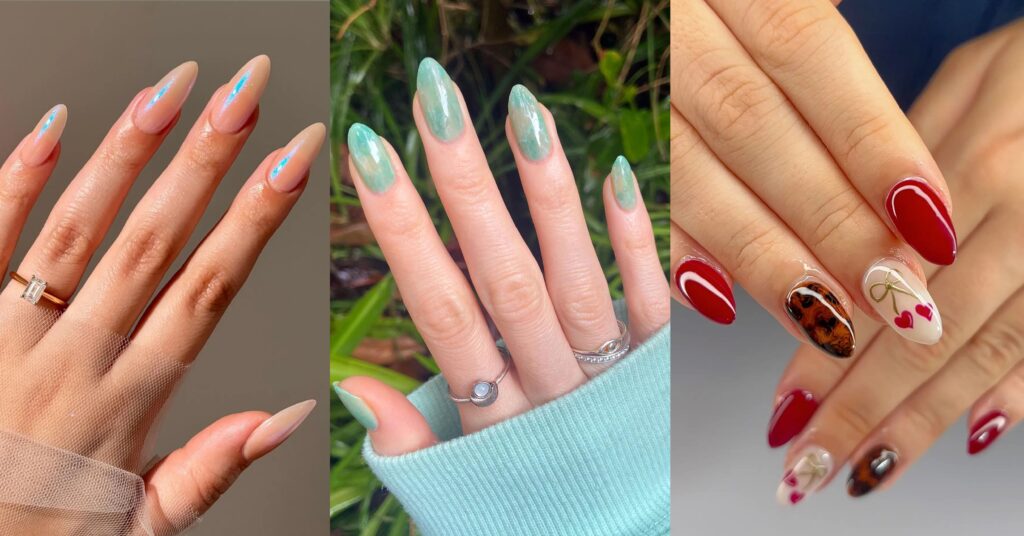
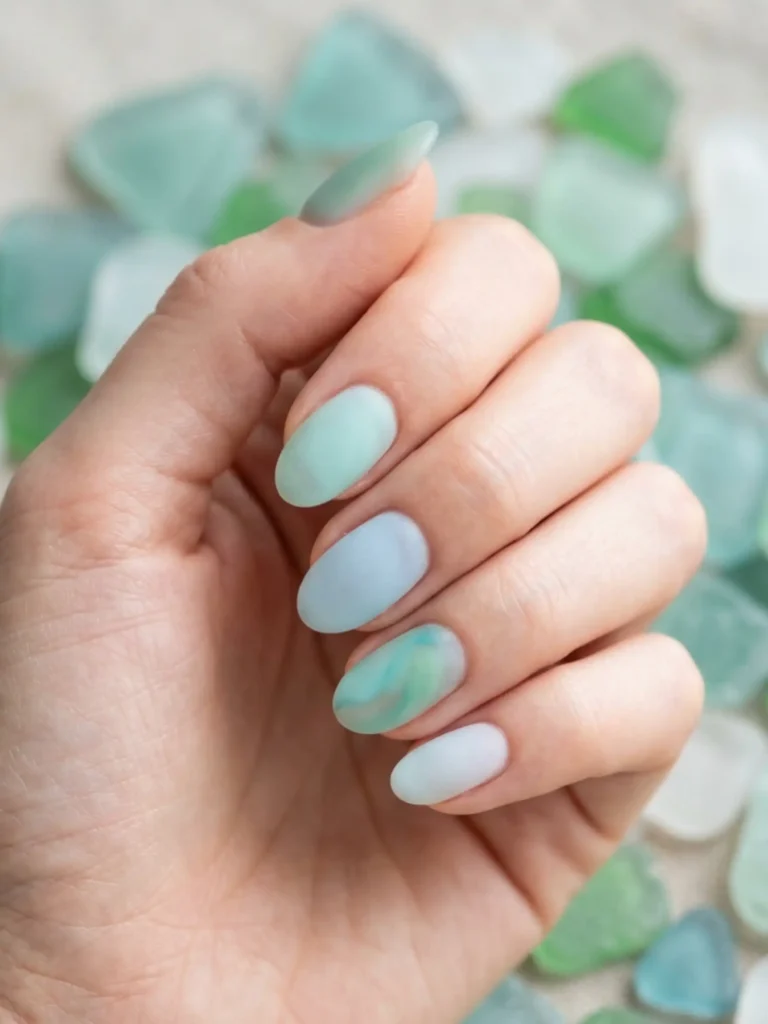
Sea glass nails use sheer, frosted layers of seafoam green, milky aqua, and pale blue for a tumbled-by-the-ocean, matte-glass finish.
The secret is a matte top coat over translucent color – that’s what creates the frosted, beach-combed texture. Mix the shades across different fingers instead of matching all ten.
If you’ve ever pocketed a piece of real sea glass on a walk, this one will make you smile every time you look down.
4. Piña Colada Swirl Nails
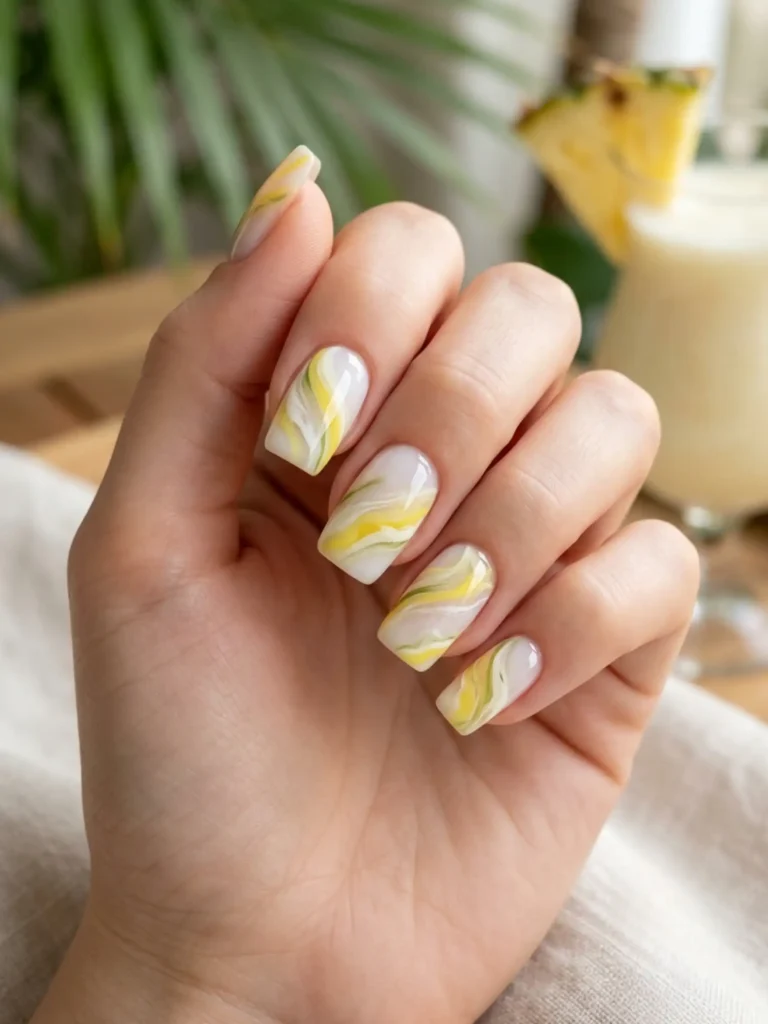
Piña colada nails swirl creamy white, pineapple yellow, and a hint of leafy green in soft marbled ribbons across a milky base.
Drop the colors on wet and drag them gently with a thin liner brush or even a toothpick. The first time I tried a swirl design I overworked it into mud, so resist the urge to keep swirling – three or four passes, then stop.
It should look like a drink being stirred, not a finished smoothie.
5. Beach Towel Stripe Nails
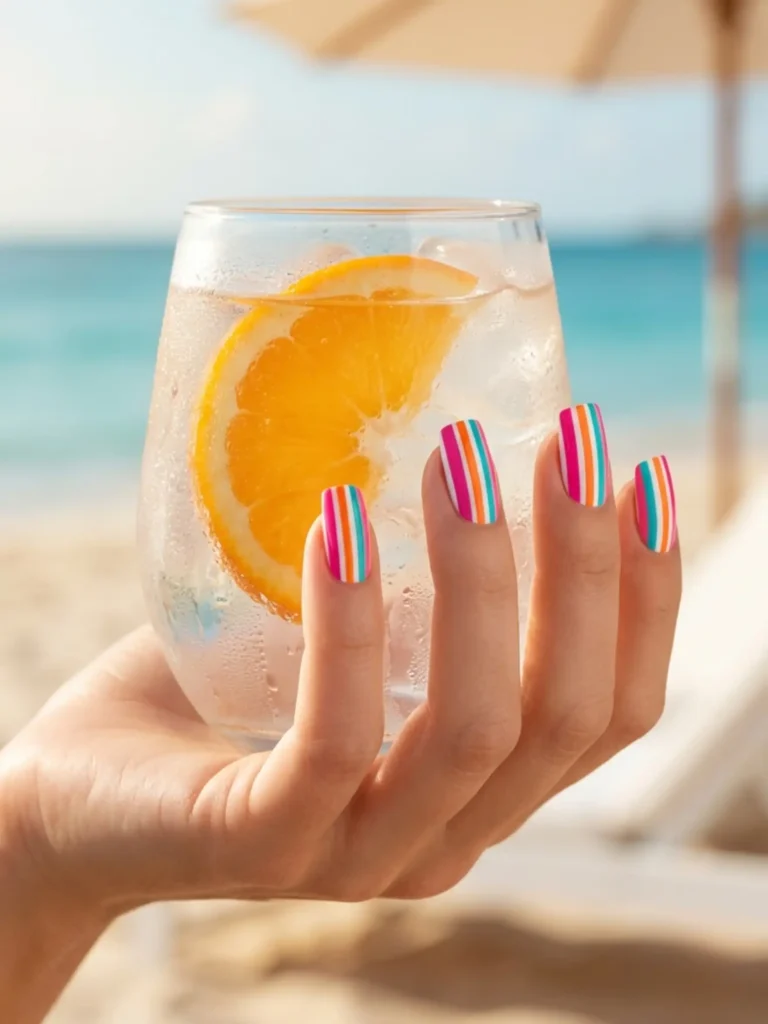
Beach towel nails run bold vertical stripes – think hot pink, orange, turquoise, and white – down each nail like a classic cabana towel.
Striping tape is your best friend here; freehanding straight lines in a moving car or hotel room rarely ends well. Vary the stripe widths a little so it feels like a real woven towel.
This design is loud in the best way and looks incredible fanned out around a cold drink.
6. Salt Water Taffy Chrome Nails
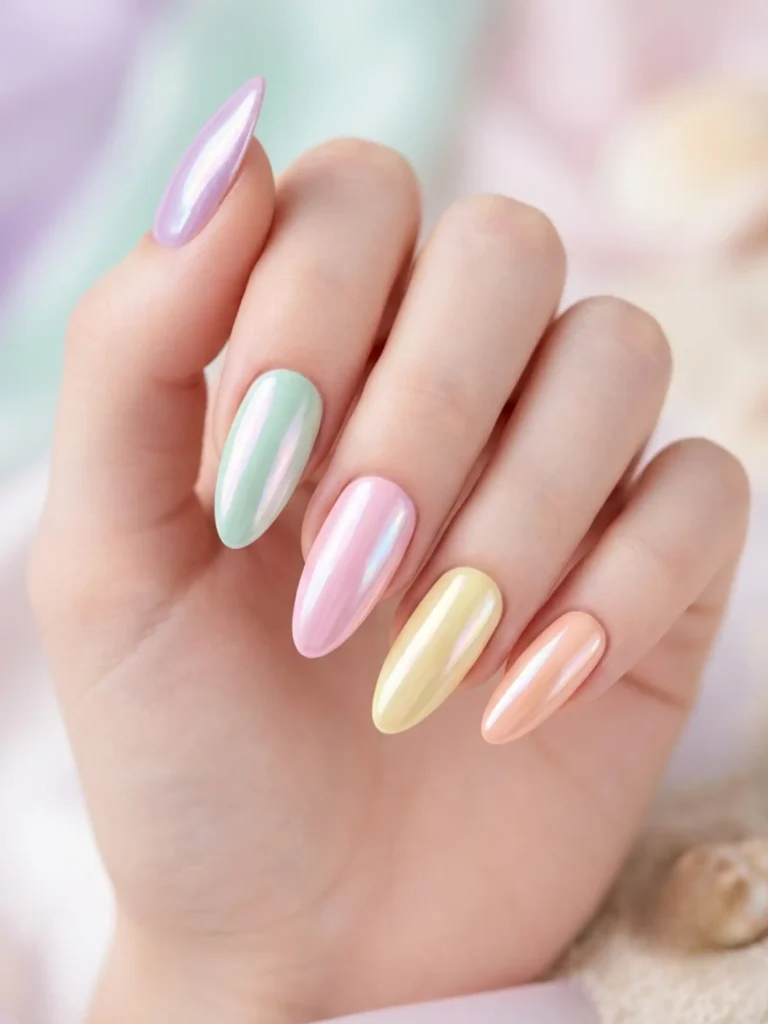
Salt water taffy nails pair soft pastel polishes – lilac, mint, baby pink, butter yellow – with a pearly chrome powder rubbed over the top for a candy-shell sheen.
Paint each nail a different pastel, then buff the same chrome powder across all ten to tie them together.
The chrome layer also happens to disguise minor chips beautifully, which makes this one of the most vacation-proof designs on this list.
7. Aperol Spritz Jelly Nails
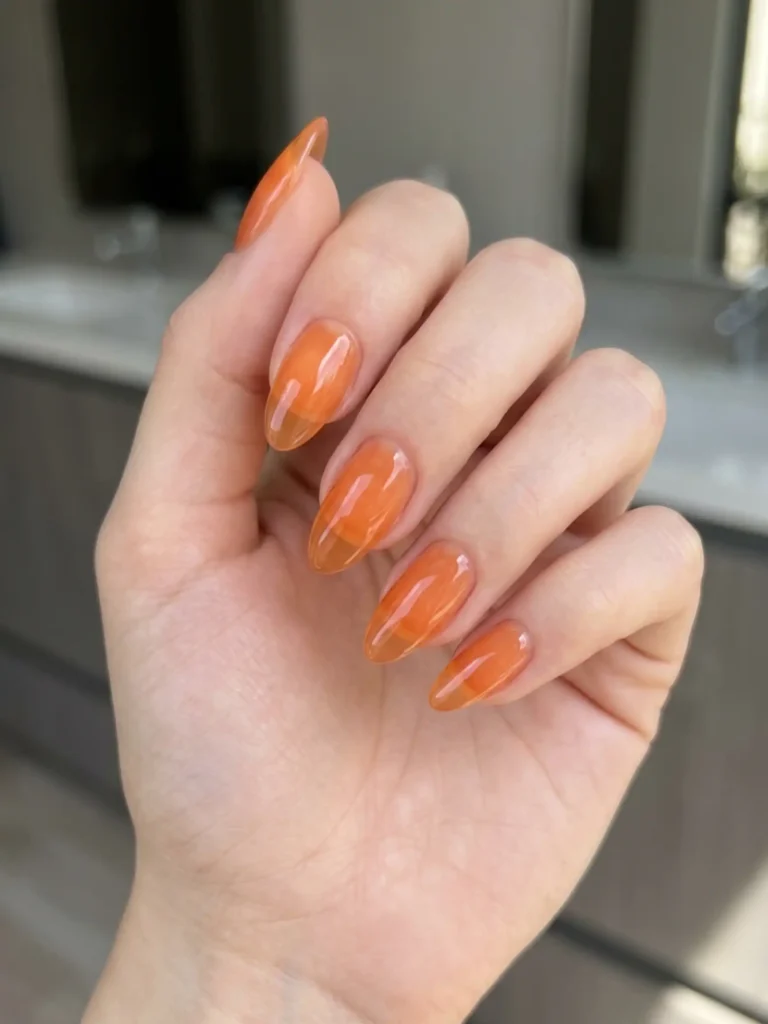
Aperol spritz nails use a sheer, glassy orange polish in thin layers so light passes through like sunlight through a spritz glass.
Jelly finishes live or die by translucency – two thin coats, never three thick ones. Add a glossy top coat for that just-poured shine.
If orange feels bold, remember that sheer orange reads far softer on the nail than it does in the bottle, and it’s stunning against tanned skin.
8. Pool Ripple Water Marble Nails
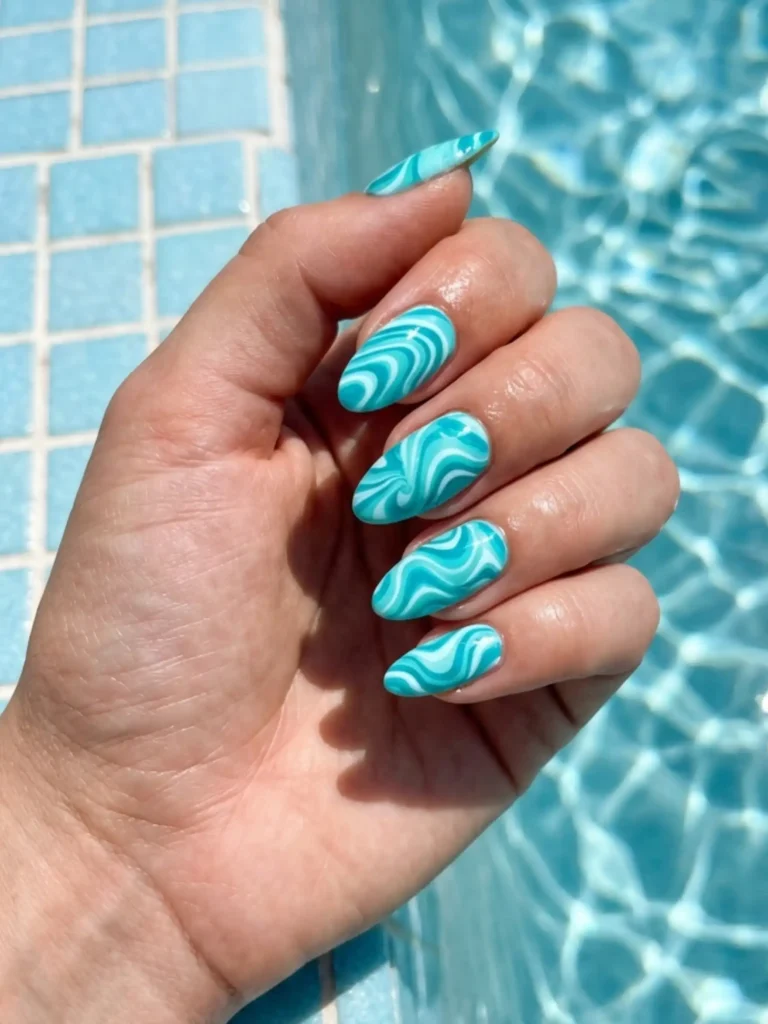
Pool ripple nails swirl two or three shades of aqua and white into wavy, light-on-water patterns that look like the bottom of a sunlit pool.
You can do a classic water marble in a cup, or cheat with the dry marble method – blob the colors on the nail and swipe once with a flat brush. Seal with high-gloss top coat; the wet-look shine is half the effect.
These photographs look unbelievably well next to actual pool water.
9. Tropical Fruit Tip Nails
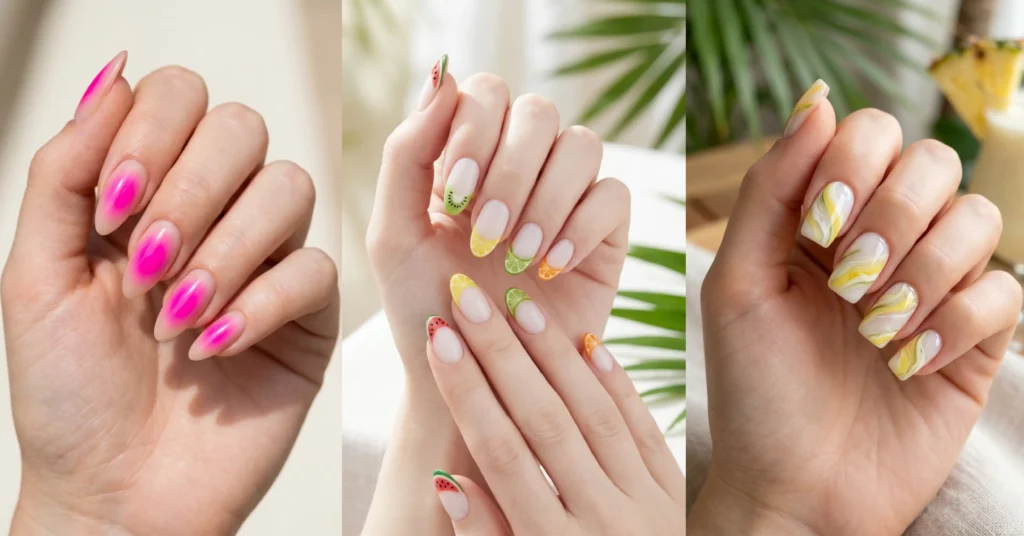
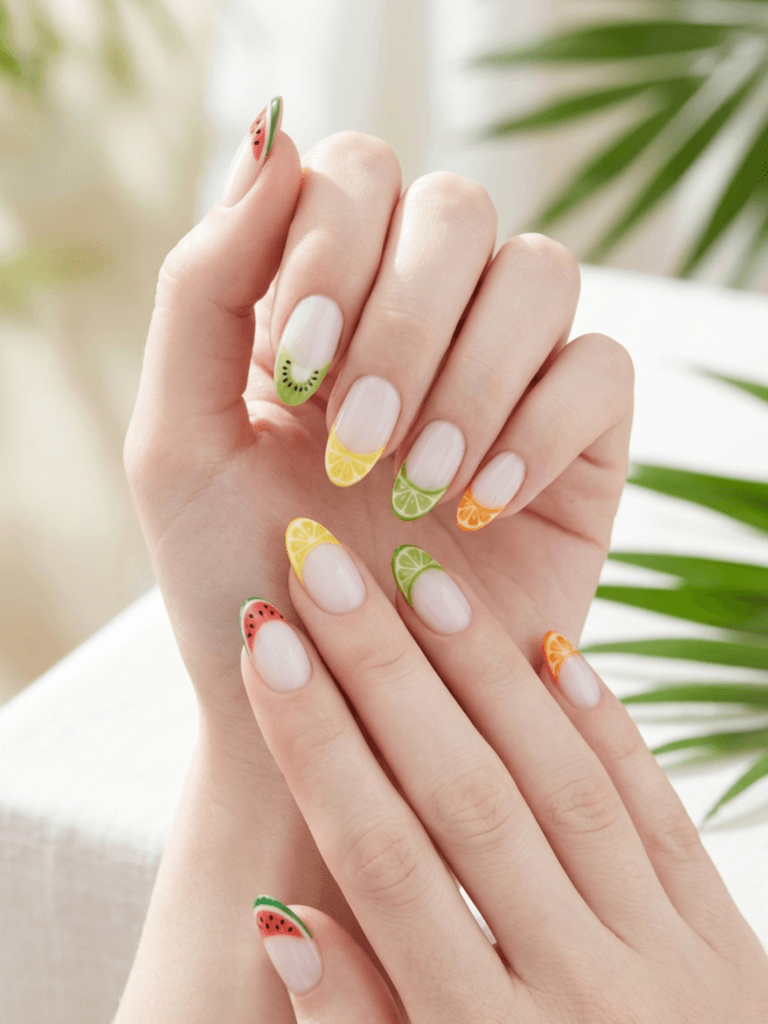
Fruit tip nails paint the free edge of each nail as a different sliver of fruit – a watermelon rind tip here, a kiwi tip there, a citrus-slice tip on the next.
Keep the fruit strictly on the tips and the rest of the nail bare or milky so it stays playful instead of busy. Tiny black dots for watermelon seeds are the detail that makes people lean in and look closer.
This one is pure joy, and kids on the trip will be obsessed.
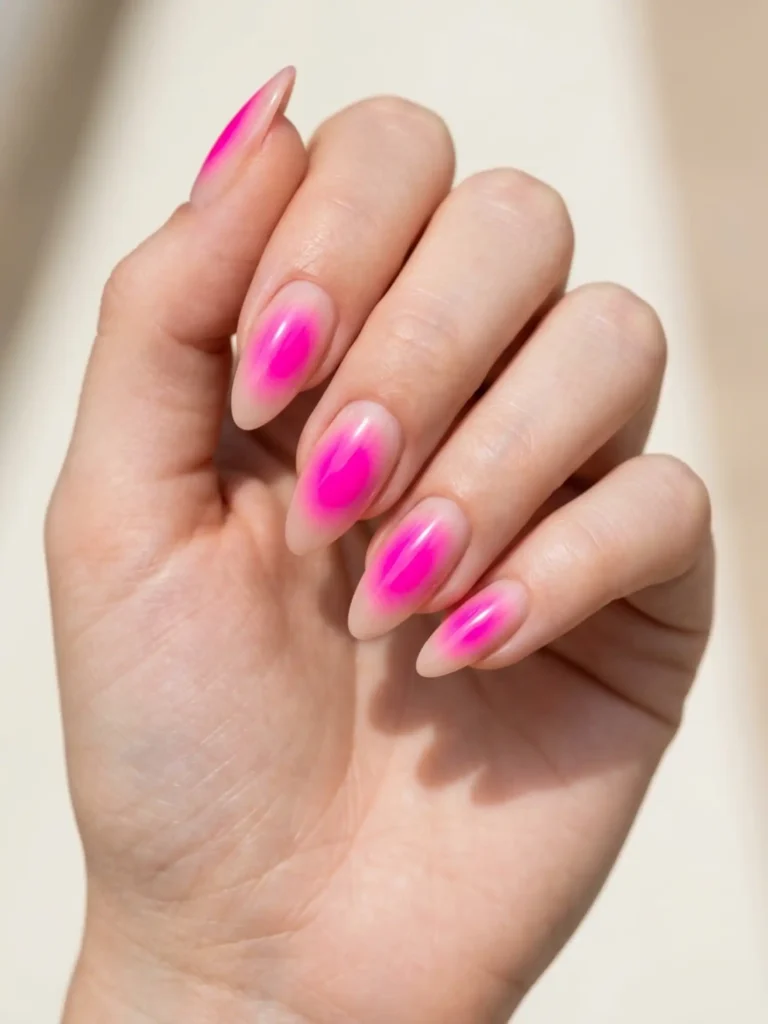
10. Neon Aura Airbrush Nails
Neon aura nails diffuse a bright pop – hot coral, lime, or electric pink – from the center of a nude nail outward in a soft, airbrushed haze.
No airbrush machine needed: sponge the neon on in light layers, concentrating color in the middle. Neons come alive under strong sun, so this design almost seems engineered for beach light.
It’s the boldest look on the list and the one that gets asked about most.
How to Make Your Spring Break Nails Last the Whole Trip
A vacation manicure faces sunscreen, salt water, chlorine, and suitcase zippers – here’s the routine that keeps it alive:
- Prep your nails properly before painting: buff lightly, wipe with alcohol, and never skip base coat. Adhesion starts here.
- Cap the free edge by running polish along the very tip of each nail – this alone can double wear time.
- Seal with a fresh layer of top coat every two to three days of your trip; pack a mini bottle.
- Rinse your hands with fresh water after the pool or ocean, since chlorine and salt both dull and weaken polish.
- Moisturize cuticles nightly with oil or even a dab of lip balm – hydrated nails flex instead of chipping.
- Protect your hands when dragging luggage or beach chairs; most trip chips come from baggage, not the beach.
How to Fix a Chipped Nail Mid-Vacation
A chip on day two is not an emergency. Smooth the chipped edge gently with a file so it doesn’t catch, then dab a thin layer of the original color just over the bare spot rather than repainting the whole nail – feather it at the edges and seal with top coat.
If you didn’t pack the color, a coat of glitter or shimmer polish over the whole nail hides a chip completely, which is exactly why designs like the sand-to-sea gradient are so forgiving. Worst case, one clear-coat nail among fourteen painted ones is a “minimalist accent,” and no one will question it.
Common Mistakes to Avoid with Spring Break Nails
- Painting the night before your flight. Polish needs a full day to fully cure hard; fresh paint plus suitcase handles equals instant dents. Do your nails two days out.
- Choosing high-maintenance designs for an active trip. 3D charms and long stiletto shapes are gorgeous but risky for snorkeling, hiking, or wrangling kids. Match the design to the itinerary.
- Skipping base coat with bright or neon shades. Strong pigments can stain bare nails yellow-orange, and you’ll be looking at the evidence for weeks after the tan fades.
- Doing all ten nails in a busy pattern. Full-coverage art on every finger can look chaotic in photos. Two or three statement nails per hand almost always photograph better.
- Forgetting sunscreen affects polish. Some chemical sunscreens soften the top coat. Apply sunscreen first, let it absorb, then wash your palms before touching your nails.