
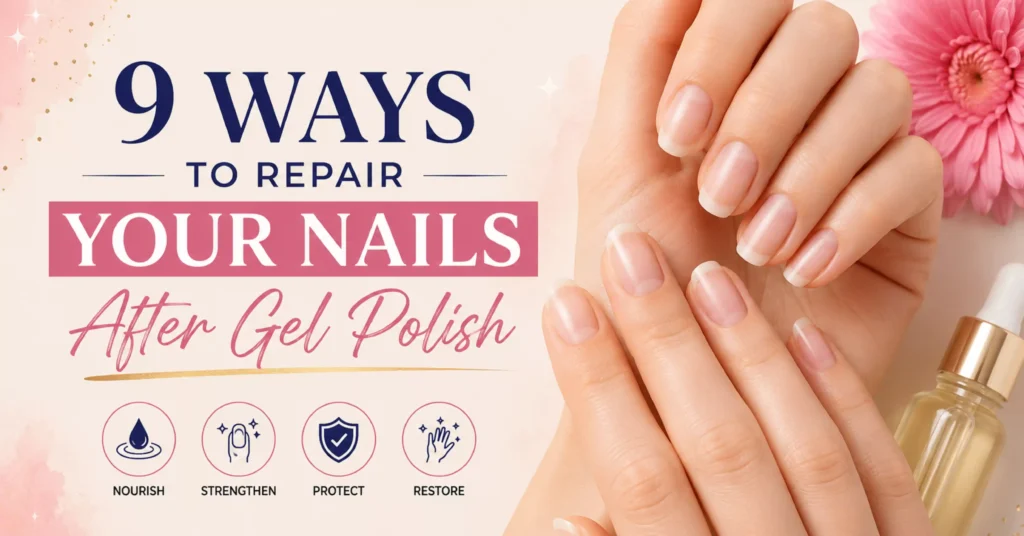
The first time I took a long break from gel, I peeled the last set off in the car (I know, I know) and spent the next week horrified. My nails were thin enough to bend backwards, white patches everywhere, and they snagged on everything from denim to my own hair.
If your nails feel like wet paper after removing gel, acrylic, or dip powder, you’re in the most common nail predicament there is. The good news: nails recover. The slightly annoying news: you can’t “heal” the damaged part – you can only protect it while a healthy nail grows in behind it.
This guide covers nine things that genuinely help, a simple recovery routine, what to expect week by week, and the mistakes that stretch a two-month recovery into six. Jump to whatever your nails need most.
What Does Gel Damage Actually Look Like?
Gel damage is thinning and dehydration of the nail plate, usually caused by rough removal rather than the gel itself. It shows up as bendy, flexible nails, white dry patches, peeling layers, rough texture, and tips that tear instead of holding an edge.
Because the nail plate is dead tissue (like hair), damaged areas don’t repair themselves – recovery means protecting the weak nail from breaking while new, healthy nail grows out from the base, which takes roughly three to six months for a full replacement.
1. Trim Everything Short and Keep It There
Cutting damaged nails as short as comfortably possible removes the weakest, most breakable part and stops snags before they start.
Best for: the first week after removal, especially if tips are peeling.
Difficulty: easy – emotionally hard if you loved your length.
Tools: sharp nail clippers, a fine-grit or glass file.
I resisted this the first time and paid for it – every long, thin tip eventually tore, and a few tore low enough to hurt. Short nails aren’t a punishment; they’re a head start.
2. Commit to Cuticle Oil Twice a Day
Oiling the nails and cuticles morning and night restores flexibility to dehydrated nails, so they bend instead of cracking.
Best for: every single recovery, no exceptions.
Difficulty: easy.
Tools: jojoba-based cuticle oil in a pen or dropper; plain sweet almond oil works too.
Jojoba is the favorite here because its structure is close to the skin’s natural oils and it absorbs well. The real secret isn’t the brand — it’s the twice-a-day consistency and a good thirty-second massage.
3. Slather on a Thick Hand Cream Overnight
A rich, occlusive hand cream at night locks in the oil you applied and rehydrates the skin around the nails, which supports healthy growth.
Best for: nightly use throughout recovery.
Difficulty: easy.
Tools: a thick cream with shea butter, lanolin, or urea; cotton gloves if you want the full spa-overnight effect.
Oil first, cream on top – that layering order matters. The oil treats the nail, and the cream seals it in so it doesn’t evaporate off your hands by midnight.
4. Use a Nail Strengthener – In Phases
A keratin or protein-based strengthener adds a thin reinforcing layer over weak nails, buying them protection while new growth comes in.
Best for: weeks two through six, once any soreness is gone.
Difficulty: easy.
Tools: a strengthening treatment polish, acetone-free remover for refresh days.
Take it in phases: a few weeks on, then a week off with just oil. I once used a hardener nonstop for three months and ended up with rigid nails that snapped sideways – the opposite of the goal. Flexible beats hard.
5. Give Gel a Real Break (Or Switch Systems)
Staying gel-free for at least four to eight weeks lets the thinned part of the nail grow out before you add product on top of it again.
Best for: anyone whose nails bend easily or show white patches.
Difficulty: medium – the bare-nail phase tests your patience.
Tools: none; willpower and a calendar.
If going fully bare isn’t realistic for you, a softer option is regular polish over a strengthening base, or a thin builder-gel overlay applied and removed by a careful tech. What matters most is breaking the damage-reapply-damage cycle.
6. File Weekly with a Glass File, One Direction Only
Gentle weekly filing with a fine-grit or glass file keeps the fragile free edge sealed and snag-free, which prevents peeling from spreading.
Best for: ongoing maintenance through the whole recovery.
Difficulty: easy.
Tools: a glass (crystal) file or a 240-grit file.
Sawing back and forth frays weakened nails like the end of a rope. One direction, light pressure, smooth edge — that’s the entire technique.
7. Wear Gloves for Water and Cleaning
Gloves protect recovering nails from water swelling and cleaning chemicals, the two things most likely to make thin nails peel in layers.
Best for: dishes, cleaning, gardening – any wet or harsh task.
Difficulty: easy once the habit sticks.
Tools: rubber or nitrile gloves; thin cotton liners for longer jobs.
Thin nails absorb water fast, swell, then shrink as they dry, and that cycle delaminates the layers. Gloves are the least glamorous tip on this list and probably the most effective.
8. Resist Buffing the Damage Away
Skipping the buffer protects what little thickness your nails have left – buffing smooths the surface by removing nail, which is the last thing a thin nail needs.
Best for: anyone tempted to buff out white patches and ridges.
Difficulty: easy in action, hard in temptation.
Tools: none – that’s the point. A ridge-filling base coat gives the smooth look without removal.
Those white, rough patches look like something you can polish off, but they’re thin spots. A ridge-filler base coat covers the texture cosmetically while the damage grows out on its own.
9. Support Growth from the Inside
A diet with enough protein, plus biotin-rich foods like eggs, nuts, and lentils, gives your body the raw material to build the new nail that will replace the damaged one.
Best for: the whole three-to-six-month grow-out, not just week one.
Difficulty: easy to medium.
Tools: groceries, not supplements: eggs, salmon, beans, almonds, leafy greens.
Supplements mostly help people who are actually deficient, so food first is the smarter route. If your nails changed suddenly without any gel involvement, that’s worth mentioning to a doctor.
How to Build a Simple Gel Recovery Routine
Here’s the whole plan condensed into a repeatable rhythm:
- Trim nails short in week one and keep them short until the bendiness stops.
- Oil cuticles and nails every morning and every night — set phone reminders if you have to.
- Seal with a thick hand cream at night, over the oil.
- Apply a strengthener or ridge-filling base coat weekly during weeks two through six, with breaks.
- Protect with gloves for anything wet and by keeping nails off can tabs and sticker edges.
- Reassess monthly — when the new growth coming from the base looks and feels normal, you’re winning.
What to Expect Week by Week
Recovery is slower than anyone wants, so it helps to know what normal looks like. In weeks one and two, expect the worst of it: bending, catching, maybe mild sensitivity to heat and pressure — keep nails short and oiled and just get through it. By weeks three and four, the sensitivity usually fades and you’ll see a visibly healthier band of new nail at the base. Around weeks six to eight, roughly half the nail plate on most people is new growth, and nails start feeling like themselves again near the cuticle even if the tips are still fragile. Full replacement takes three to six months depending on your growth speed, so judge progress by the base of the nail, not the tip. If instead of improving you see pain, swelling, green or dark discoloration, or lifting of the nail from the nail bed, skip the home care and see a dermatologist — those aren’t normal gel damage.
Common Mistakes to Avoid After Gel Damage
- Peeling off the next gel set. One peeled manicure can undo two months of recovery; always soak gel off with acetone or have a tech remove it.
- Buffing the white patches. They’re thin spots, not stains — buffing makes thin nails thinner.
- Going straight back to back-to-back gel sets. Give nails at least a few weeks bare, or the thin base just gets re-damaged before it can grow out.
- Using acetone remover for regular polish changes. Save acetone for gel removal; acetone-free remover is far gentler on recovering nails.
- Judging progress by the tips. The tips are the oldest, most damaged nail and will look rough until they’re cut away — watch the base instead.
FAQs
How long does it take for nails to recover after gel polish?
Most nails feel noticeably better in four to eight weeks, but a fully new nail plate takes about three to six months to grow out. The damaged part never heals – it gets replaced.
Why are my nails so thin and bendy after gel?
Thinning usually comes from removal – peeling, over-filing, or scraping – which takes layers of natural nail with it. Dehydration from acetone soaks adds the dry, flexible feeling on top.
Can I put regular polish on damaged nails?
Yes, and it can actually help by adding a small protective layer. Use a strengthening or ridge-filling base coat underneath and an acetone-free remover when you change color.
Do nails need to "breathe" after gel?
Yes, and it can actually help by adding a small protective layer. Use a strengthening or ridge-filling base coat underneath and an acetone-free remover when you change color.
Final Thoughts
Post-gel nails feel hopeless in week one, but they’re one of the most fixable beauty problems there is. Your body is already growing the replacement – your only job is to keep the fragile old nail short, oiled, and out of trouble while it happens.
Be a little stubborn about the oil, a little humble about the length, and in a couple of months you’ll run your thumb over smooth, solid nail at the base and realize the worst is behind you. And next time a set comes off, let it soak – your future nails will thank you.
Pingback: 18 New Year Nail Ideas That Outshine Every Sparkler - TheZelovo.com
Pingback: 15 Lollapalooza Nail Ideas That Survive Four Days of Festival - TheZelovo.com