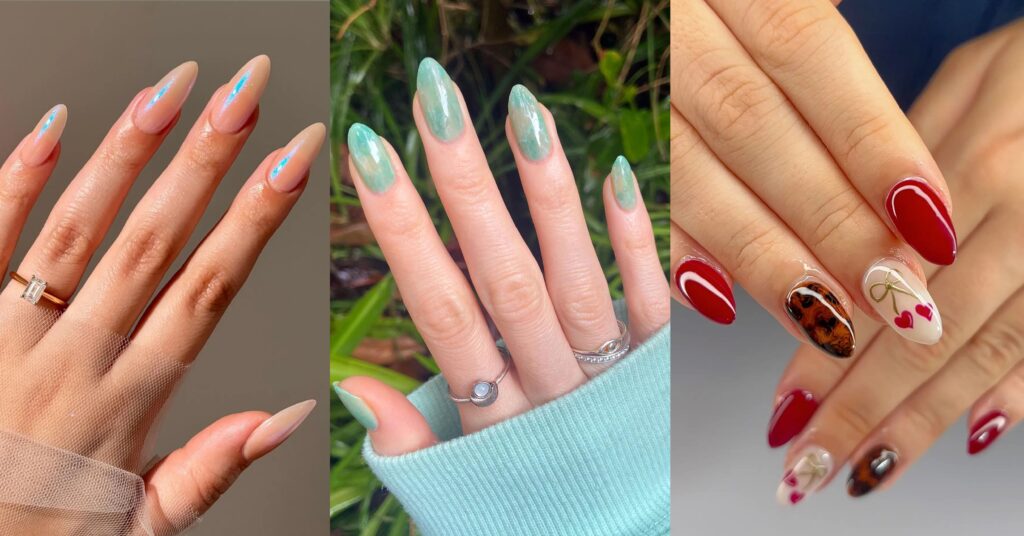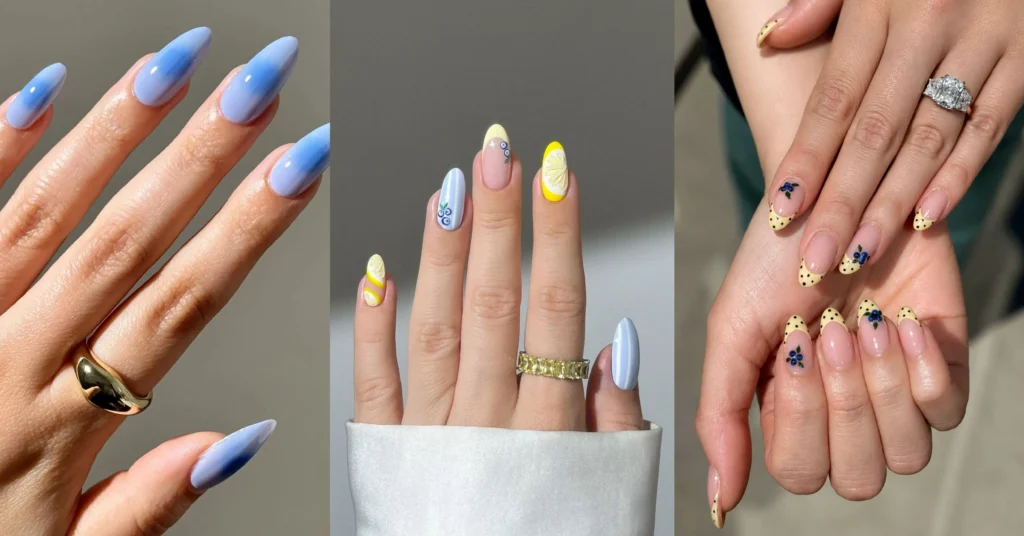
The first time I got a Gel X set, I spent the whole drive home holding my hand on the steering wheel like I was in a jewelry commercial. There’s something about that glassy, seamless finish that regular polish just never gave me – and it survived three weeks of dishes, typing, and one very aggressive jar lid.
Since then I’ve become the friend everyone texts for gel x nail ideas before their appointment. So I pulled together the ten looks I keep coming back to — the ones that read “expensive salon set” even when they’re simple.
Skip around to whatever catches your eye. Every idea includes exactly what to ask your nail tech, so you can screenshot and go.
What Are Gel X Nails?
Gel X nails are full-coverage soft gel tips that get glued over your natural nail and cured under an LED lamp, giving you an extension that’s lighter and more flexible than acrylic. Because the tips come pre-shaped, the fit is seamless – no bulky ridge, no obvious “fake nail” line – which is exactly why a fresh set looks so perfect.
A typical set lasts three to four weeks, and salon prices usually range from $65 to $150, depending on your city and the design. Sheer, natural-base designs stretch even longer because the grow-out is barely visible. Keep that in mind as you scroll – several ideas below use that trick on purpose.
1. Pearl Soap Nails
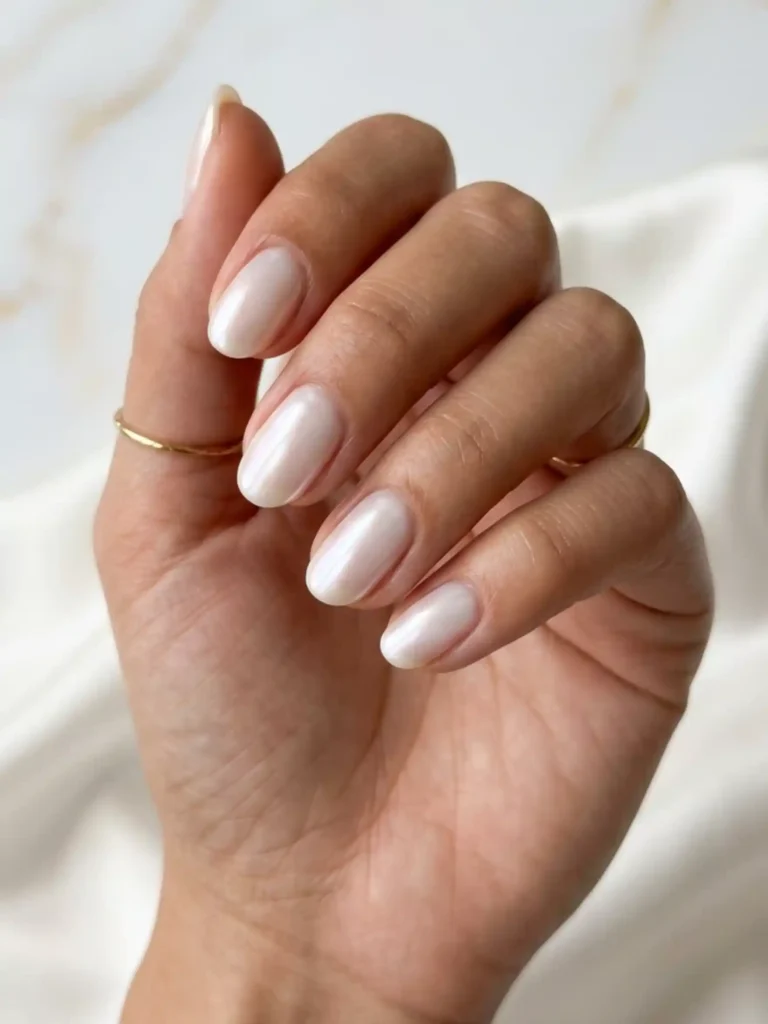
Pearl soap nails pair a milky, semi-sheer base with a whisper-thin pearl chrome veil, so the whole nail glows like a fresh bar of soap in good lighting.
Best for: anyone who wants a “my nails but better” set for work, weddings, and everything in between.
Difficulty: easy.
Tools: a milky white or sheer pink builder base, pearl chrome powder, a glossy top coat.
Ask your tech to keep the milky base translucent – two thin coats, not three. The pearl powder should be buffed on so lightly that you only catch the shimmer when your hand moves.
2. Mocha Cherry Chrome Nails
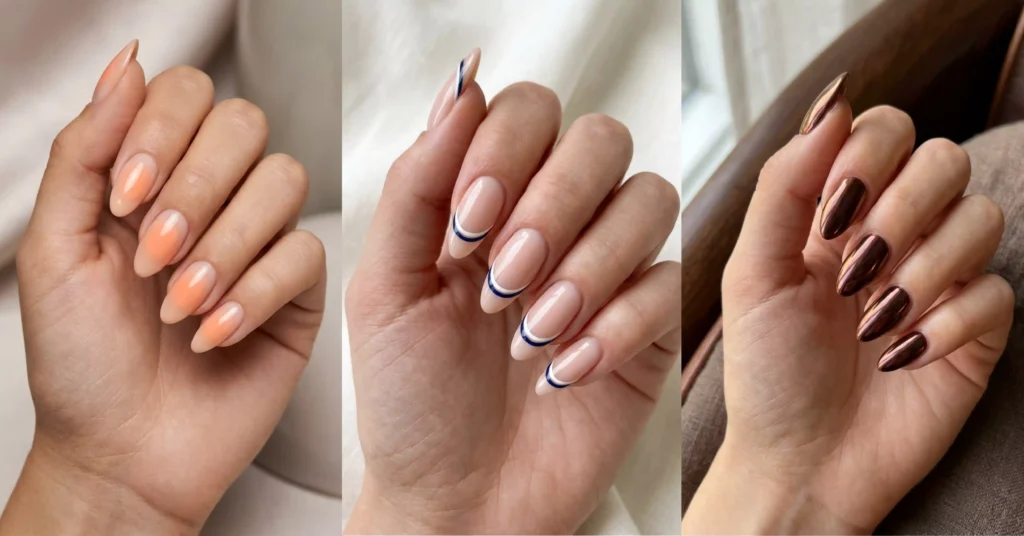
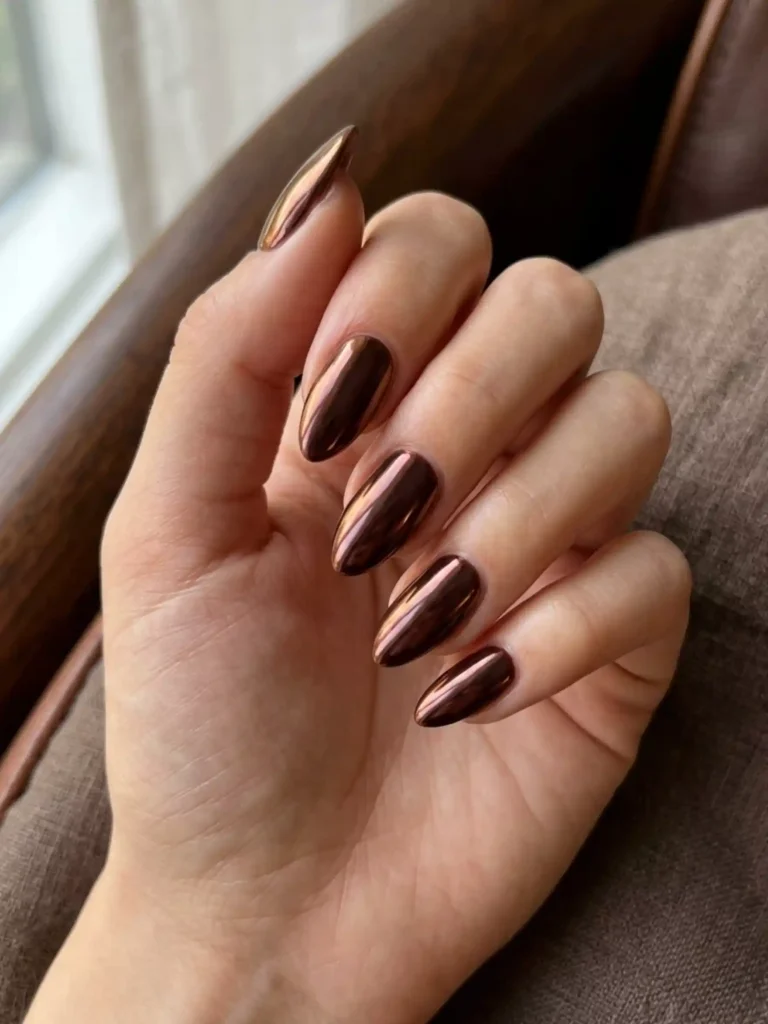
Mocha cherry chrome is a deep chocolate-cherry polish sealed under a warm bronze chrome, creating a rich, almost molten finish that shifts between brown and red as the light changes.
Best for: medium almond nails and anyone whose wardrobe leans neutral – this is the shade that makes beige outfits look intentional.
Difficulty: medium.
Tools: a dark cherry-brown gel color, bronze or copper-toned chrome powder, no-wipe top coat.
The base shade matters more than the chrome. Too red and it goes vampy; too brown and the shift disappears. Ask for a “black cherry with brown undertones,” and you’ll land it.
3. Tortoiseshell Amber Accents Nails
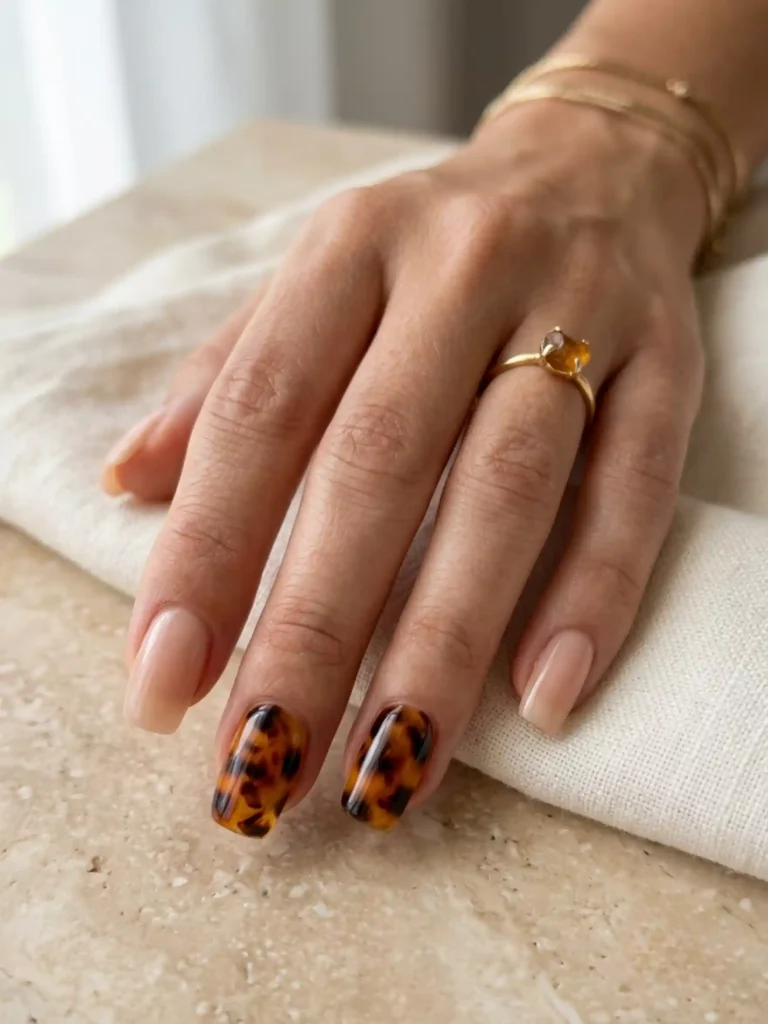
Tortoiseshell amber nails layer translucent amber, brown, and black gel into that classic hair-clip pattern – best worn on just two accent nails with sheer nude everywhere else.
Best for: short to medium squoval or almond shapes; it’s the easiest way to wear a print without the set feeling busy.
Difficulty: medium – the blotting technique takes a practiced hand.
Tools: sheer amber gel, brown and black art gels, a silicone or sponge tool for dabbing, glossy top coat.
Keeping eight nails plain is the whole trick. A full tortoiseshell set can tip into costume territory; two accents read like an accessory.
4. Ribbed Glass Texture Nails
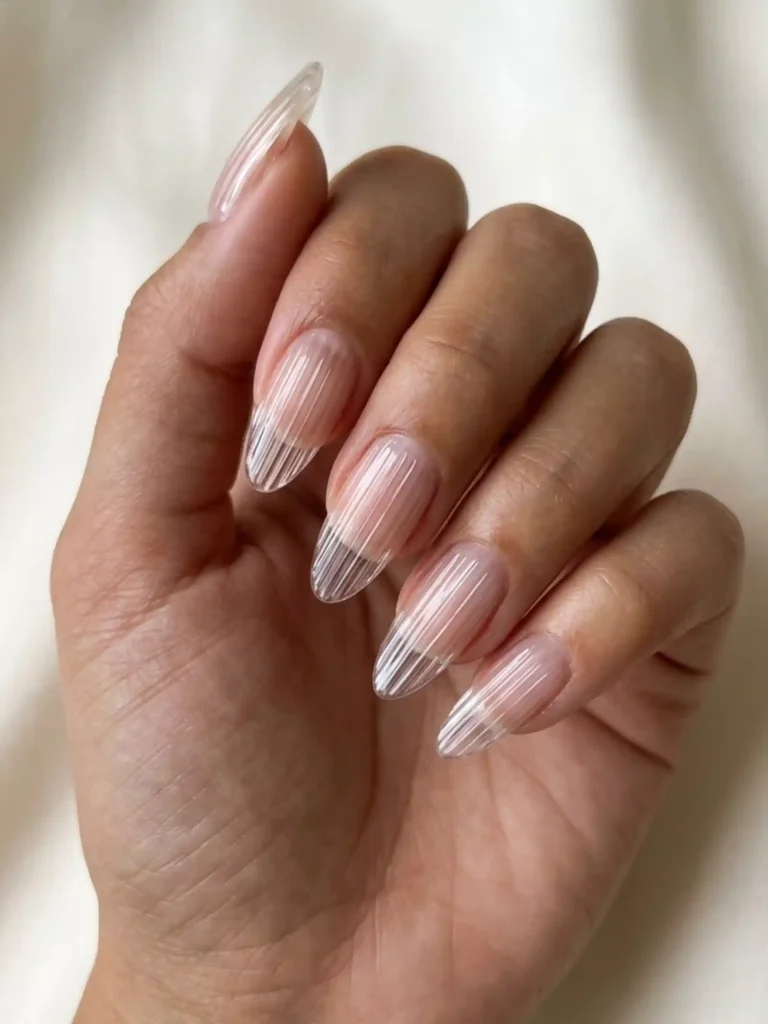
Ribbed glass nails use fine vertical ridges of clear gel under a high-gloss top coat, so each nail catches light like fluted glassware.
Best for: clear, milky, or pale-tinted bases where the texture is the entire design.
Difficulty: hard – the lines have to be even, and that’s all on your tech’s steady hand.
Tools: a thick, clear structure gel, a fine liner brush to drag the ridges, glossy top coat.
This one photographs unbelievably well, but run your thumbnail across a tester nail first. Some techs seal the ridges completely smooth; others leave a faint tactile texture. Both are correct – just know which you’re getting.
5. Butter-Yellow Micro French Nails
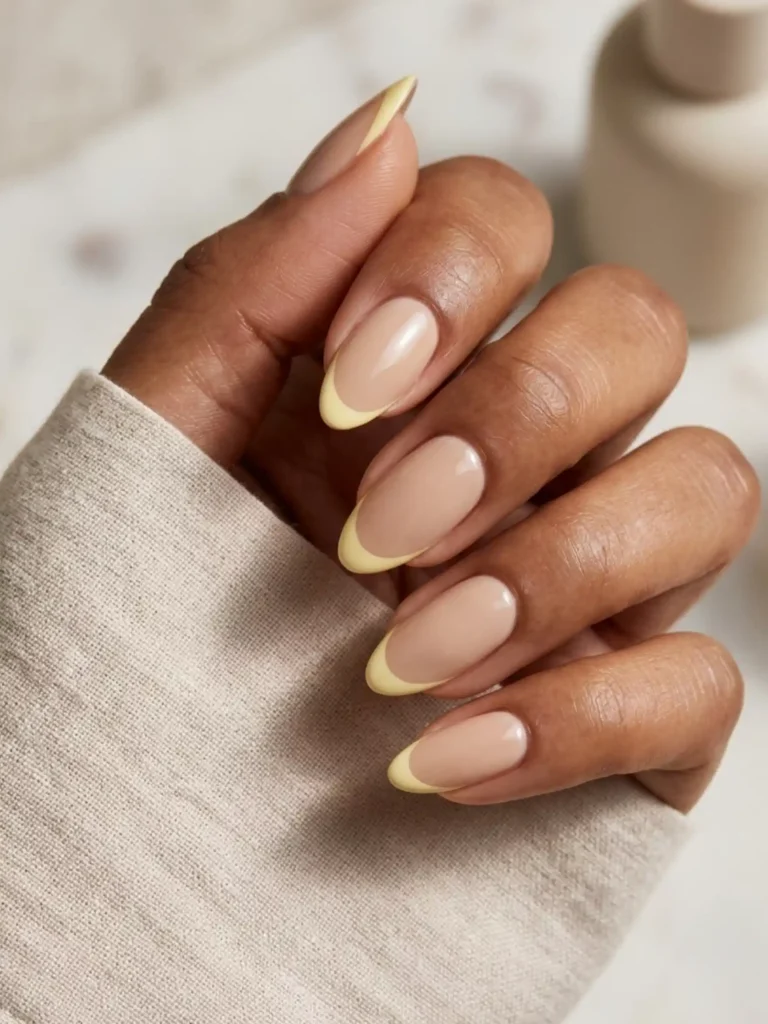
A butter-yellow micro French swaps the classic white tip for a hairline stripe of soft, pale yellow – thinner than a traditional French and unexpectedly neutral in person.
Best for: short nails, spring and summer sets, and anyone who thinks yellow “isn’t their color” (this one is).
Difficulty: easy for a tech, tricky freehand.
Tools: a sheer nude base, a pastel butter-yellow gel, a fine detail brush.
Micro means micro – the line should be about a third of a normal French tip. If it comes out thick, the buttery softness disappears, and it reads like a highlighter. I learned that the hard way.
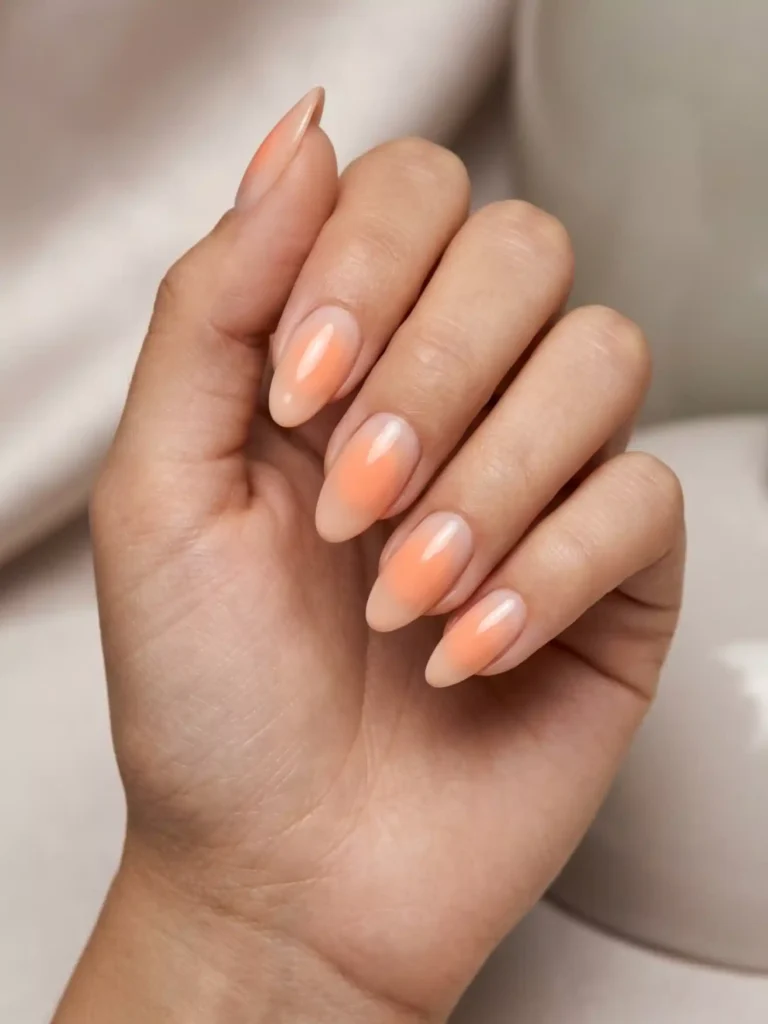
6. Peach Aura Airbrush Nails
Peach aura nails feature a soft, blurred orb of color floating in the center of each nail, airbrushed so the edges melt into the sheer base like a little sunrise.
Best for: almond shapes and photo-heavy weeks – auras are the single most camera-friendly design on this list.
Difficulty: medium, and much easier if your salon has an actual airbrush gun.
Tools: sheer nude base, peach and soft pink airbrush gels (or a makeup sponge in a pinch), matte or glossy top coat.
Ask whether your tech airbrushes or sponges the aura. Sponging works, but the airbrushed version has that dreamy, no-edges blur that makes the set look professionally done from across the room.
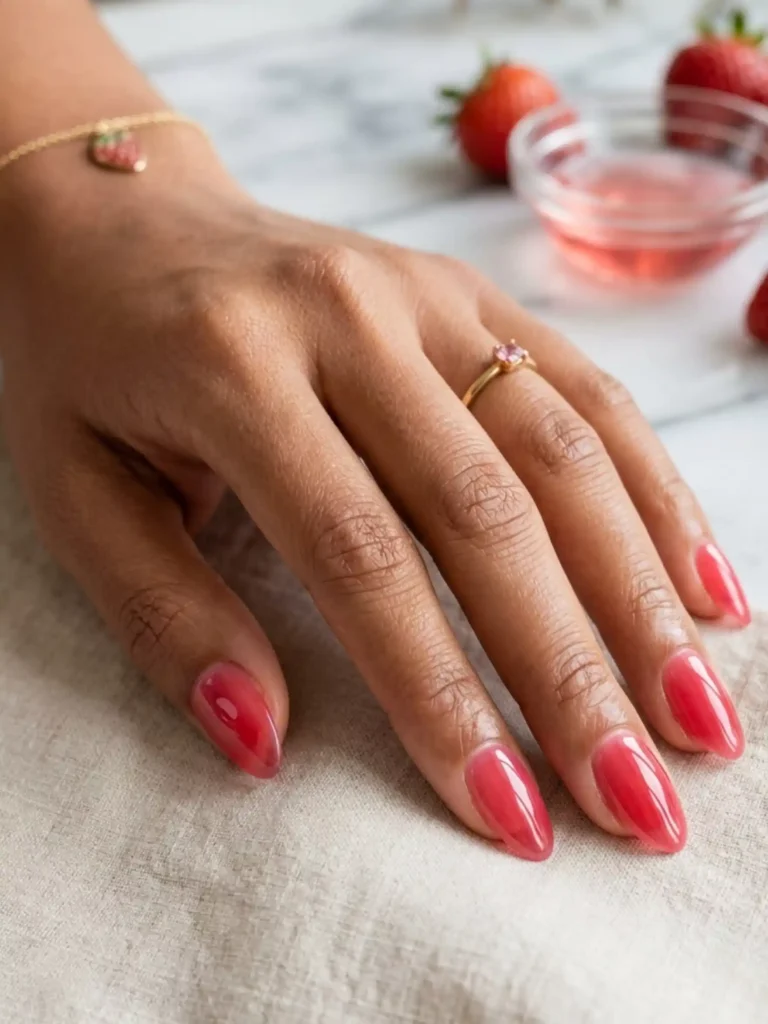
7. Strawberry Jelly Tint Nails
Strawberry jelly nails use a translucent pinkish-red gel that light passes straight through, giving your nails the squishy, glossy look of fruit candy.
Best for: low-maintenance people – the sheer tint makes grow-out nearly invisible, so this set can quietly last five or six weeks.
Difficulty: easy.
Tools: a jelly-formula red or pink gel, glossy top coat, cuticle oil for upkeep.
Thin layers are everything here. The moment jelly polish goes opaque, the effect dies. Two see-through coats beat three solid ones every single time.
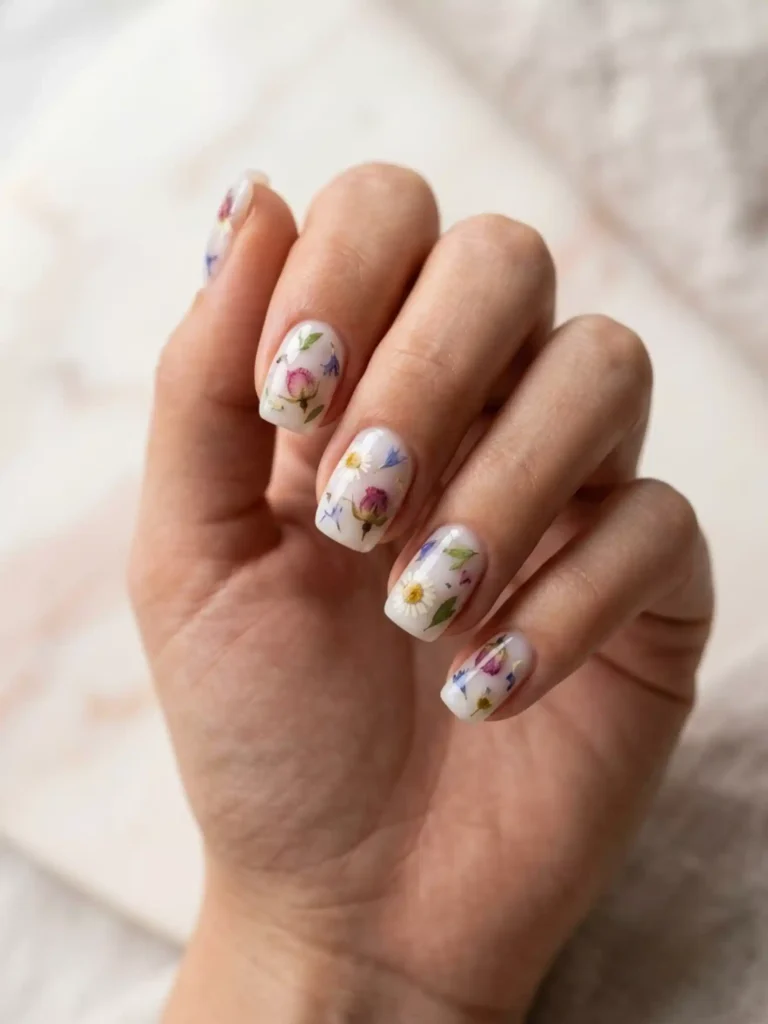
8. Milk Bath Micro Florals Nails
Milk bath floral nails suspend tiny dried petals inside a milky, semi-opaque base, like flowers floating in cloudy water.
Best for: bridal sets, baby showers, and anyone who loved the pressed-flower trend but wants it smaller and softer.
Difficulty: medium – encapsulating flat petals takes patience.
Tools: milky white builder gel, micro dried flowers or floral decals, clear encapsulating gel, glossy top coat.
Scale is the difference between “delicate” and “craft project.” The petals should be genuinely tiny – two or three per nail, maximum, with plenty of milky negative space around them.
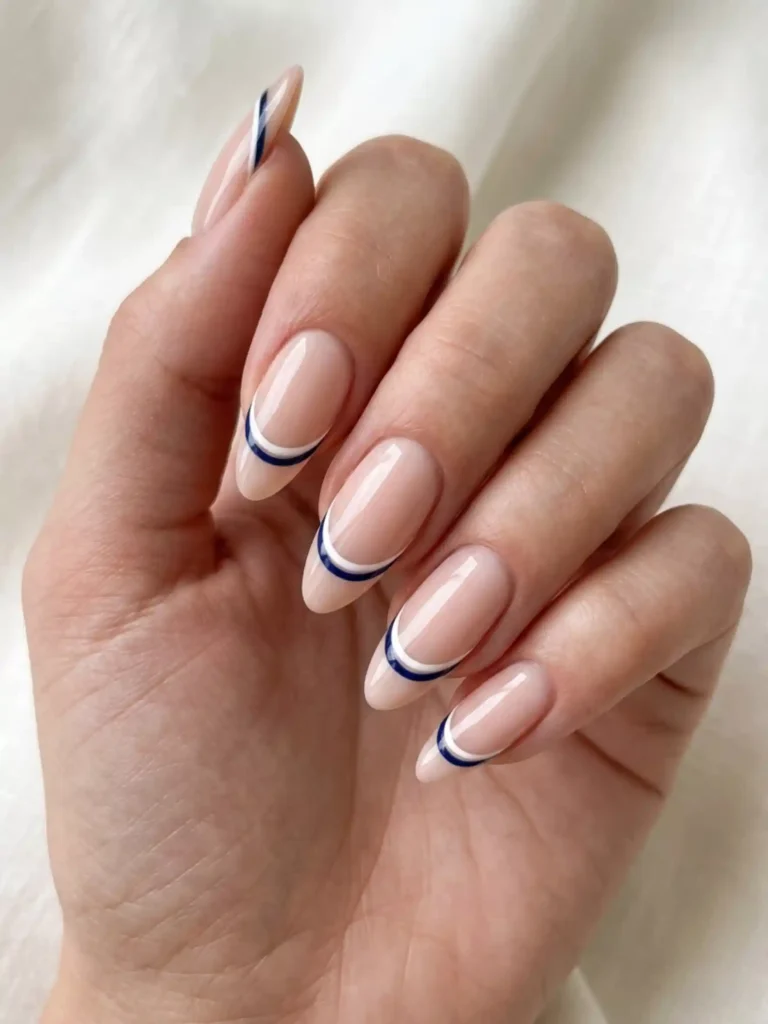
9. Double French Tips Nails
Double French tips stack two slim, parallel lines along the smile line – usually one neutral and one contrast shade – for a minimal design that still reads unmistakably deliberate.
Best for: short and medium nails, office-safe sets, and people who find a single French tip a little too expected.
Difficulty: medium.
Tools: sheer nude base, two gel colors (try chocolate plus cream, or black plus gold), a fine liner brush.
Leave a sliver of bare base between the two lines. That tiny gap is what makes it look like a design choice instead of a French tip that went wrong.
10. Water-Drop Chrome Nails
Water-drop nails place small, raised beads of clear gel on a sheer base – with a few chrome-dusted drops mixed in – so your nails look permanently rain-kissed.
Best for: accent nails on an otherwise bare-looking set; the 3D texture does all the talking.
Difficulty: medium.
Tools: sheer nude or milky base, thick clear gel for the droplets, silver chrome powder, no-wipe top coat.
The drops should be irregular – different sizes, scattered placement. Perfectly even dots read polka-dot; random ones read water. Show your tech a reference photo of actual rain on glass.
How to Make Your Gel X Set Last a Full Month
A salon-perfect set stays perfect with about two minutes of daily effort. Here’s the routine that gets me to week four:
- Oil your cuticles every night — flexible skin around the nail keeps the gel edges sealed.
- Wear gloves for dishes and cleaning; hot water and harsh cleaners are what break the bond first.
- Dry your hands thoroughly after washing, especially around the underside of the tips.
- Resist picking or peeling anything, ever — one lifted corner takes the whole nail (and sometimes a layer of your real nail) with it.
- Book your removal or fill before week four ends, while everything is still intact.
How to Remove Gel X Nails Without Wrecking Your Natural Nails
The safe version is simple but slow: the top layer gets filed down, then your fingertips soak in acetone (about 15–20 minutes) until the soft gel breaks down and slides off with gentle pushing. What you never want to do is pry, bite, or peel a set off dry — that’s how people end up with paper-thin nails for months and then blame Gel X for it. If you’re between salon visits and a nail is lifting, glue it down or trim it, and let a tech handle the actual removal.
Common Mistakes to Avoid with Gel X Nails
- Choosing an opaque base for a jelly or milky design. The translucence is the design; opaque coats flatten it into regular polish.
- Going too long for your lifestyle. A medium almond survives typing and gym bags; XL stilettos are gorgeous for about four days of real life.
- Skipping the reference photo. “Aura nails” means five different things to five techs. Screenshots prevent heartbreak.
- Ignoring the first lifted edge. Water sneaks under lifted gel and can cause bigger problems; fix lifts the day you notice them.
- Booking intricate art with a tech you’ve never seen do it. Check their Instagram for ribbed glass or encapsulation work before committing two hours and $100+.