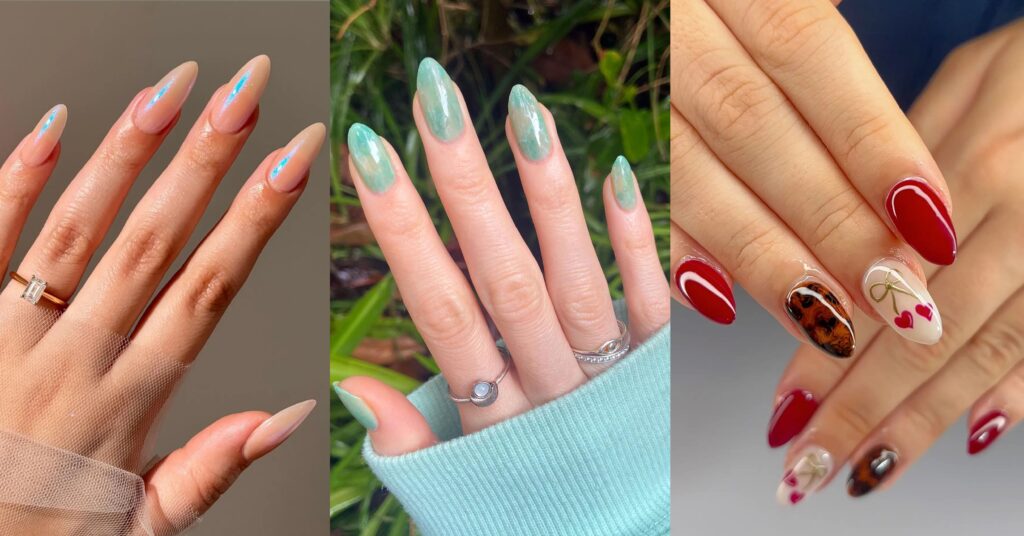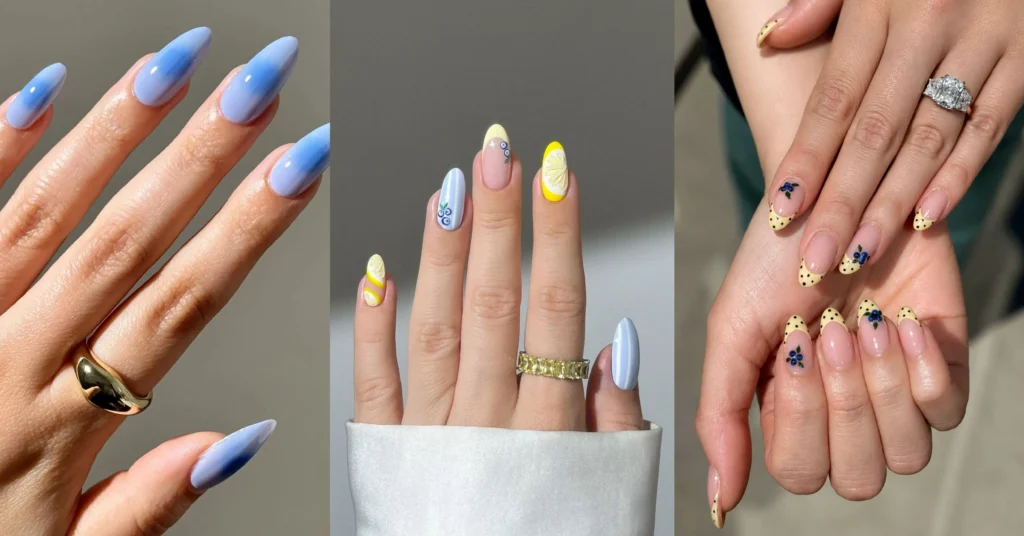
I have a photo from a trip to the coast three years ago – I’m holding a lemonade, the water is ridiculous shades of blue, and my nails are chipped beige. Every time it pops up in my memories, that’s the first thing I see. The chipped beige.
Since then, I treat vacation nails as part of the packing list. Your hands end up in more photos than your face on a trip — holding drinks, pointing at views, resting on café tables – and a good vacation manicure quietly makes every one of those pictures better.
This guide covers ten vacation nail ideas that photograph beautifully and feel like the trip itself, plus how to make them last the whole time you’re away. Skip around to whatever catches your eye.
What Counts as a Vacation Nail Look?
A vacation nail look is a manicure designed around a trip – colors, patterns, or tiny details that match the destination and hold up in travel photos. That’s what separates it from an everyday manicure. The best ones do three things: they suit the place you’re going, they survive sunscreen, sand, and salt water, and they make you smile when the photos resurface a year later.
The ideas below range from clean and minimal to full destination-themed nail art, so there’s something here whether you book a salon appointment or paint them yourself the night before your flight.
1. Polaroid Frame French Tips Nails
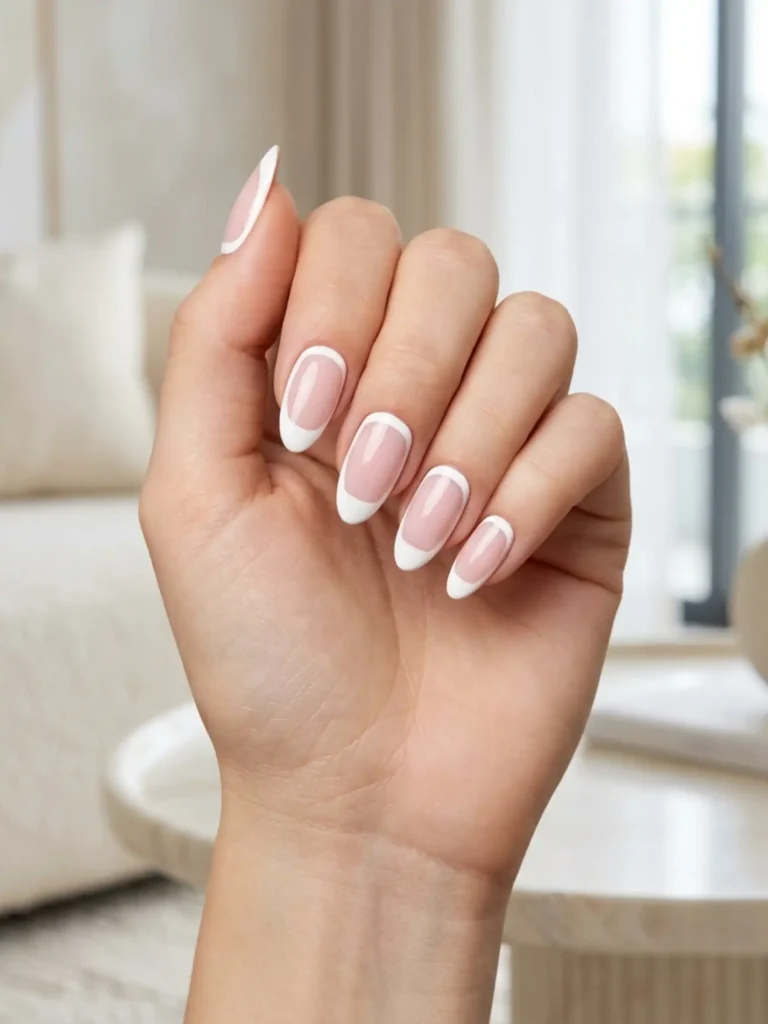
Polaroid frame nails reimagine the classic French tip as a tiny instant-photo border – a crisp white outline framing a glossy nude or sheer pastel base, like a snapshot waiting to be filled.
It’s the most literal “you’ll love looking back on this” manicure on the list, and it works because it stays neutral enough to match every outfit you packed. On camera, the white frame reads as an ultra-clean modern French, which is why it photographs so well against tan skin and bright backdrops.
If you’re doing these at home, a fine striping brush and patience beat nail tape. Keep the frame slightly uneven on purpose – a hand-drawn line looks more like an actual Polaroid than a laser-straight one.
2. Destination Coordinates Nails
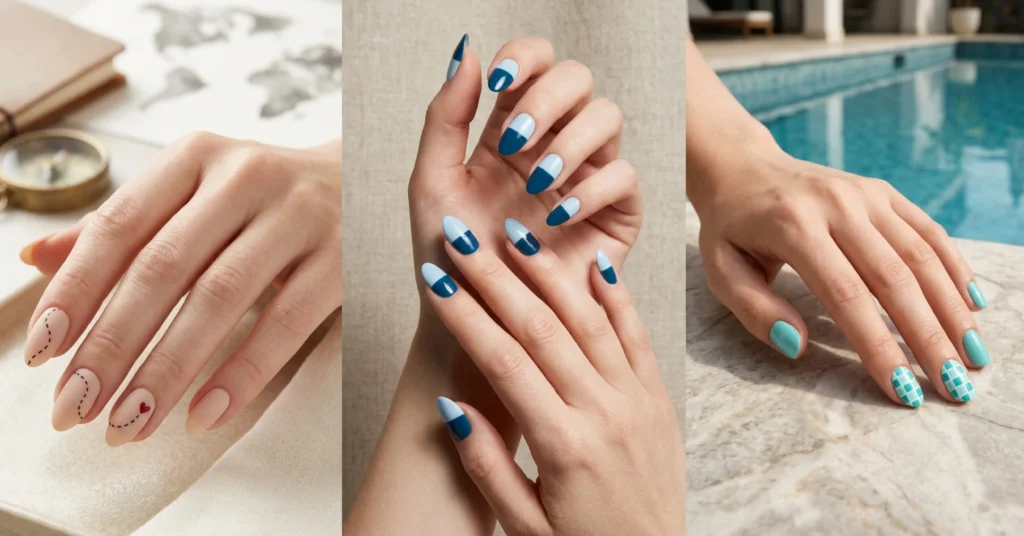
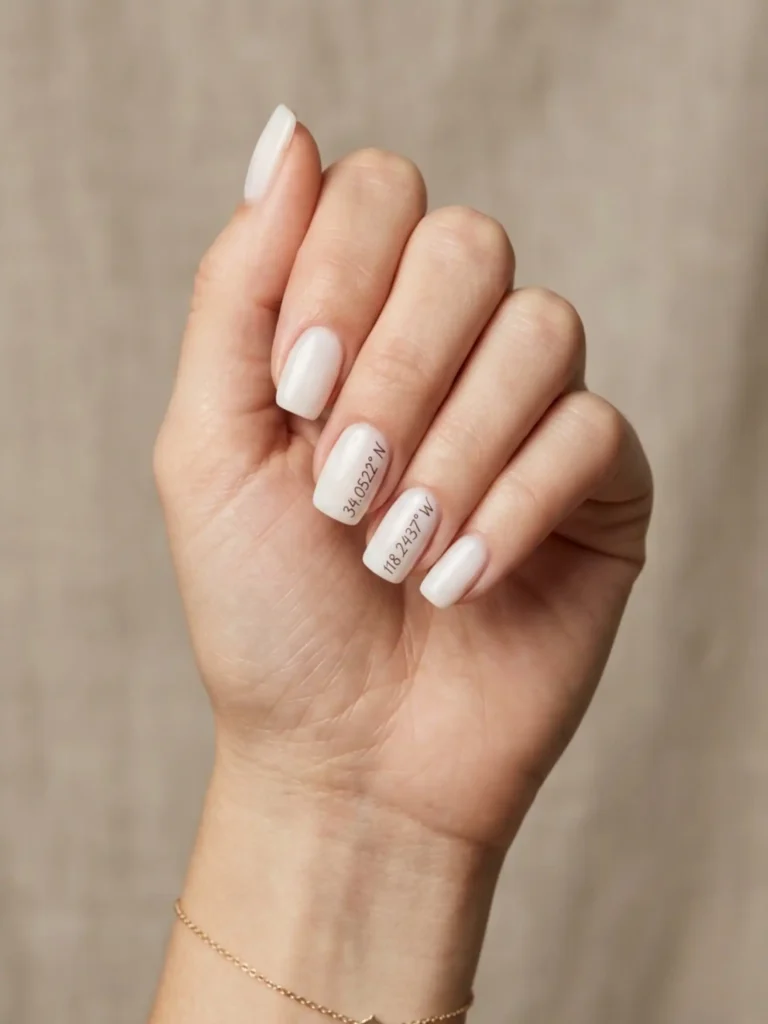
Coordinates nails feature the latitude and longitude of your destination hand-lettered in fine script across one or two accent nails, over a milky white or soft sand base.
This one is a keepsake more than a trend. The numbers mean nothing to anyone else and everything to you, which is exactly why people zoom in on them in photos. Ask your nail tech for the coordinates in a thin, slightly imperfect handwriting style rather than a stamped font — it looks more personal and less like a sticker.
Look up the coordinates before your appointment and screenshot them. I’ve watched someone try to recall a longitude from memory in the salon chair, and it did not go well.
3. Airplane Window Nails
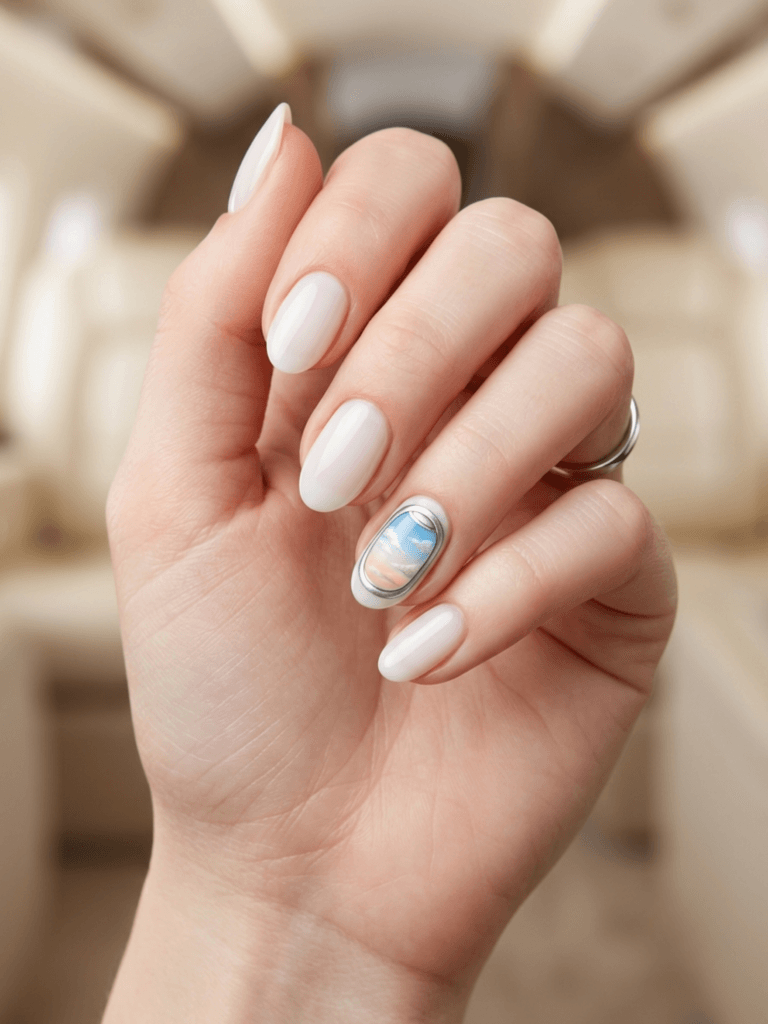
Airplane window nails paint a tiny rounded oval “window” on an accent nail, with a miniature view inside – soft clouds, a sunset gradient, or a wing tip against blue sky.
The charm is in the framing. The rest of the manicure stays simple, usually a sheer milky base or a pale sky blue, so the little window becomes the moment. It’s the manicure equivalent of that window-seat photo everyone takes on the way to somewhere good.
One window is enough. I tried a version with a window on every nail once and it tipped from charming into busy – a single accent per hand keeps it elegant.
4. Ocean Horizon Colorblock Nails
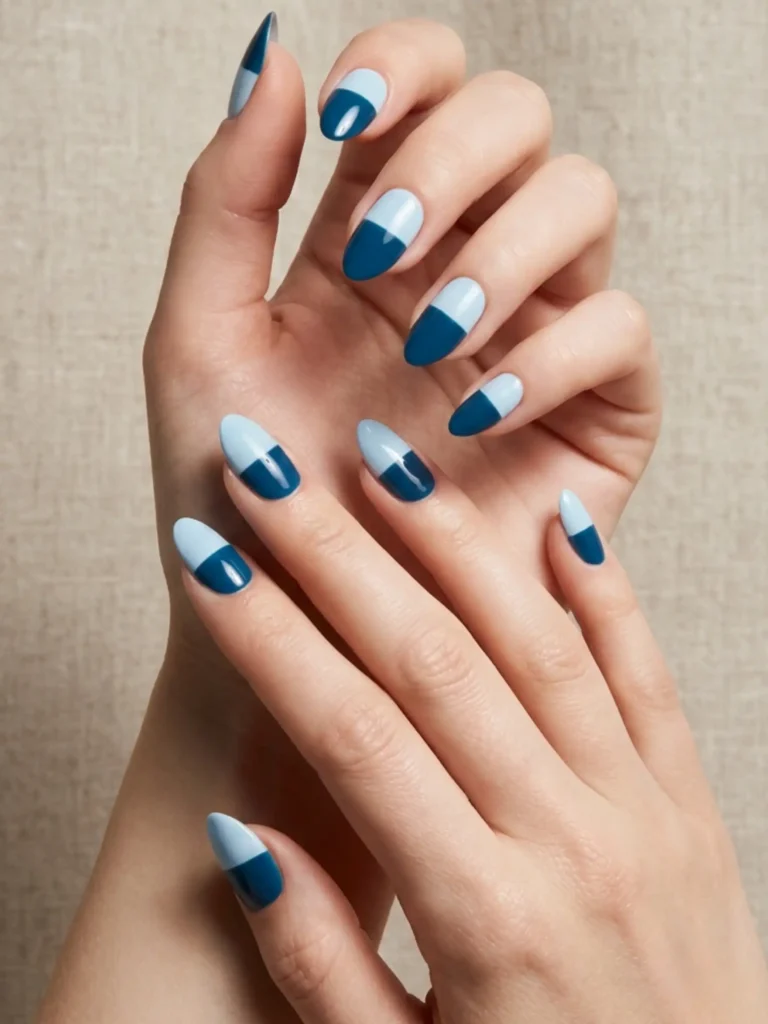
Ocean horizon nails split each nail with one sharp, straight line – deep sea blue on the bottom, pale sky on top – recreating that clean line where the water meets the sky.
Unlike an ombré, there’s no blending here, and that’s the point. The hard line looks modern and intentional, almost architectural, and it stands out on Pinterest feeds full of soft gradients. It’s also one of the most forgiving designs for short nails, because the horizontal line visually widens the nail instead of shortening it.
Place the line just below the halfway point of the nail, not dead center. A slightly lower horizon looks like a real seascape; a centered one looks like a flag.
5. Hotel Pool Tile Nails
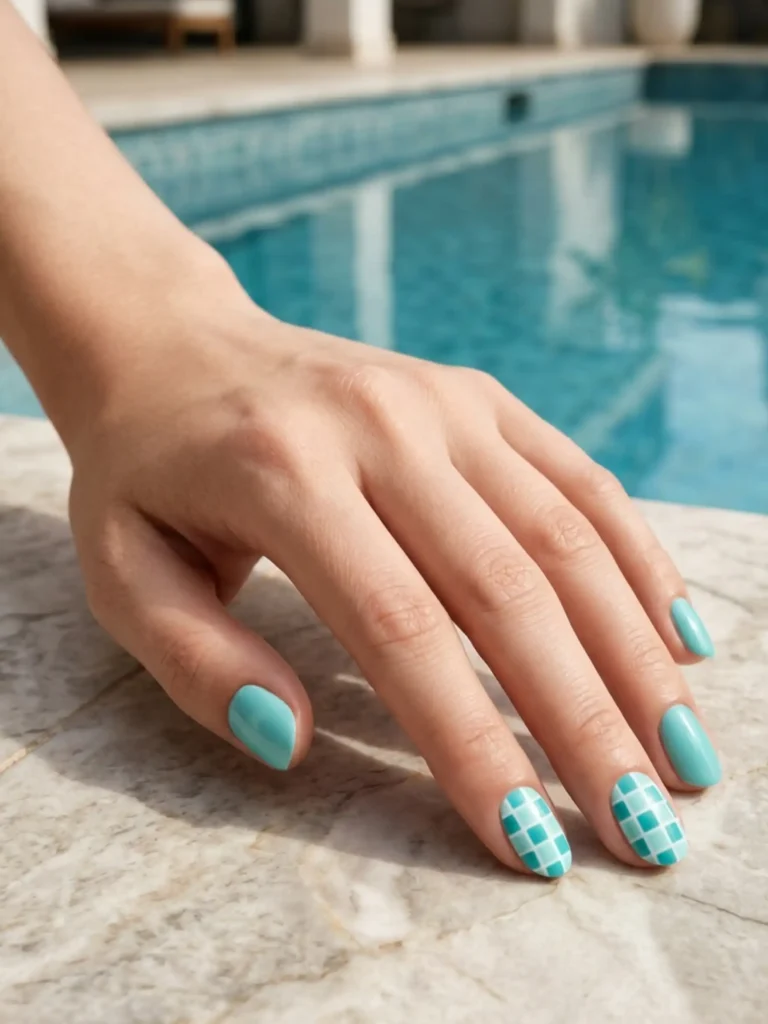
Pool tile nails use a small aqua-and-white checkered pattern, like the mosaic tiles lining a hotel swimming pool, usually on two accent nails against solid aqua on the rest.
This design is pure holiday nostalgia – it instantly reads as “poolside” without a single palm tree. The micro-check pattern is having a moment in fashion too, so these feel current rather than costume-y. Pair the tile accents with a glossy top coat; the shine mimics light bouncing off water.
Keep the checks small. Larger squares start to look like a picnic blanket, and suddenly you’ve booked a very different kind of trip.
6. Golden Hour Glaze Nails
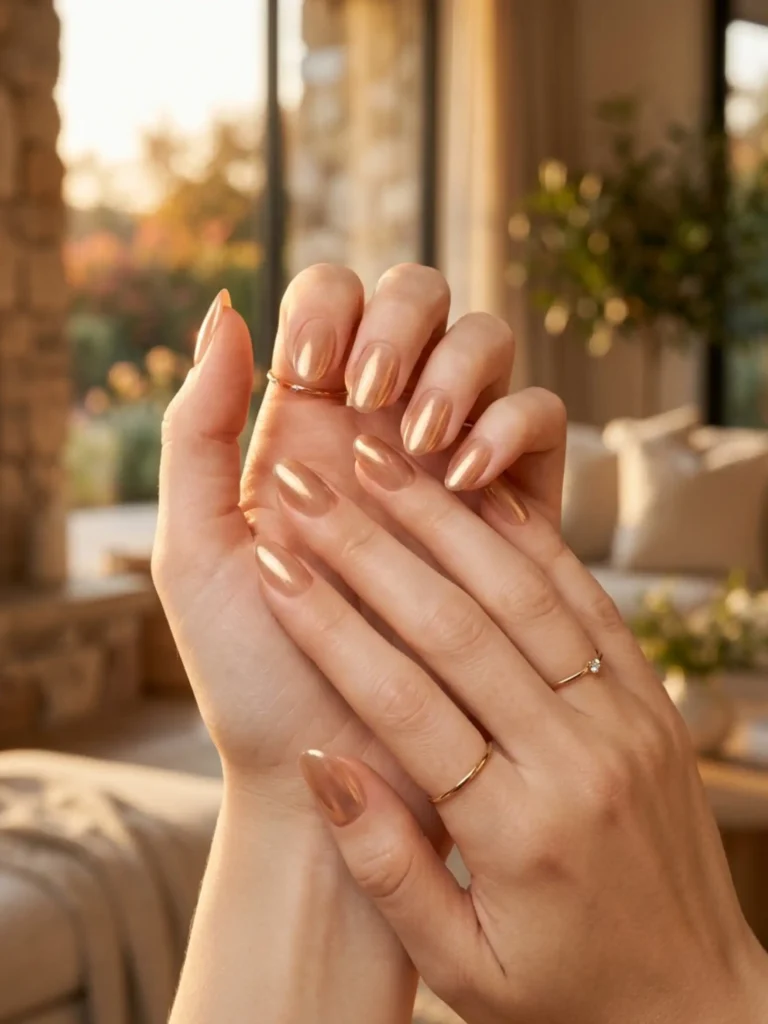
Golden hour glaze nails layer a sheer bronze-gold chrome powder over a warm nude base, creating a soft, sun-lit shimmer that shifts as your hands move.
If your vacation photos always happen at sunset – and whose don’t – this manicure was made for that light. The glaze catches golden-hour tones and makes your hands look sun-kissed even on day one. It’s also the lowest-maintenance idea on this list: no lines, no art, no visible grow-out for well over a week.
The trick is a thin layer of chrome buffed over a nude that’s close to your skin tone. Go too dark underneath and the glow turns metallic instead of lit-from-within.
7. Raffia Beach Bag Nails
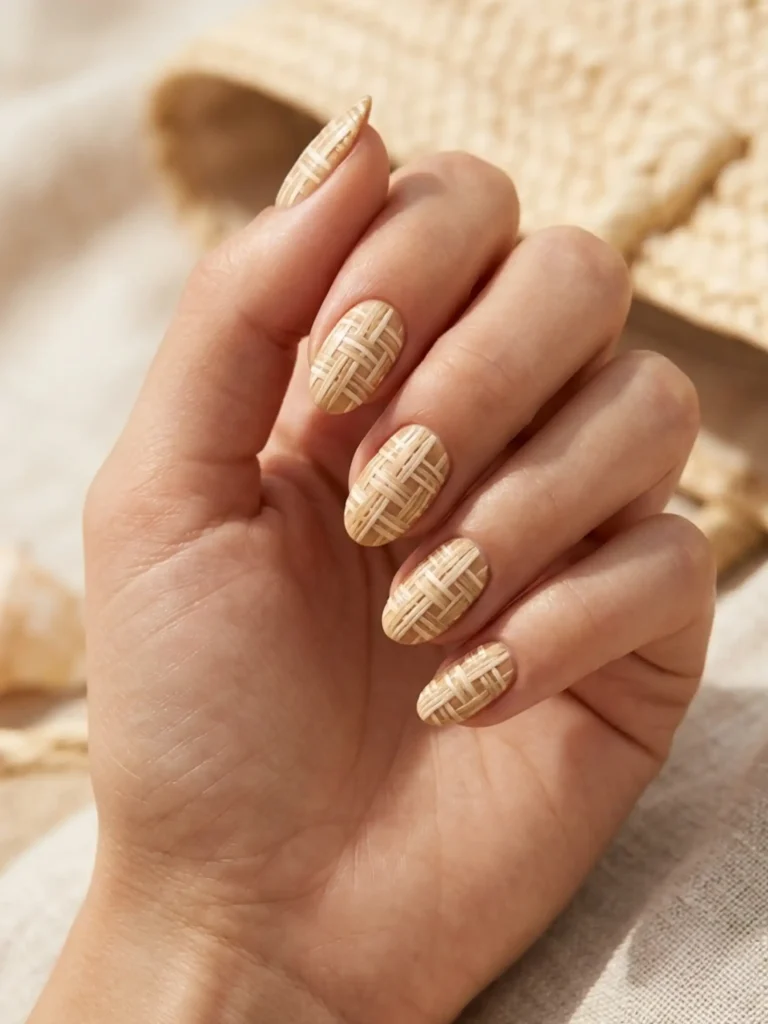
Raffia nails recreate the woven crosshatch texture of a straw beach bag using thin beige and cream lines over a warm sand base.
This is the sleeper hit of vacation nail art. It sounds strange written down, but the woven pattern reads as expensive and editorial in photos — like your manicure was styled to match your tote. It suits travelers who prefer neutrals over brights but still want something people ask about.
The pattern only needs to appear on one or two nails per hand. Full-set weaving takes forever and loses the effect; a single woven accent against creamy solids is the version that keeps getting saved.
8. Santorini Blue-and-White Nails
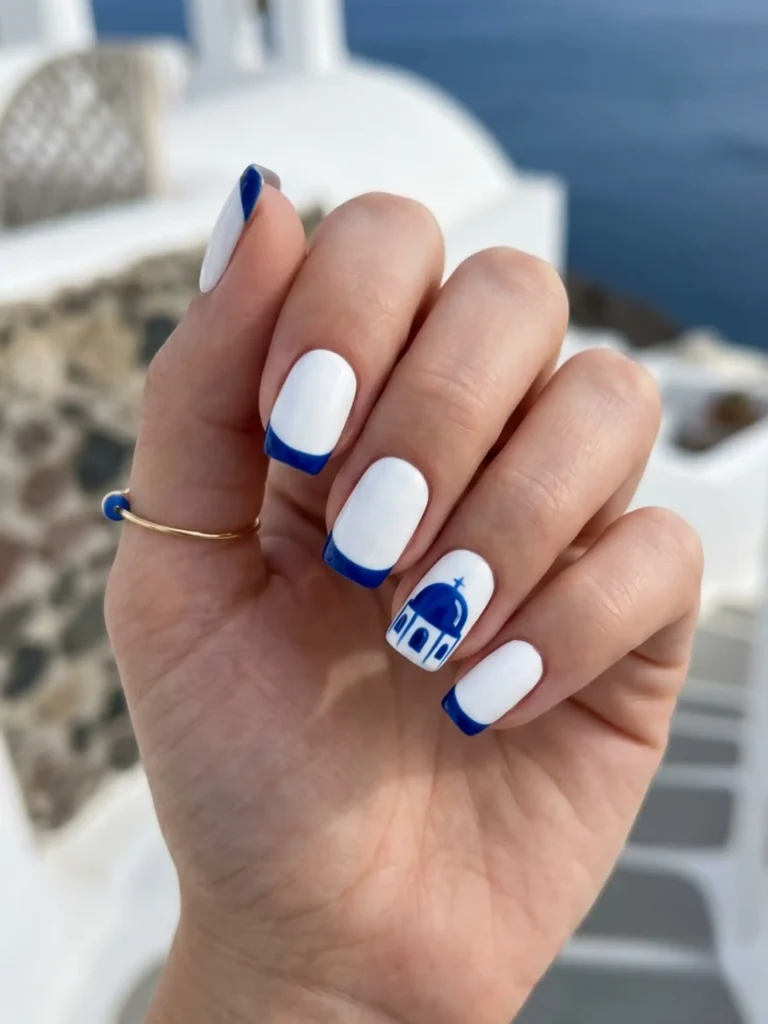
Santorini nails pair a crisp white base with cobalt blue details – a blue dome painted on one accent nail, or simple deep-blue tips against clean white.
Even if your trip isn’t to Greece, this color pairing is the shorthand for “Mediterranean vacation,” and it’s stunning against sun-tanned hands. The white keeps it fresh, the cobalt keeps it bold, and together they photograph beautifully against stone streets, white linens, and blue water.
Use a true cobalt or royal blue, not navy. Navy reads as winter; cobalt reads as a whitewashed village at noon.
9. Dotted Travel Route Nails
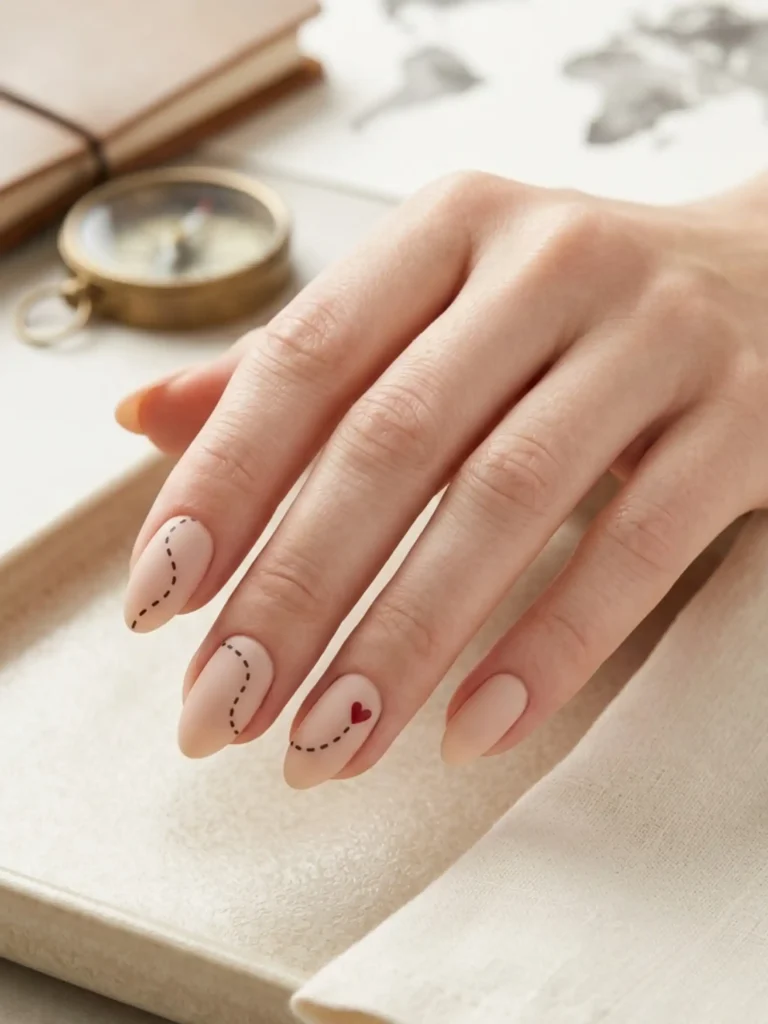
Travel route nails draw a dashed line wandering across two or three nails, ending in a tiny heart or X – the classic map-route marking, telling the story of getting from here to there.
It’s playful, it’s personal, and it turns your whole hand into one connected design instead of ten separate nails, which is rarer than you’d think in nail art. Over a soft cream or pale blue base, the thin dashed line stays subtle enough for everyday wear once you’re home.
Let the route travel diagonally across the nails rather than straight across the middle. The wandering path is what makes it feel like a journey and not just a dotted line.
10. Tiny Tropical Fish Nails
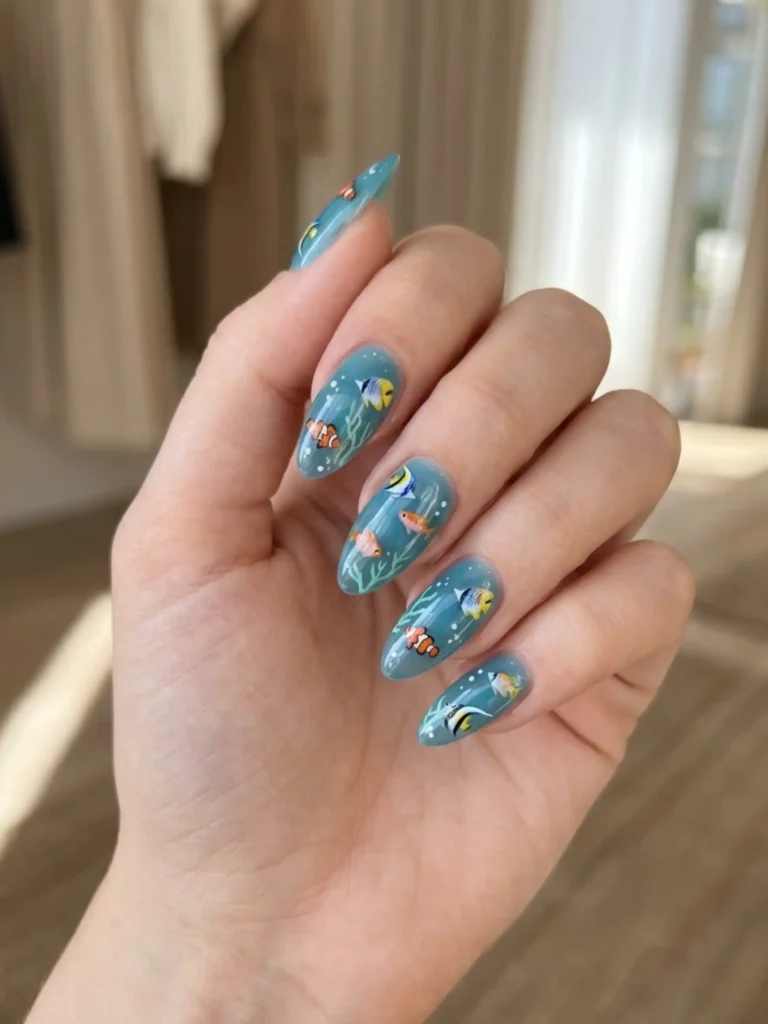
Tropical fish nails scatter one or two miniature hand-painted fish – a flash of orange, a sliver of yellow tail – across a sheer ocean-blue jelly base.
The sheer base does the heavy lifting here: it looks like clear shallow water, and the tiny fish look like they’re swimming through it. It’s whimsical without being childish, especially when the fish are kept small and the rest of the manicure stays glassy and simple.
Resist adding bubbles, seaweed, and starfish. One or two fish in open “water” is delicate and chic; a full aquarium is a lot of look for a two-week trip.
How to Make Vacation Nails Last the Whole Trip
Travel is rough on manicures – sunscreen, pool chemicals, salt water, and suitcase zippers all chip away at polish. Here’s the routine that gets a manicure through a trip intact:
- Book your appointment one to two days before departure, not the morning of, so the polish fully cures before it meets sunscreen.
- Choose gel or builder gel over regular polish for any trip longer than four days – the difference in chip resistance is enormous.
- Cap the free edge: make sure polish wraps over the very tip of each nail, since that’s where chips start.
- Apply sunscreen with the backs of your fingers when you can, and rinse your hands after – some SPF ingredients dull top coats.
- Pack a mini bottle of cuticle oil and use it nightly; hydrated cuticles keep the whole manicure looking fresh in close-up photos.
- Resist using your nails as tools on luggage tags, soda cans, and stubborn zippers. That’s what hotel pens are for.
How to Choose the Right Idea for Your Destination
The easiest way to narrow this list down is to match the manicure to the light and the setting you’ll be photographed in. Beach trips flatter blues, sheers, and anything glossy, because water and sky bounce color everywhere. City trips tend to suit the neutral ideas – the Polaroid frames, the raffia weave, the golden glaze – since they pair with more outfits and look polished at dinner.
If your itinerary mixes both, pick one neutral base idea and add a single destination-themed accent nail, so the manicure works at the pool and at the rooftop bar without competing with either.
Common Mistakes to Avoid with Vacation Nails
- Getting your nails done the morning you fly. Polish and gel need time to fully harden; a fresh set plus airport luggage handling equals dents before you’ve even boarded.
- Choosing a design that only matches one outfit. You’ll wear these nails with everything you packed, so the base color needs to be a team player even if the accents are bold.
- Going too long right before a trip. Very long extensions plus sand, snorkel gear, and suitcase wrangling is a recipe for a painful break far from your usual salon.
- Skipping the top coat refresh. If you’re traveling more than ten days, pack a clear gel-effect top coat and reapply once mid-trip — it revives shine instantly in photos.
- Copying a design without adapting the colors to your trip. A perfect idea in the wrong palette feels off; shift the tones toward your actual destination and it clicks.