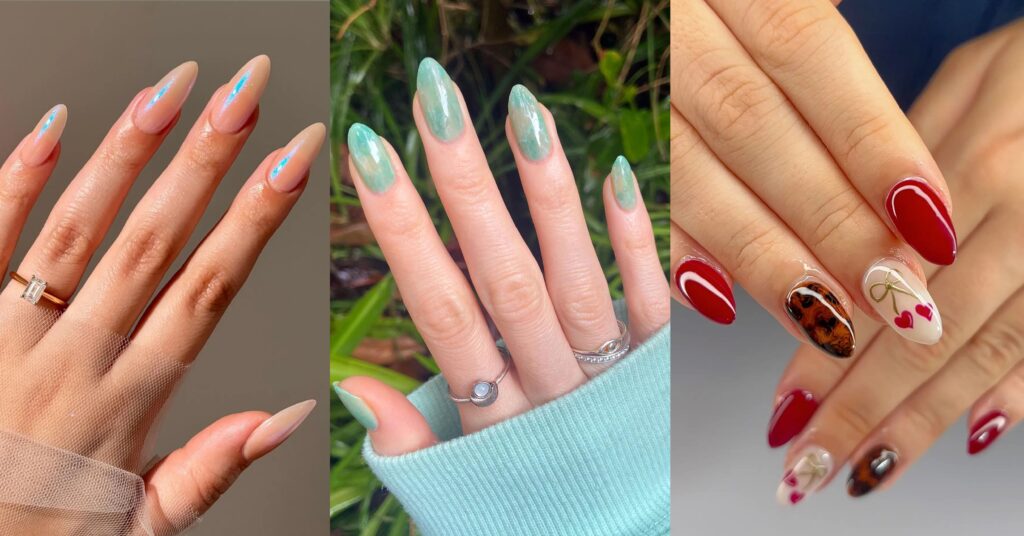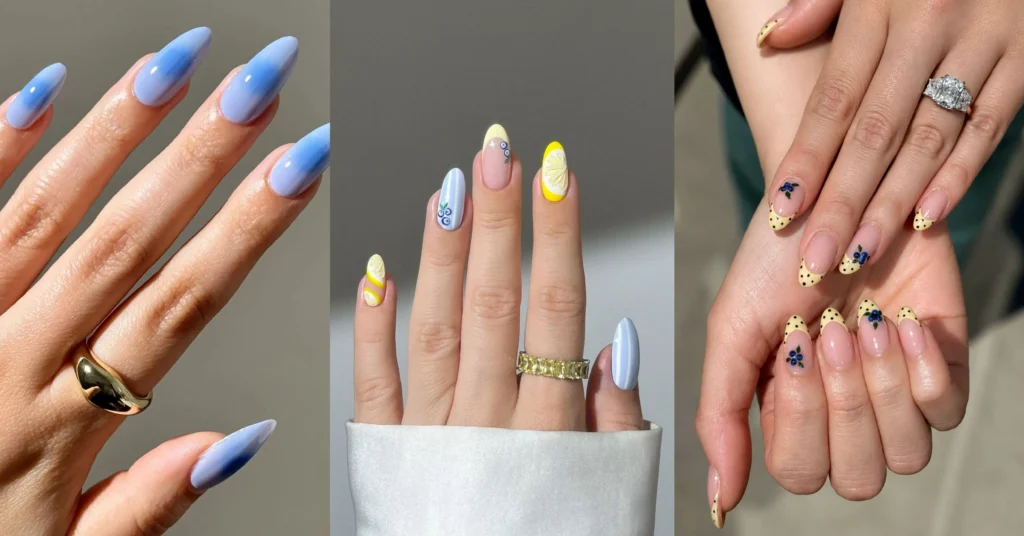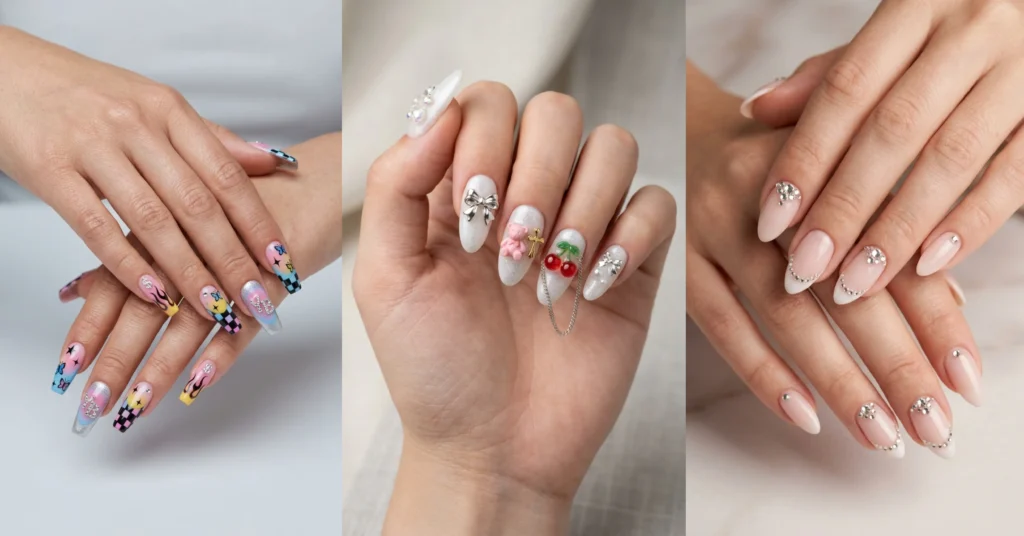
You’ve seen them. The nails that make you stop mid-scroll – long coffin tips drowning in rhinestones, chrome so shiny it doubles as a mirror, a tiny gold chain dangling off a pinky nail like it pays rent there.
That’s the look people are searching for when they type “swag nails.” The funny thing? Almost nobody explains what the term means or how to get the look without spending a fortune. Pinterest shows you a thousand photos. This guide gives you the rest: what swag nails are, the styles worth copying, what they cost, and how to pull them off – whether you’re booking a salon chair or working at your kitchen table.
Skip around if you want. It’s all here.
What Are Swag Nails?
Swag nails are bold, statement-making nail designs built to grab attention – usually long coffin or stiletto shapes decorated with rhinestones, chrome finishes, 3D charms, animal print, or loud color combinations. The term comes from Pinterest and Instagram culture, where “swag” tags mark maximalist, confident nail art rather than one specific technique.
In other words, “swag nails” isn’t a product you buy or a service on a salon menu. It’s a vibe with rules. Ask for “swag nails” at a salon and you’ll get a raised eyebrow; show the tech three saved photos and say “this energy,” and you’ll get exactly what you came for.
The style overlaps heavily with what people also call baddie nails, bling nails, and Y2K nails – cousins in the same loud, glossy family.
What Makes a Nail Design “Swag”?
A design earns the label when it commits. The common threads across thousands of tagged looks come down to four things:
Length and shape. Most swag sets run medium-long to long, in coffin, stiletto, or long square shapes. The extra surface is the canvas — short round nails can be gorgeous, but they physically can’t hold a leopard print, two gems, and a chrome accent nail at once.
Decoration density. At least one element that catches light or texture: rhinestones, chrome powder, foil, 3D charms, glitter fades.
An accent-nail mindset. Almost every swag set treats one or two nails differently – a solo bling nail on the ring finger, one jelly nail among mattes. Uniform sets read “pretty.” Mixed sets read “swag.”
Confidence over subtlety. If you’re asking “is this too much?” – for this style, that’s the sign you’re doing it right.
The Swag Nail Styles Everyone Is Wearing Right Now
These are the sub-styles that dominate the tag, plus where each one shines. One heads-up before you screenshot: nail pros interviewed by Who What Wear in 2026 note the trend is shifting from oversized maximalism toward refined micro details – tiny gems, small motifs, cleaner placement.
Swag in 2026 is loud, but it’s precisely loud.
Chrome and Metallic Nails
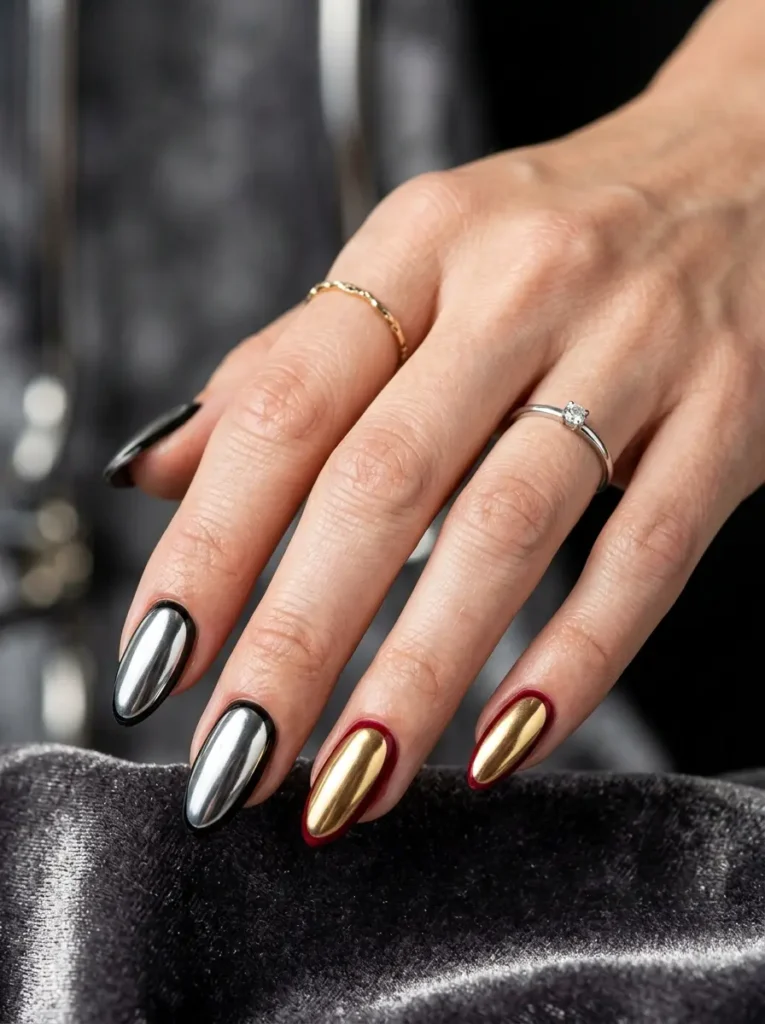
Chrome is the gateway swag style, and probably the easiest way to look expensive without a single rhinestone. The finish comes from an ultra-fine metallic pigment powder rubbed over cured gel polish, which turns the nail into a soft mirror — under sunlight it reflects like liquid metal, and it photographs better than nearly anything else you can put on a nail.
The base color underneath decides the whole personality of the set. Silver chrome over black gives you the classic gunmetal look; gold chrome over deep red reads luxury; chrome over milky white or baby pink creates the “glazed donut” effect that took over after Hailey Bieber wore it. If you want maximum swag with minimum effort, do chrome on all ten nails and add one small gem cluster to a single accent nail — that combination alone carries an entire set.
One honest limitation: true chrome only works over gel. Regular polish versions exist, but they give a metallic shimmer, not the mirror. If you’re doing this at home, you’ll need a small UV/LED lamp – a $15 one is enough.
Bling and Rhinestones Nails
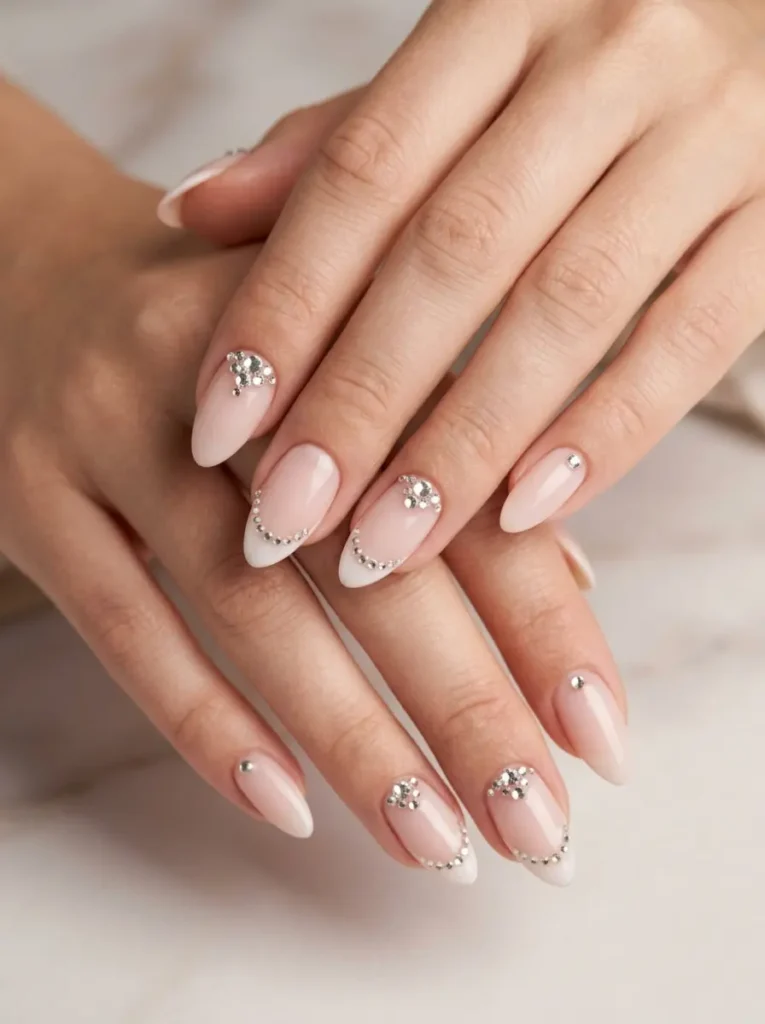
Rhinestones are the heart of the swag look – when people save “swag nails” photos, nine times out of ten there’s a crystal somewhere in the frame. But there’s a real difference between bling that looks expensive and bling that looks like a craft project, and it comes down to two decisions: placement and stone quality.
Placement first. The current move is intentional clusters, not coverage – a crystal arrangement hugging the cuticle, a line of tiny gems outlining a French tip, or one fully jeweled ring-finger nail while the rest stay clean. This follows the wider 2026 shift toward refined micro details: smaller stones, deliberate patterns, negative space around the sparkle so it actually stands out.
Stone quality second. Flat-back glass crystals catch and split light dramatically better than plastic ones – plastic reads cloudy in photos, which defeats the entire purpose. The price difference is a couple of dollars per wheel, so there’s no good reason to cheap out here.
For placement, a wax-tip picker pencil (about $3) will save you from the frustration of chasing a 2mm stone around with tweezers.
3D Charms Nails
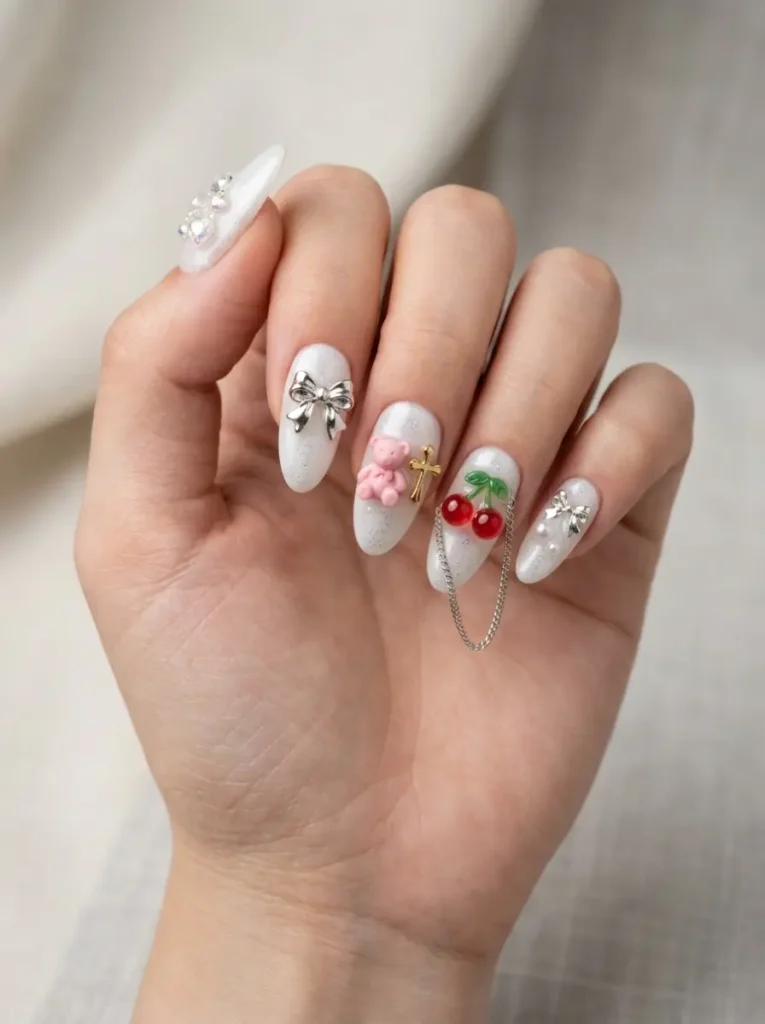
Charms are where a manicure stops being nail polish and starts being jewelry. These are small acrylic, resin, or metal pieces – bows, hearts, teddy bears, crosses, cherries, even tiny dangling chains that swing when you move your hand – glued or gel-set onto the nail surface. On social media they’re the single most screenshot-ed swag element, because they add literal dimension that flat art can’t match.
The unwritten rule is one to three charms per hand, placed on accent nails only. A single dangling chain on the pinky or one oversized bow on the ring finger does more work than a charm on every nail, which quickly turns from jewelry into clutter. Kawaii-style charms (bears, fruit, polka-dot bows) pull the look playful and Y2K; metal crosses and chains pull it edgy and street.
Fair warning: charms are the highest-maintenance element on this list. They snag on hair, sweaters, and jean pockets, and a charm attached with a dab of glue alone rarely survives a week. The fix is embedding the base in builder gel or sealing around it with thick top coat – there’s more on that in the aftercare section below.
Animal Print Nails
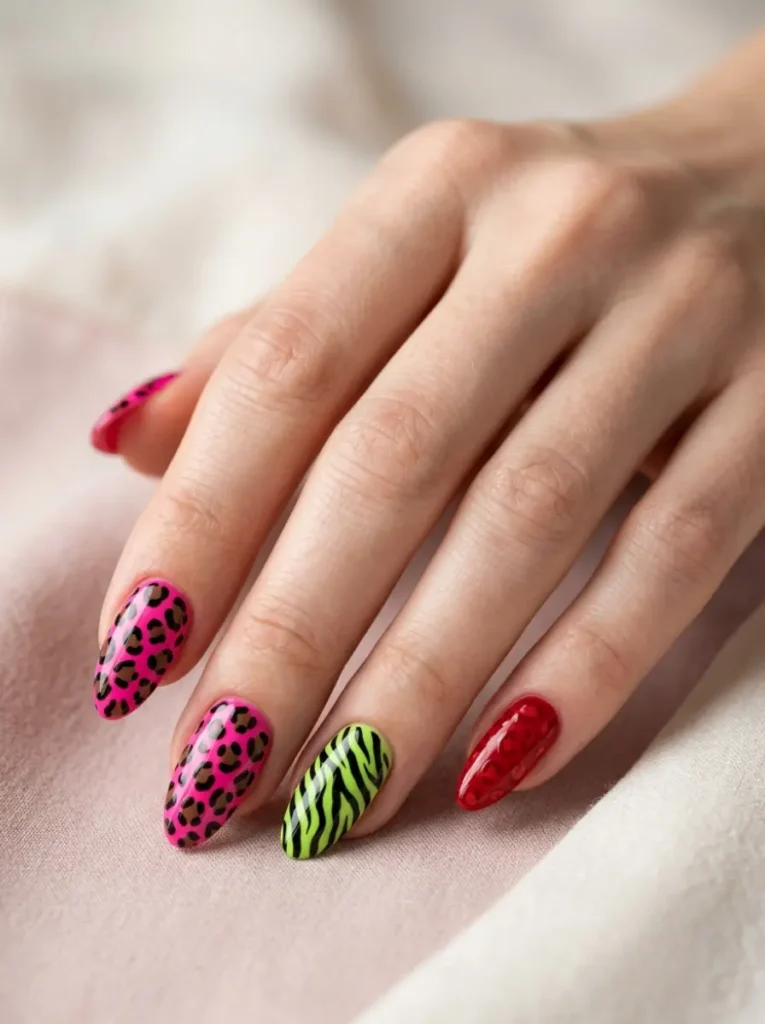
Animal print is the attitude section of the swag catalog. Leopard and zebra dominate, with cow print as the playful third option, and the styling formula is consistent: pair the print with a base color nature never intended. Hot pink leopard is practically the unofficial mascot of the swag tag; lime green zebra and red-on-red leopard are close behind. Neutral leopard over nude exists too, but it reads “safari chic” rather than swag — the loud base is what flips it.
The proportion rule matters more here than with any other style. Print on one or two accent nails per hand, with the rest in a matching solid color, looks sharp and deliberate. Print on all ten nails tips over into costume territory fast.
Here’s the part beginners never believe until they try it: leopard print is the easiest nail art that exists. Irregular blobs of one color, broken C-shaped outlines around them in black, done – the messier the spots, the more realistic they look. A bobby pin dipped in polish is the only tool the job needs, which makes this the best first style for anyone starting DIY.
Y2K / McBling Nails
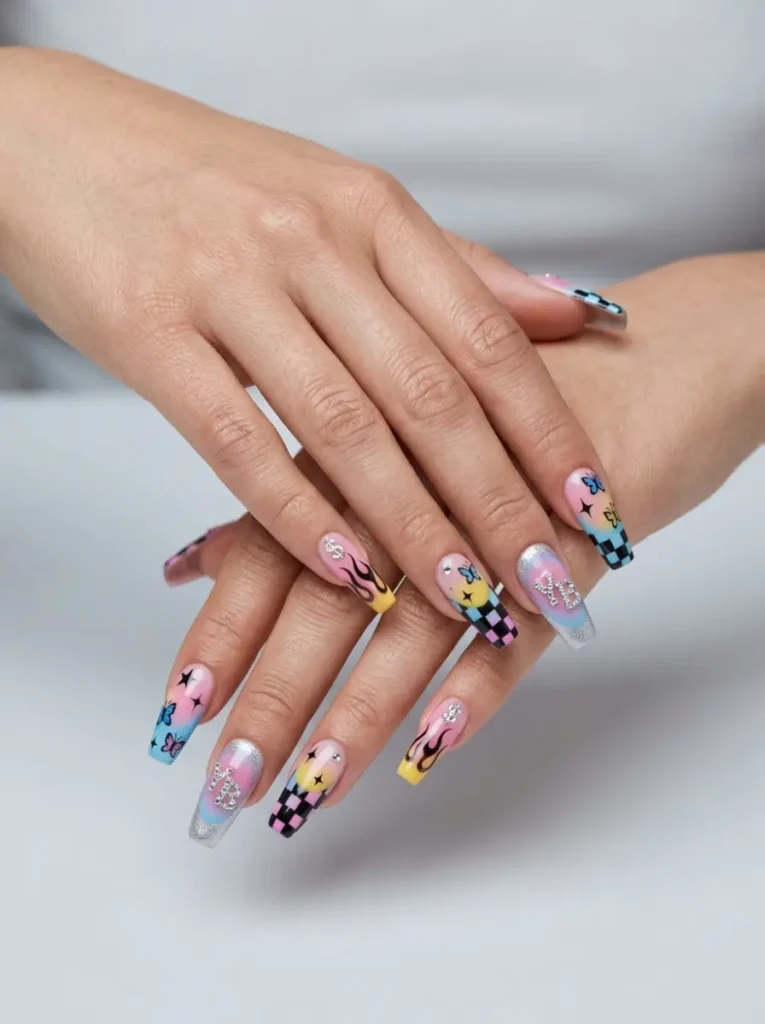
Y2K is the nostalgia engine of swag nails – the early-2000s revival that refuses to die because it keeps working. The vocabulary is specific: airbrushed gradients, tiny stars and butterflies, checkerboard patterns, flame tips, yin-yangs, rhinestone initials, and that unmistakable frosted-silver shimmer. If your reference photos involve anything Paris Hilton would have worn in 2003, you’re in this lane. The “McBling” end of it goes harder – think rhinestone-crusted logos, airbrushed money signs, and gradients in colors that glow under club lighting.
What makes Y2K work as a swag style is that it’s a set design, not a single element. A typical set mixes three or four motifs across ten nails – a butterfly here, a checkerboard accent there, an airbrushed fade on the thumbs – unified by a shared color story, usually baby pink, ice blue, or silver. That mix-and-match structure is forgiving: no single nail has to be perfect because the eye reads the whole hand.
If you’re DIYing, star and butterfly stickers plus a glitter polish get you 80% of the way there. The airbrushed gradient look fakes convincingly with a makeup sponge and two polish shades dabbed on and blended.
Jelly and Glass Finishes Nails
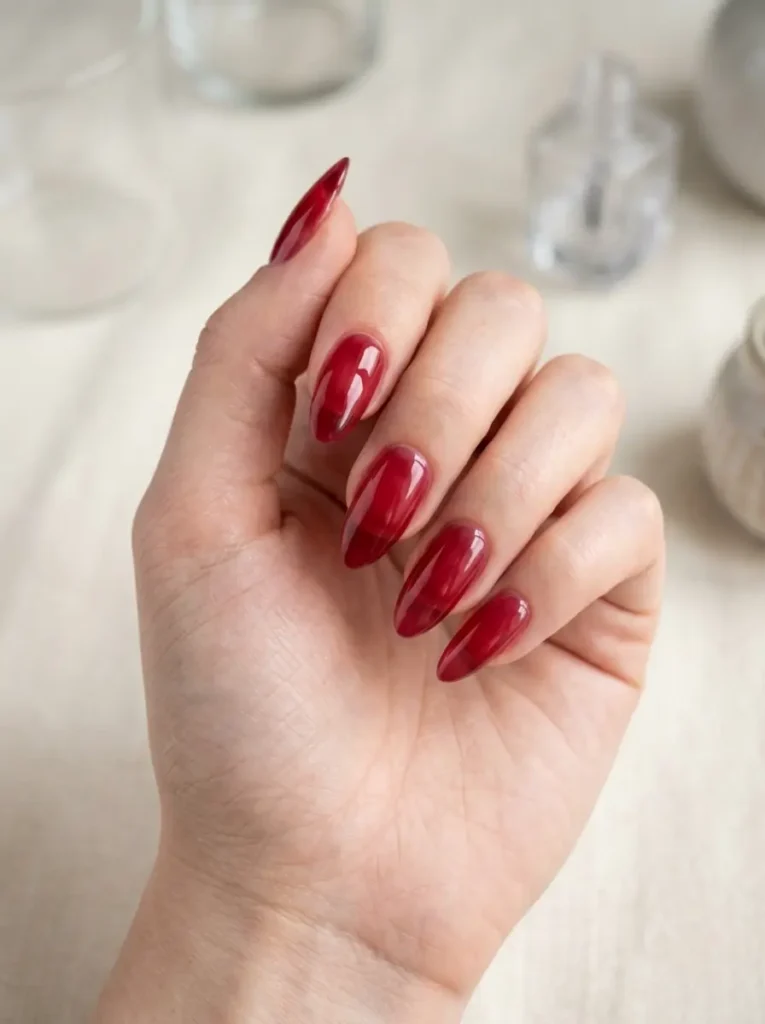
Jelly is the “quiet” entry in the swag catalog — sheer, candy-like color that lets light pass through the nail instead of sitting on top of it, like a gummy bear or a piece of sea glass. Cherry red jelly, blueberry blue, and lime green are the signature shades, and the effect is hard to explain in a photo but instantly noticeable in person: the nails look juicy, dimensional, and almost lit from inside.
The technique is the opposite of everything else in this guide. Instead of building layers of opacity, you keep the color deliberately translucent — thin coats of a sheer jelly-formula polish, stopping while you can still faintly see the nail underneath, then a thick glossy top coat that creates the glass surface. Opaque polish thinned with top coat fakes the formula in a pinch.
Jelly earns its place on this list for a practical reason: it’s the swag style that survives a dress code. It reads bold because of the glassy depth, not because of decoration, so it works in offices and formal settings where a full bling set wouldn’t. Pair one jelly hand with a single chrome or gem accent nail and you’ve got the most wearable set in this entire guide.
Which Nail Shape Works Best for Swag Nails?
Coffin is the go-to shape for swag nails: the flat tip and tapered sides give the most usable surface for art while looking dramatic from every angle. There’s data behind the preference, too — Grand View Research reports coffin-shaped press-ons are the fastest-growing shape segment, projected at a 7.7% annual growth rate through 2030.
Stiletto is the high-drama alternative — sharper, edgier, slightly less practical for typing and texting. Long square is the sleeper pick; square shapes actually accounted for roughly 28% of press-on market revenue in 2023 per Grand View Research, because they’re sturdy and easy to live with.
If it’s your first long set, start coffin. It’s the best balance of canvas, drama, and not stabbing yourself.
Salon, Press-Ons, or DIY: Three Ways to Get Swag Nails
There are exactly three routes to the look, and the right one depends on your budget, patience, and how long you need the set to survive.
| . | Salon (acrylic/gel + art) | Press-Ons | DIY Polish + Art |
|---|---|---|---|
| Typical cost | $60–$150+ per set | $10–$60 per set | $20–$40 in supplies (reusable) |
| How long it lasts | 2–4 weeks | 3 days–2 weeks | 3–7 days |
| Skill needed | None (bring photos) | Very little | Moderate, improves fast |
| Best for | Events, complex 3D work | Trend-hopping, commitment-phobes | Budget, creative control |
Press-ons deserve a special mention because they’ve quietly become the smart way to wear swag styles. The global press-on market hit roughly $738 million in 2024 and is projected to pass $1 billion by 2030, according to Grand View Research — and that growth is exactly why handmade sets with salon-level charm work now exist on Etsy for a third of salon prices.
How to DIY Swag Nails at Home
You don’t need acrylic skills. A swag set at home is mostly patience and a top coat. Here’s the process that actually works:
- Prep your nails: push back cuticles, buff the surface lightly, and wipe with alcohol. Skipping this is why home manicures chip in two days.
- Shape to a long square or soft coffin if your natural nails allow – or apply clear full-cover tips first for length.
- Paint your base color and let it dry fully. Two thin coats beat one thick one, every time.
- Plan your accent nails before touching any decoration. Pick two nails per hand to carry the drama.
- Place rhinestones or charms using a dot of nail glue or thick gel top coat, then a toothpick or wax pencil to position them. Work one nail at a time.
- Add details – leopard spots need only a bobby pin dipped in black polish; chrome powder needs a gel top coat cured first, then powder rubbed on with a foam applicator.
- Seal everything with a thick glossy top coat, going around (not over) any 3D charms.
Total time for a first attempt: about 90 minutes. Second attempt: half that.
How Much Do Swag Nails Cost?
Expect $60–$150+ at a salon, $10–$60 for press-ons, or a one-time $20–$40 supply cost for DIY. The salon range is wide because decoration is priced per element at most places – a full set of acrylics might start at $55, then rhinestones, charms, chrome, and hand-painted art each add $5–$20.
A money-saving trick nail techs won’t volunteer: ask for full art on two accent nails per hand and simple color on the rest. You keep 90% of the visual impact and cut the art charges roughly in half.
How to Make Swag Nails Last Longer
The set is only half the job. Keeping it alive is the other half:
- Reapply glossy top coat every 3–4 days on polish-based sets – it’s the single highest-impact habit.
- Wear gloves for dishes and cleaning. Hot water and detergent are what actually lift charms and lift press-ons, not daily typing.
- Glue down lifts immediately. A loose charm or lifting press-on edge caught early is a two-minute fix; caught late, it’s a lost nail.
- Oil your cuticles daily. Flexible, hydrated nails flex with impacts instead of cracking under them.
- Don’t use nails as tools. Opening cans with a fresh stiletto set is how stiletto sets die.
Mistakes That Kill the Swag
- Decorating all ten nails equally. The look needs contrast; all-over bling reads costume, not confident.
- Cheap plastic rhinestones. They look cloudy in photos, which defeats the entire purpose of this style.
- Skipping top coat around charms. Charms fall off from the edges, not the middle – seal the base.
- Choosing length your life can’t handle. A broken nail at day four costs more (in money or mood) than starting one size shorter.
- Matching the inspiration photo exactly. Those photos are usually fresh sets under studio light. Steal the elements, adapt the length and colors to your hands.