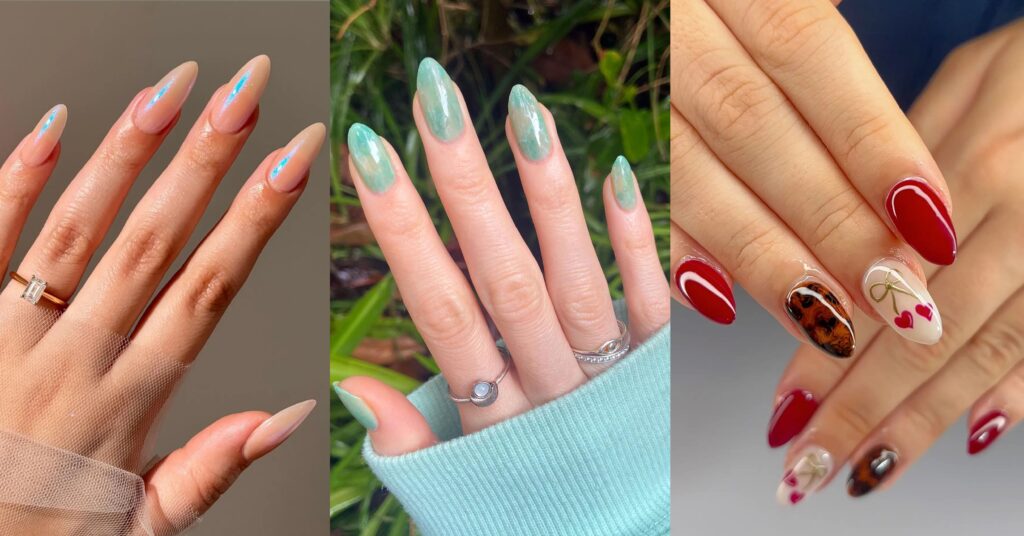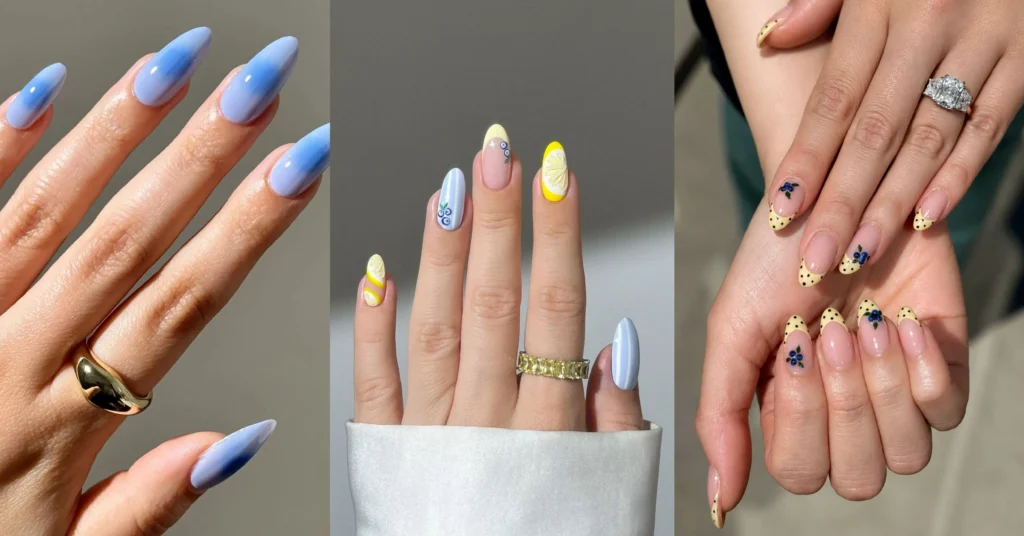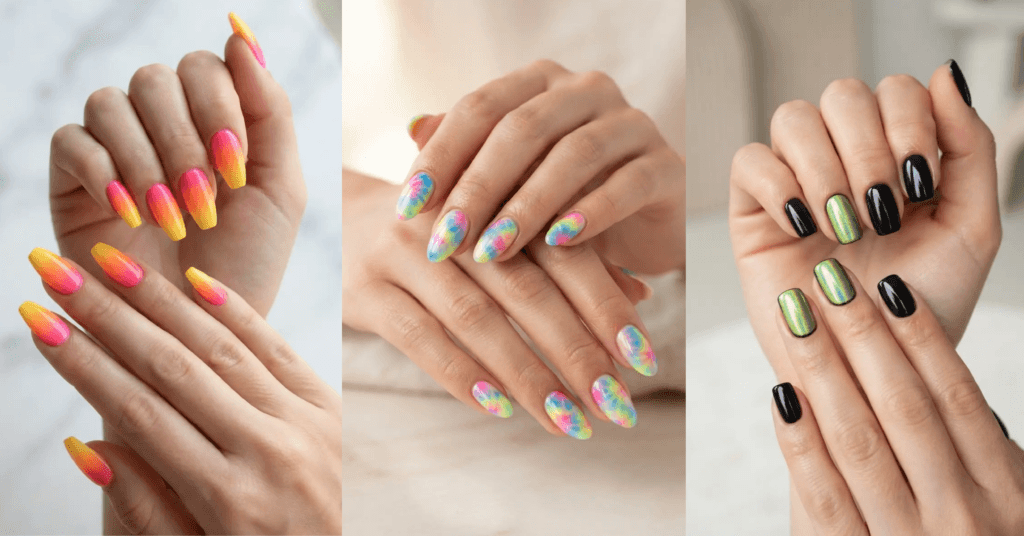
The first time I did Lolla, I got a full set of long coffin nails two days before and thought I was very prepared. By Friday afternoon I’d lost one to a tent zipper, cracked another opening a can, and spent the entirety of a headline set trying to type a “where are you” text with the pad of my thumb.
Grant Park in early August is hot, crowded, and four days long. Your nails are going to be photographed a hundred times and used for approximately nine hundred practical tasks. Those two facts pull in opposite directions, and the sets that win are the ones that respect both.
So this guide is split in two. First, 15 festival nail designs worth saving – chrome, neon, aura, butterflies, the lot. Then the unglamorous half: length, prep timing, sunscreen, the repair kit that fits in a fanny pack, and what actually holds up across four days on your feet. Skip to whichever you need.
What Are Lollapalooza Nails?
Lollapalooza nails are festival manicures designed for durability and high visibility – usually short to medium length, in bright, chrome, neon, or holographic finishes that photograph well in strong daylight and under stage lighting. The style borrows from Y2K and rave aesthetics, with butterflies, smiley faces, checkerboard, and airbrushed aura effects appearing most often.
They differ from general summer nails in three practical ways:
- Shorter length, because you’ll be handling phones, cans, wristbands, and crowds for four straight days
- Bolder finish, because subtle shades disappear in bright sun and against festival outfits
- Tougher build, usually gel, builder gel, or press-ons rather than regular lacquer
Lollapalooza runs in Chicago’s Grant Park each summer, and there are global editions in Berlin, Paris, Stockholm, São Paulo, Buenos Aires, Santiago, and Mumbai – so “festival nails” is a year-round search, not a July one.
Why Festival Nails Look the Way They Do
Photos are the whole point. Every set gets shot in harsh midday sun, in golden hour, and under saturated stage lights. Chrome, holographic, and neon finishes are the ones that read in all three. Soft nudes vanish.
Y2K nostalgia never left. Butterflies, smileys, checkerboard, and airbrushed swirls have been the dominant festival language for several years running, and they’re still the most-saved festival nail designs on Pinterest.
Blacklight and after-dark stages changed the palette. Neon and UV-reactive polishes glow under blacklight, which is why fluorescent shades outperform pastels once the sun goes down.
Practicality became a trend in itself. Short, sturdy sets are now genuinely fashionable rather than a compromise. “Short festival nails” is a growing search on its own.
Who These Ideas Suit Best
- Anyone attending a multi-day festival. Four days of camping, standing, and phone use is a real durability test.
- People who want maximum color impact. Festivals are the one context where a mismatched rainbow set makes complete sense.
- Press-on wearers. Festivals are the ideal press-on scenario: apply the night before, remove Sunday night, no salon appointment needed.
- Anyone with short natural nails. Short is genuinely the better choice here, not a lesser one.
If you’re going for one day only and you’re not camping, you have far more freedom on length. Four-day passes and camping change the maths considerably.
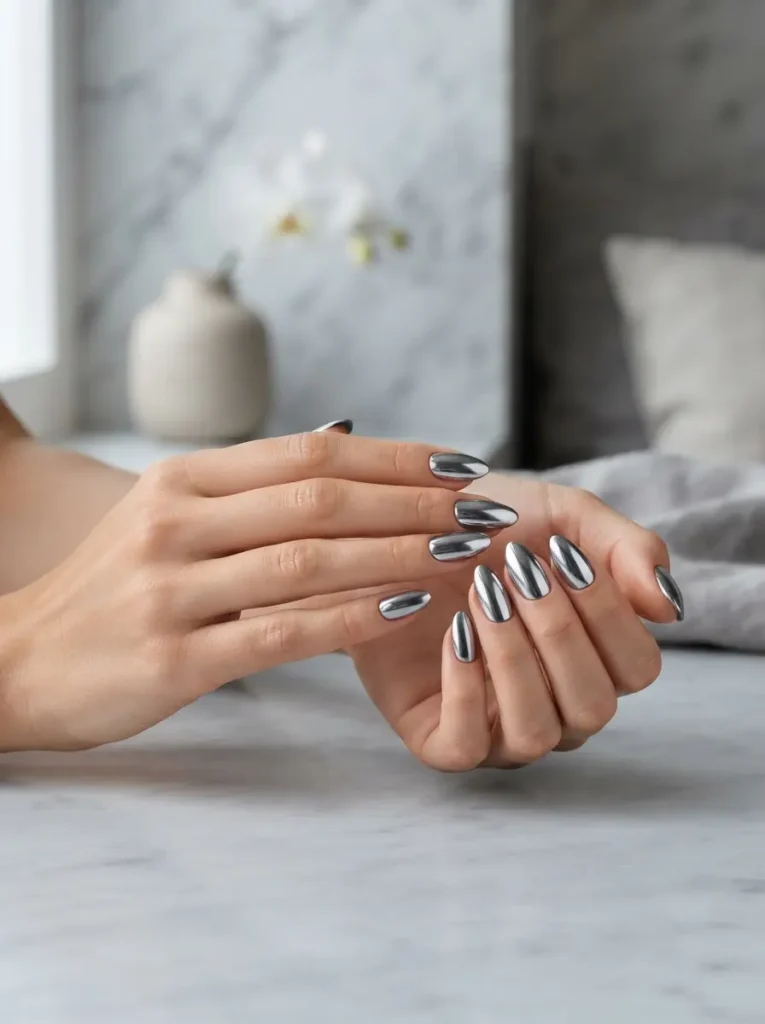
1. Silver Mirror Chrome Nails
A full set of liquid-mirror silver chrome powder buffed over a black or grey gel base.
Best for: electronic and dance stages, and anyone who wants nails visible from three rows back.
Difficulty: medium.
Tools: black or grey gel, no-wipe top coat, silver mirror chrome powder, applicator, sealing top coat, UV/LED lamp.
Chrome is the single best festival finish because it has no texture to snag and it reflects every kind of light – sun, LED wall, phone flash. Seal the free edge generously; chrome wears at the tips faster than anywhere else.
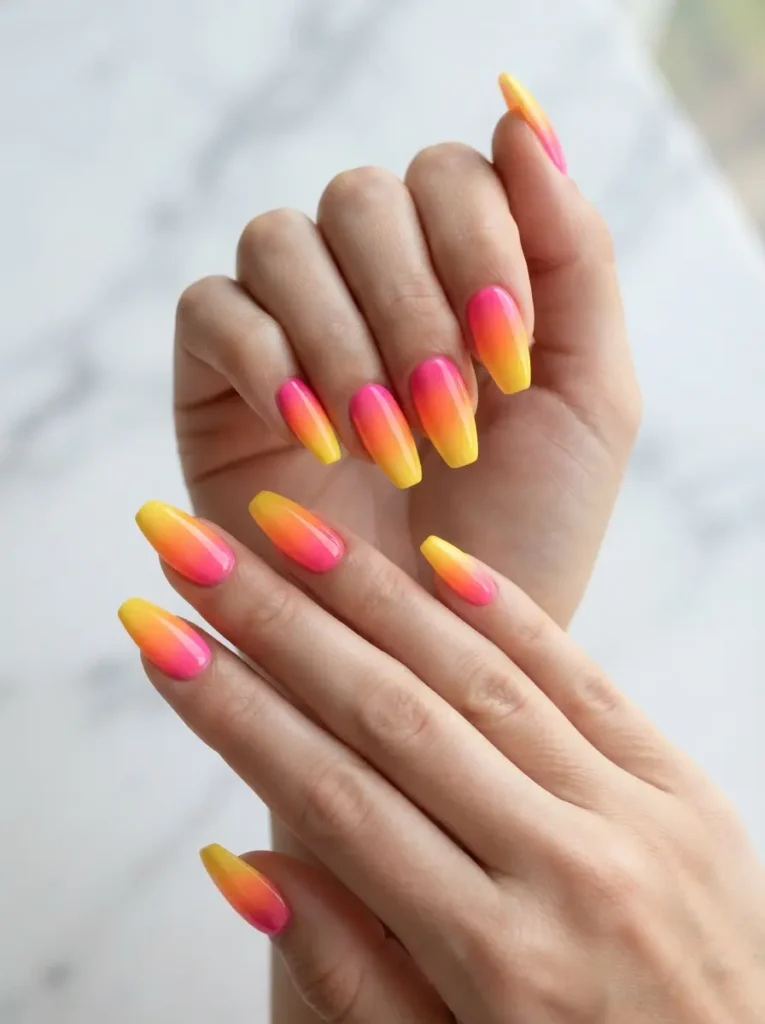
2. Neon Sunset Ombré Nails
A hot pink to tangerine to yellow fade across each nail, mimicking a sunset over the lake.
Best for: daytime sets and the whole Chicago-lakefront look.
Difficulty: medium.
Tools: neon pink, orange and yellow gel, makeup sponge, white base coat, glossy top coat.
Neons need a white base or they go dull and streaky. Sponge the three colors in overlapping bands while wet and bounce over the seams – don’t drag, or you’ll get mud where the pink and yellow meet.
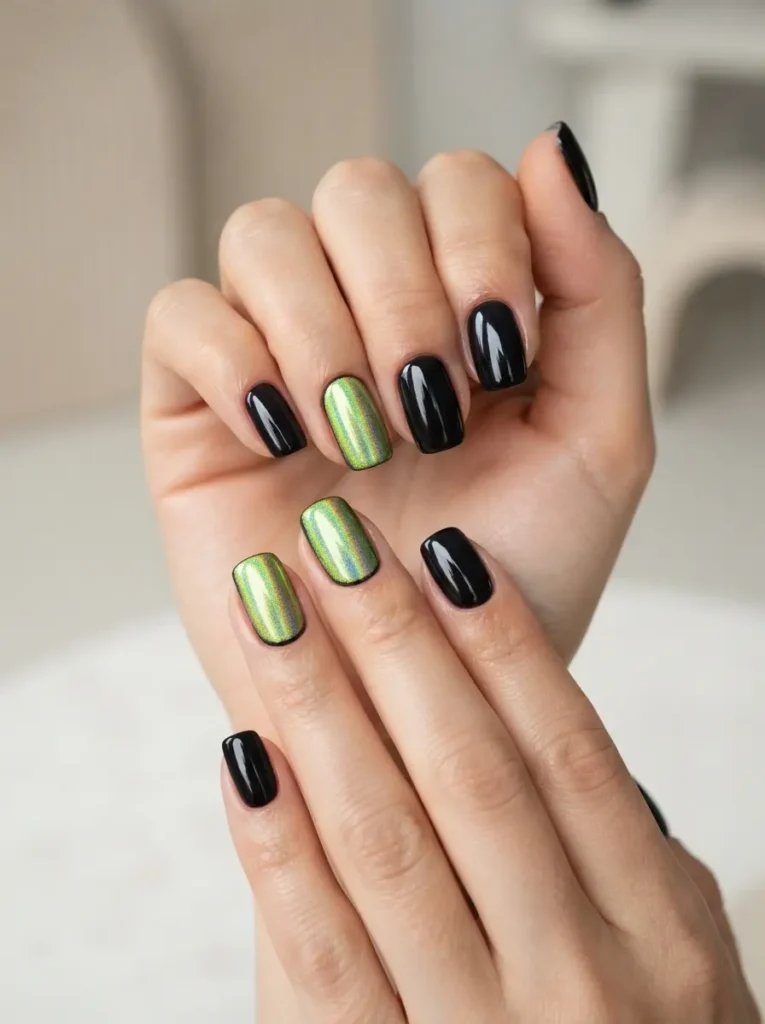
3. Acid Green Accent Nails
One or two nails in a sharp, high-visibility lime-green over a neutral or black set.
Best for: pop and hyperpop stages, and anyone who wants one loud element rather than ten.
Difficulty: easy.
Tools: acid green gel or lacquer, black or nude gel for the remaining nails, glossy top coat.
Acid green is the single most recognisable festival color of the last few years. Against black it reads graphic; against nude it reads playful. It also photographs unusually well under blue stage lighting.
4. UV-Reactive Glow Nails
Fluorescent polish that lights up under blacklight, appearing normal in daylight and electric after dark.
Best for: night sets and after-parties.
Difficulty: easy.
Tools: UV-reactive or neon fluorescent polish, white base coat, glossy top coat.
Two things worth knowing: UV-reactive polish glows under blacklight, whereas glow-in-the-dark polish needs to be charged in bright light first and fades within minutes. For a festival, UV-reactive is the more reliable choice – the blacklight does the work continuously.
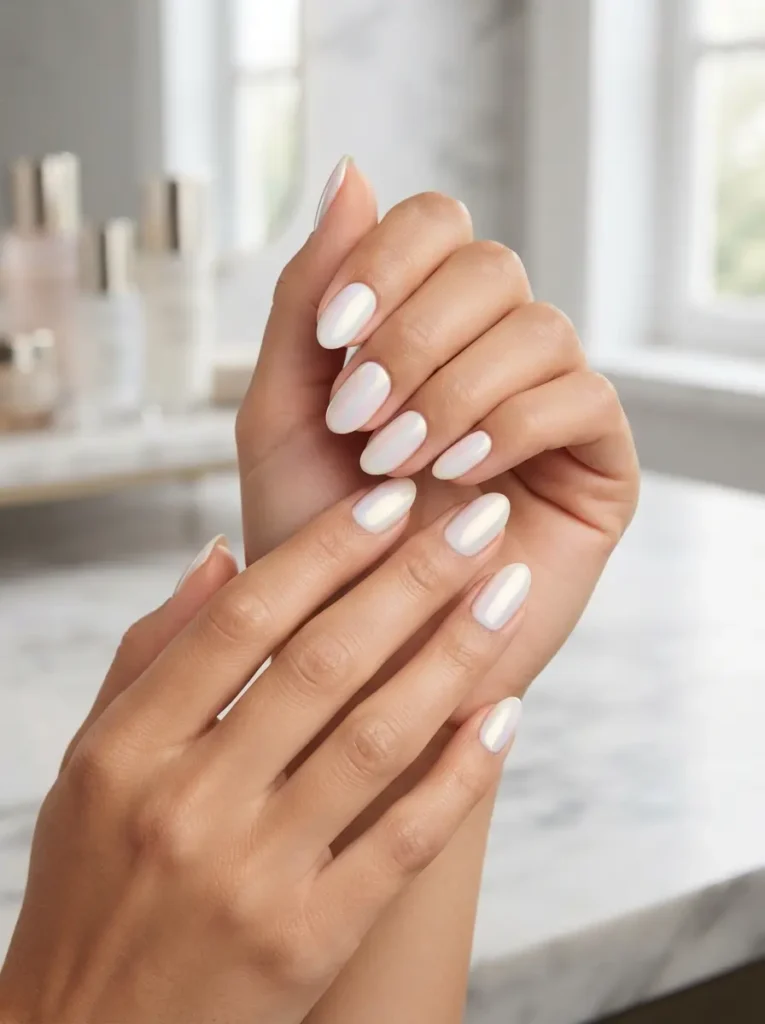
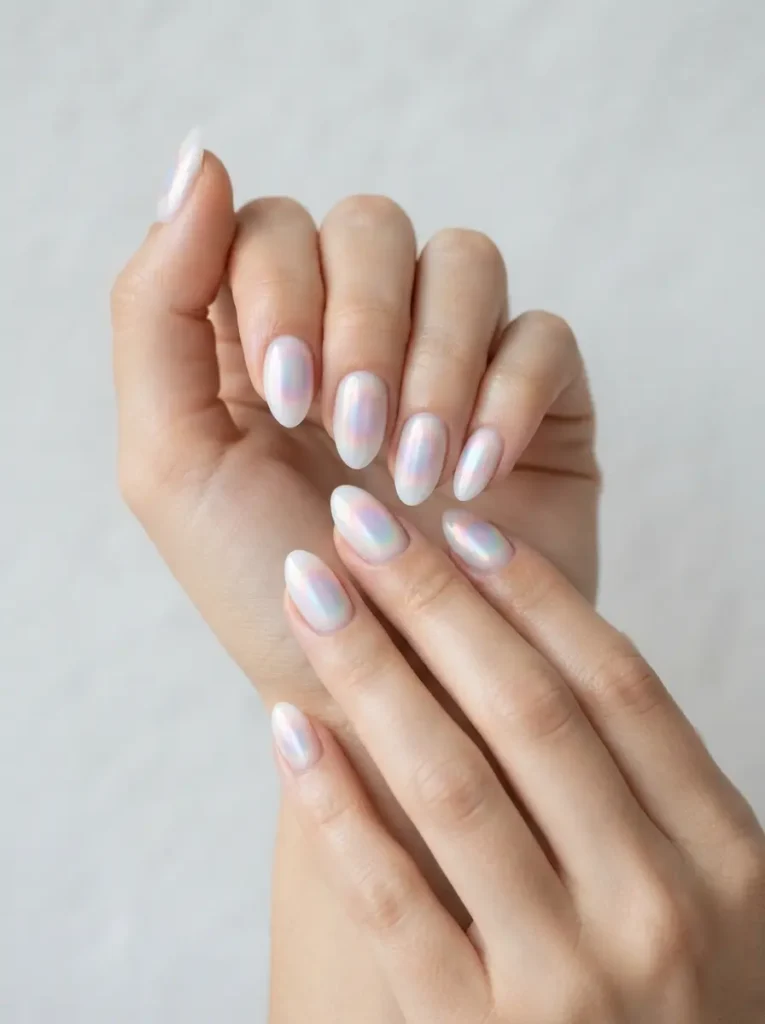
5. Airbrushed Aura Nails
A soft glowing halo of color radiating from the center of each nail over a milky or sheer base.
Best for: dreamy outfits, and it’s the most flattering design on short nails.
Difficulty: medium.
Tools: milky base gel, two bright sheer gels, makeup sponge or airbrush, glossy top coat.
Aura is forgiving because the edges are meant to be blurry. Dab the color in the center of the nail, blend outward with a clean sponge, cure. Two different aura colors across the hand look better than one repeated ten times.
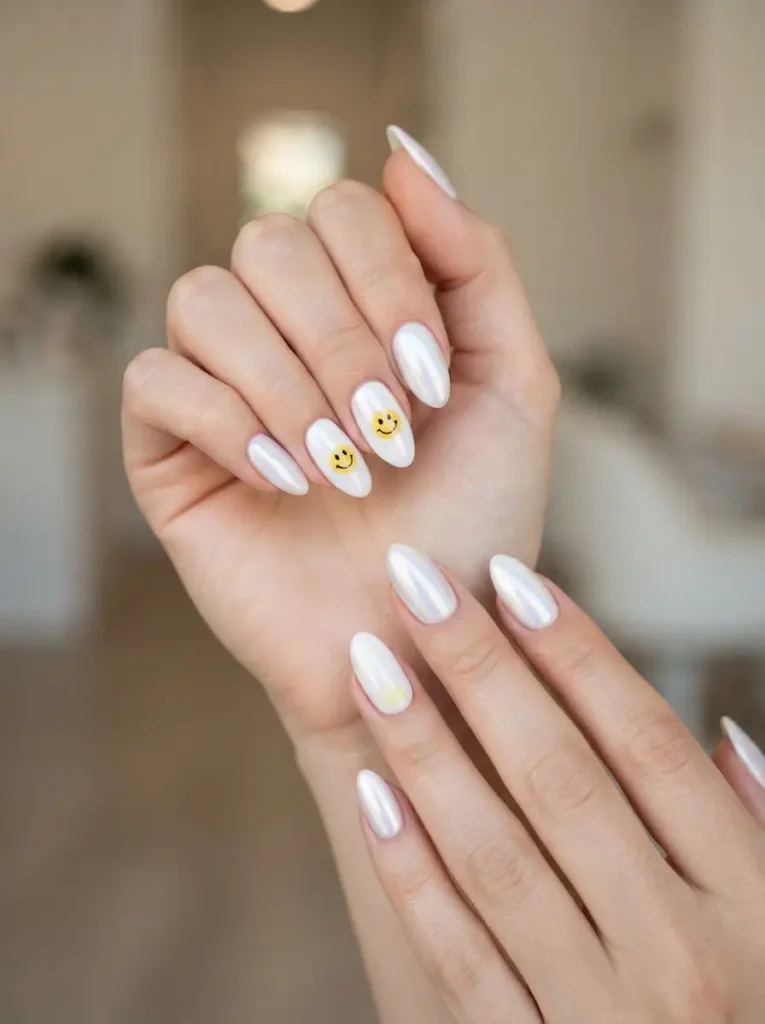
6. Y2K Smiley Faces Nails
Tiny hand-painted smileys on one or two accent nails over a bright solid base.
Best for: anyone who wants the festival look without a complicated design.
Difficulty: medium.
Tools: bright base gel, black gel liner, ultra-fine brush, glossy top coat.
Keep the faces small and slightly off-center. A smiley that fills the whole nail looks cartoonish; one sitting near the cuticle looks intentional. Two dots and a curve – resist adding detail.
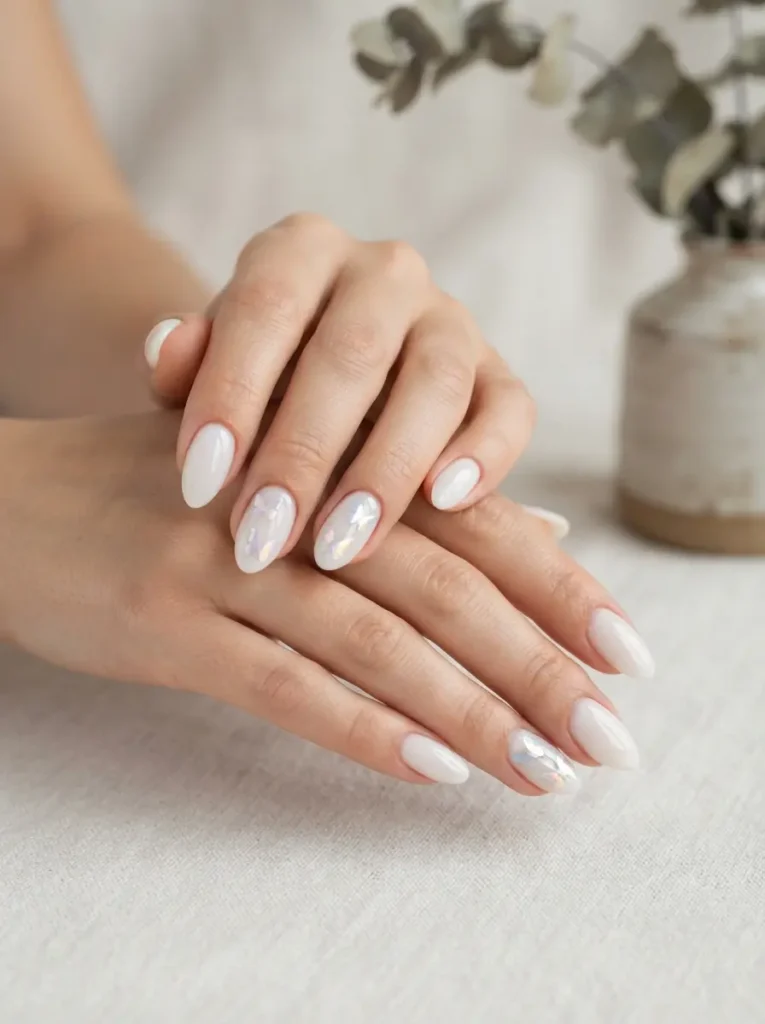
7. Butterfly Nails
Blue, pink, or holographic butterflies on one or two nails, either painted or applied as decals.
Best for: the most-photographed festival design there is.
Difficulty: easy with decals, hard hand-painted.
Tools: sheer or milky base gel, butterfly decals or fine liner brush, thick glossy top coat.
Decals are not cheating. Place them slightly overlapping the nail edge so the wing appears to continue past the tip, then bury them under two top coats so no edge catches.
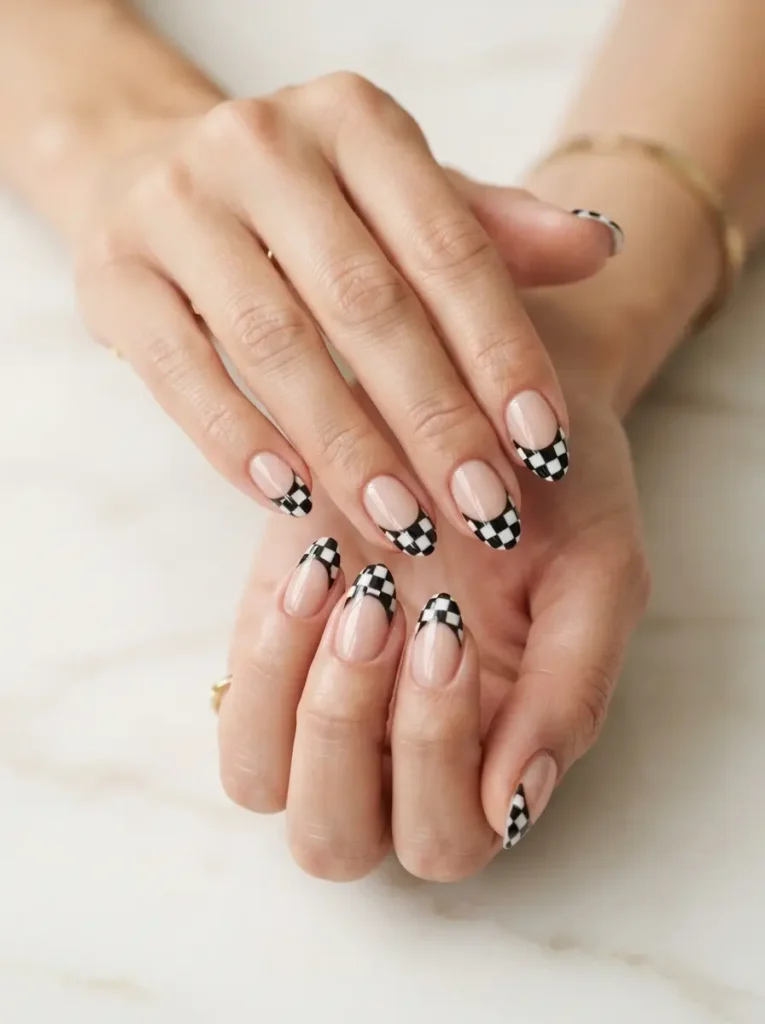
8. Checkerboard Tips Nails
A black-and-white or two-tone checkerboard pattern across the tip third of the nail.
Best for: skate-adjacent, streetwear festival outfits.
Difficulty: medium.
Tools: two contrasting gels, striping tape or a fine square-tipped brush, glossy top coat.
Keeping the check to the tips halves the work and stops it looking busy at speed. Striping tape gives cleaner lines than freehand for the first attempt – lay it, paint over, lift while wet.
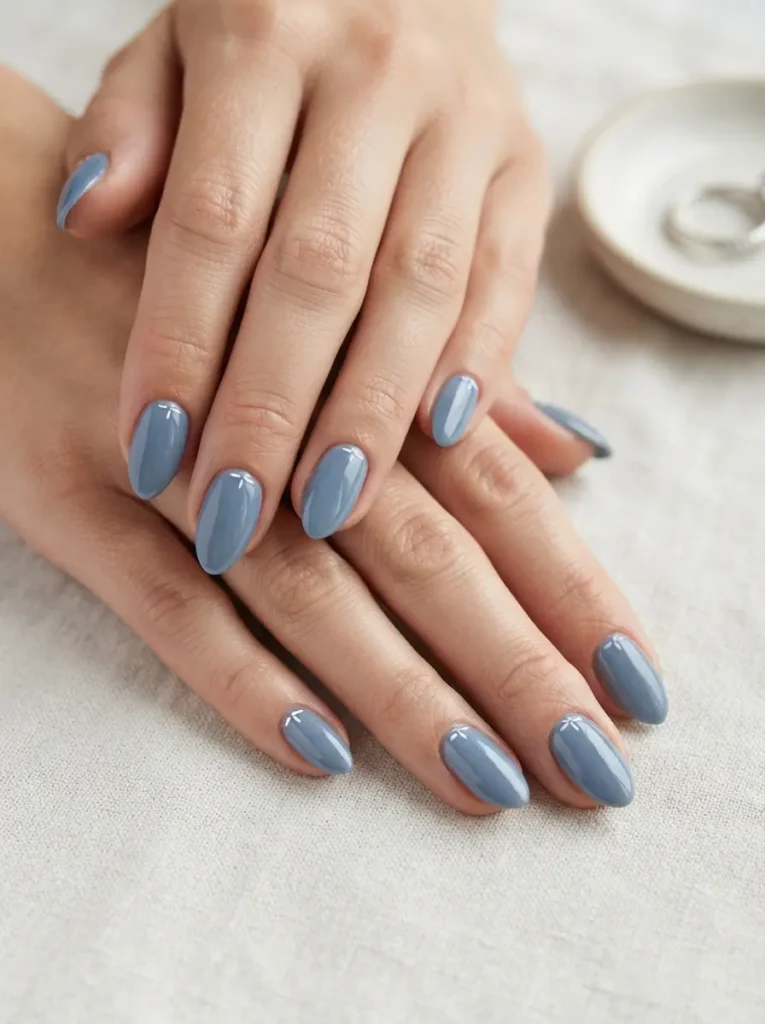
9. Denim Blue Western Nails
A washed denim-blue base with a tiny white star or stitch detail, nodding to the festival-western look.
Best for: cowboy boots, denim shorts, and country-leaning stages.
Difficulty: easy to medium.
Tools: denim blue gel, white gel liner, fine brush, glossy top coat.
Slightly muted blue reads as denim; bright blue just reads blue. Add a single white star to the ring finger and stop there.
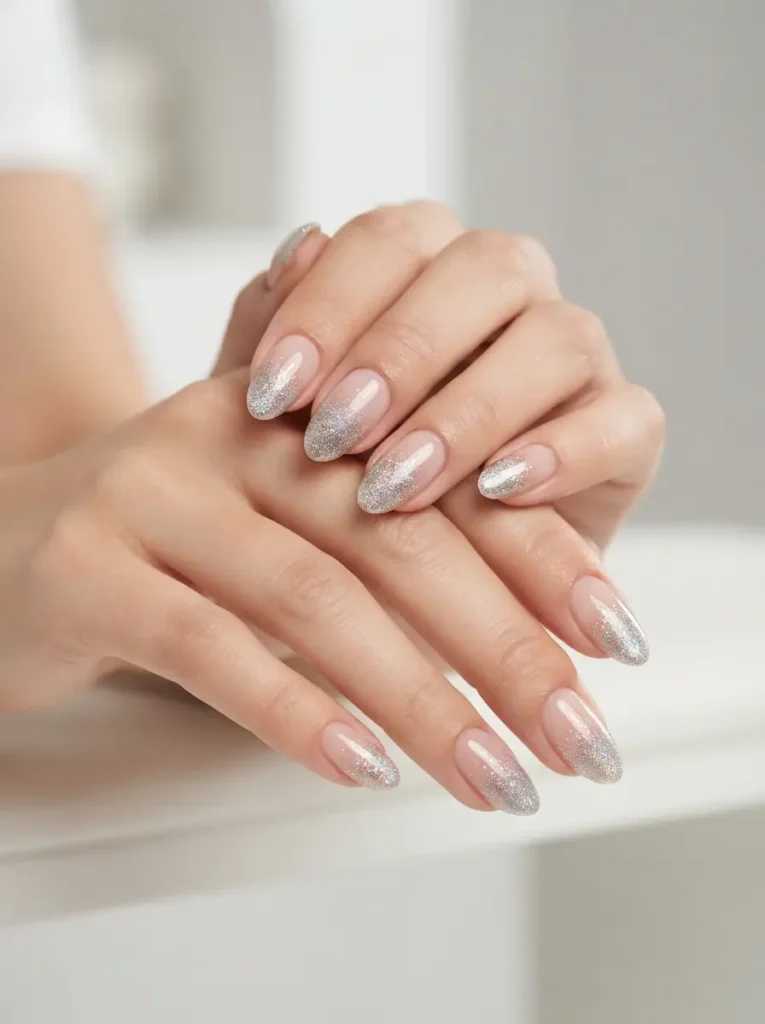
10. Holographic Glitter Tips Nails
A sheer base with a holographic glitter gradient concentrated at the tips.
Best for: rainbow flashes in direct sun.
Difficulty: medium.
Tools: sheer base gel, fine holographic glitter gel, sponge, two coats of glossy top coat.
Holo glitter throws far more color in sunlight than indoor swatches suggest. Two top coats are mandatory – glitter edges at the free edge are exactly what catches on festival wristbands.
11. Lightning Bolts and Stars Nails
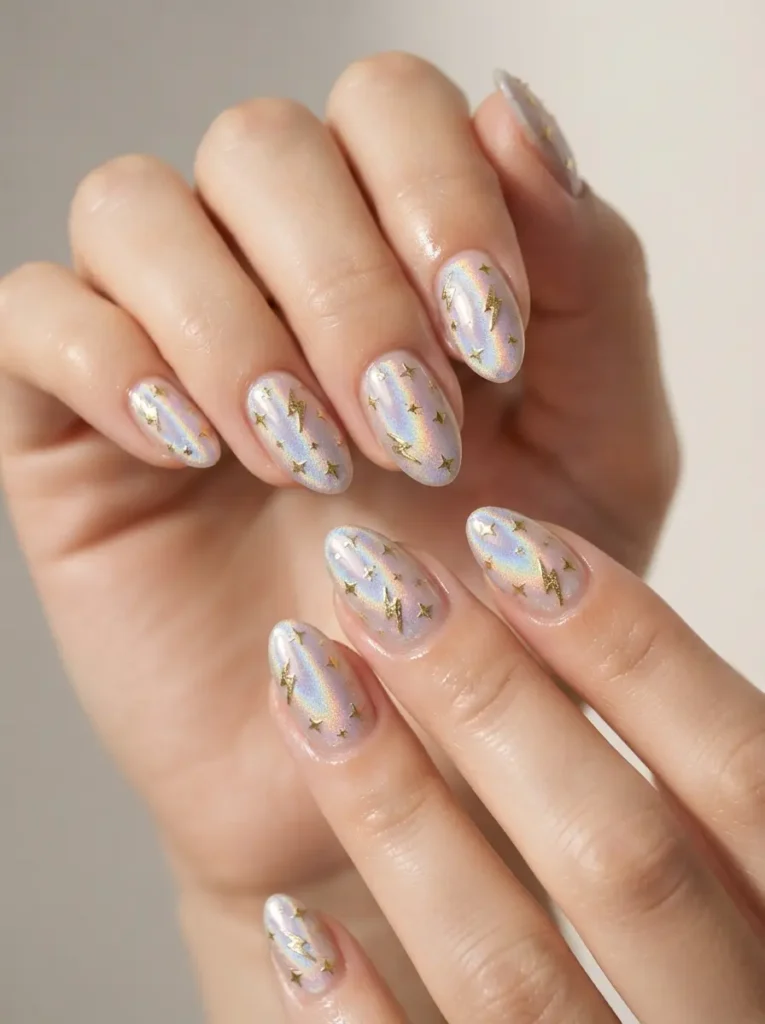
Small metallic bolts, stars, or sparkle motifs scattered across a dark or clear base.
Best for: rock and alt stages, and mismatched sets.
Difficulty: medium.
Tools: dark or clear base gel, gold or silver gel liner, fine brush or foil, glossy top coat.
Vary the size and don’t space them evenly. Three motifs across a whole hand is enough – a full scatter turns into noise from any distance.
12. Tie-Dye Swirl Nails
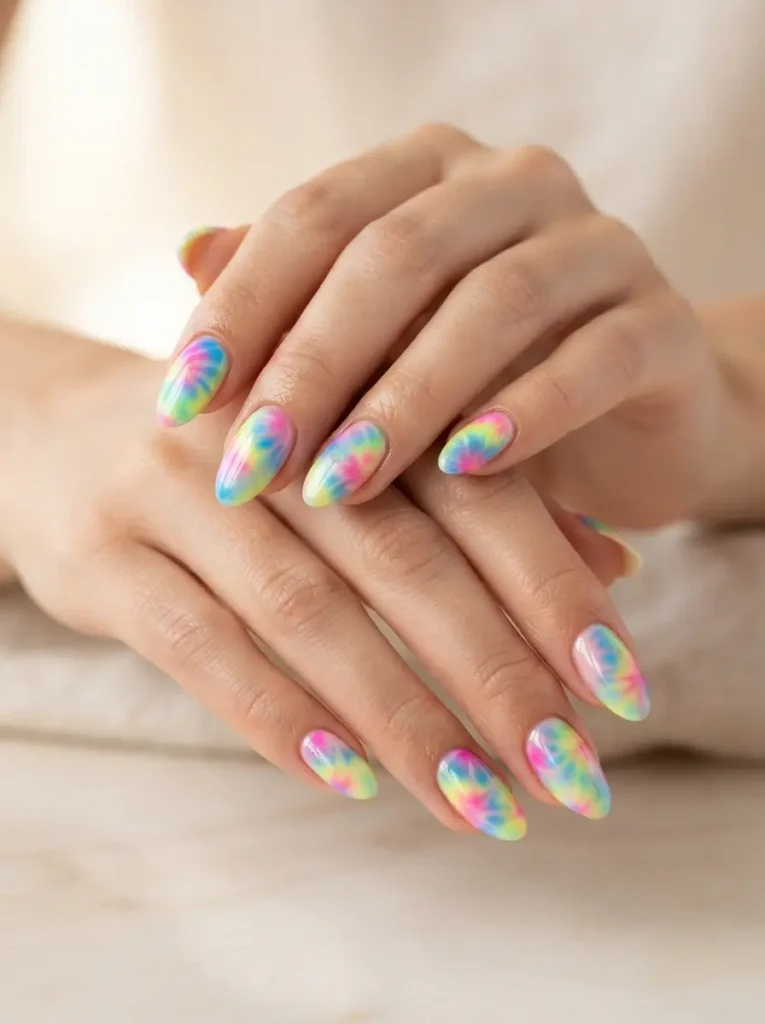
Soft blended swirls of two or three brights running across the nail like a tie-dye tee.
Best for: psychedelic outfits, and it hides chips remarkably well.
Difficulty: medium.
Tools: white base gel, three bright gels, thin liner or blooming gel, glossy top coat.
Blooming gel makes this dramatically easier – drop the colors onto uncured blooming gel and drag once with a thin brush, and it feathers on its own. Every nail turns out different, which is the point.
13. Chicago Skyline Accent Nails
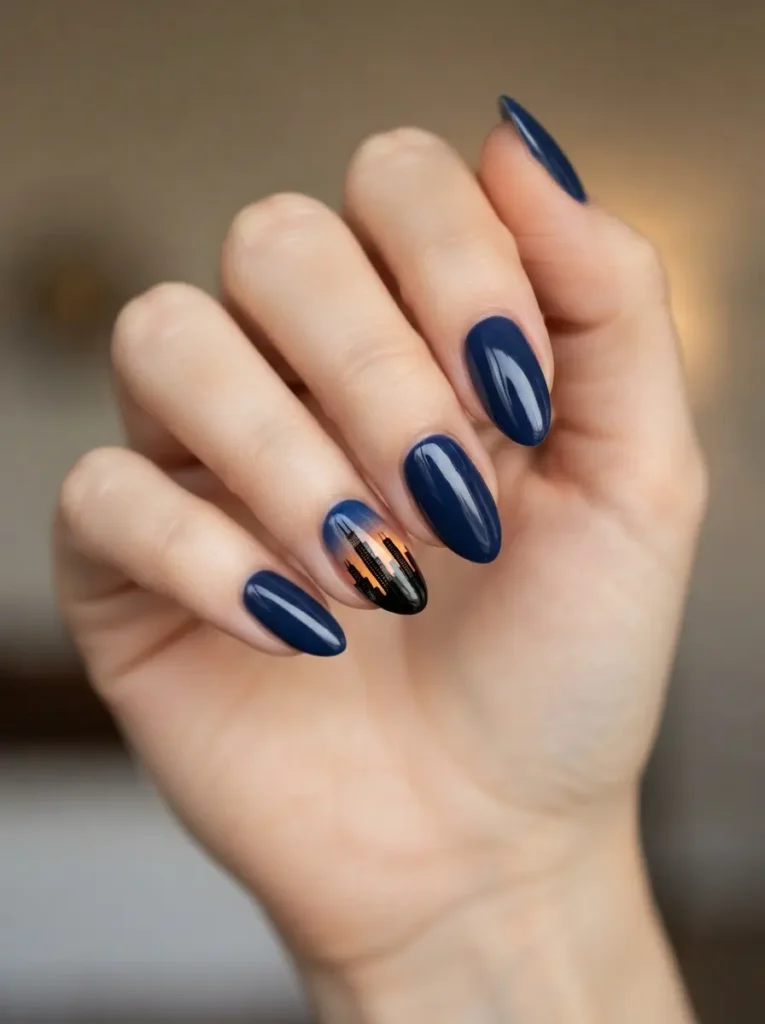
A single fine-line skyline silhouette on one nail over a sunset or navy base.
Best for: a Grant Park souvenir, and it photographs beautifully with the real skyline behind it.
Difficulty: hard.
Tools: base gel, black gel liner, ultra-fine brush, steady hand, glossy top coat.
This is a “have your tech do it” design. Keep it to a simple silhouette – a few rectangles of varying heights plus one taller spire reads instantly as a skyline without any detail.
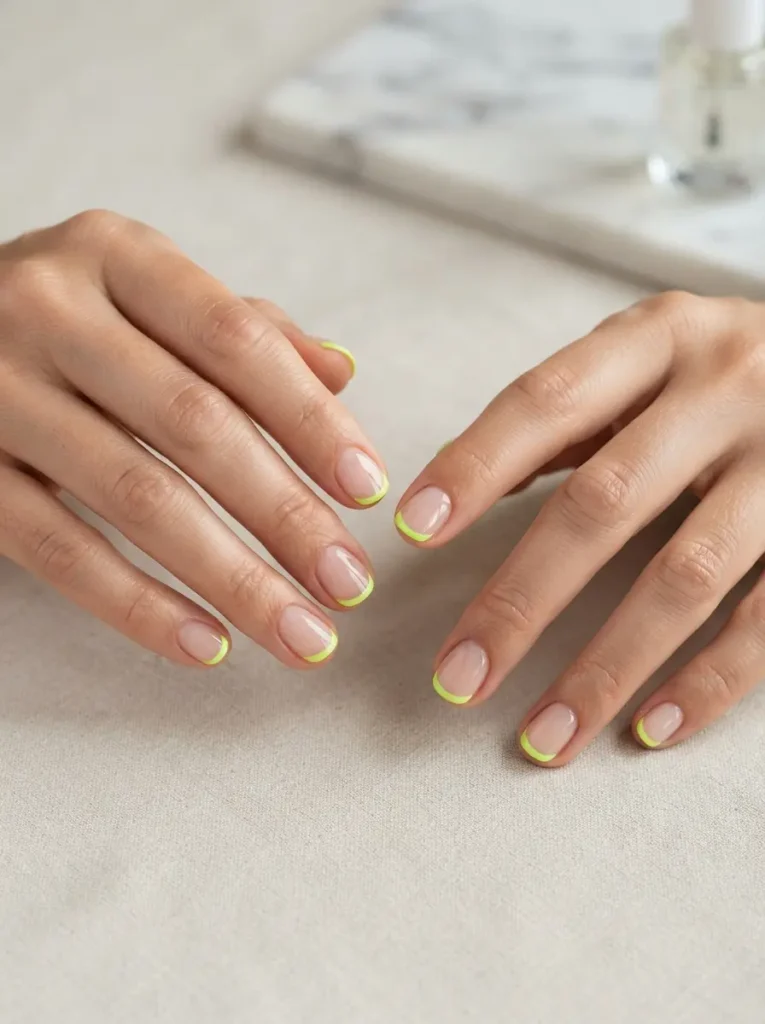
14. Short Neon French Nails
A neutral or clear base with a bright neon tip, kept very short.
Best for: the most practical design on this list, and it still looks like a choice.
Difficulty: medium.
Tools: sheer nude gel, neon gel, French brush, white base under the neon, glossy top coat.
The most underrated festival set. Short nails, neon smile line, done. It survives four days, doesn’t snag on anything, and still shows up in every photo.
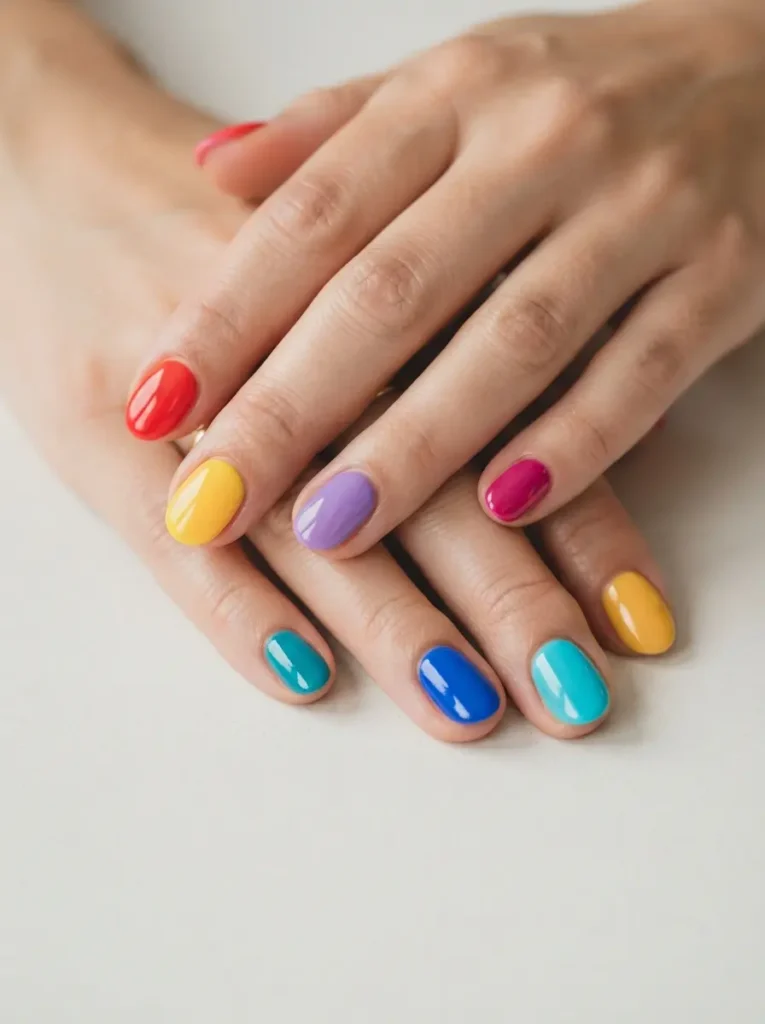
15. Mismatched Rainbow Set Nails
Ten different bright colors, one per nail, with no attempt at coordination.
Best for: first festivals, group sets, and anyone who genuinely can’t choose.
Difficulty: easy.
Tools: a bright gel or lacquer set, glossy top coat.
The trick that makes it look styled rather than random: keep every shade at the same saturation level. Ten neons works. Ten pastels works. Five neons and five pastels looks like an accident.
Festival Nail Palette
| Vibe | Shades | Best finish | Photographs best in |
|---|---|---|---|
| Rave / electronic | Silver, acid green, UV pink | Mirror chrome, neon | Stage lights, blacklight |
| Y2K pop | Baby blue, hot pink, lilac | Glossy cream | Daylight |
| Sunset lakefront | Tangerine, coral, magenta, yellow | Ombré gloss | Golden hour |
| Western festival | Denim blue, cream, tan, rust | Matte or soft gloss | Daylight |
| Rock / alt | Black, silver, deep red | High gloss, foil | Night, flash |
Best Nail Length and Shape for a Festival
This matters more than the design.
- Short squoval or short almond is the correct answer for a multi-day festival. Full stop.
- Medium almond works if you’re going for one or two days and not camping.
- Coffin and stiletto, long look incredible in photos and are genuinely difficult across four days — phone typing, opening cans, tent zippers, digging in bags, crowd contact.
- Round short is the toughest shape there is; the curved edge has no corners to catch and lift.
One rule: the longer your nails, the more likely you are to lose one at the worst possible moment. If you want length for photos, get it for a single-day event or a concert, not a four-day pass.
Gel vs Press-Ons vs Regular Polish for Festivals
| Gel / builder gel | Press-ons | Regular lacquer | |
|---|---|---|---|
| Durability over 4 days | Excellent | Good, if glued properly | Poor |
| Cost | $45–$90 salon, or DIY kit | $10–$30 a set | Under $10 |
| Repairable on-site | No | Yes – bring spares and glue | Yes, with a mini bottle |
| Time to apply | 60–90 minutes | 20 minutes | 30 minutes |
| Best for | Anyone who wants zero maintenance | Bold designs you don’t want long-term | One-day events only |
Press-ons deserve more credit for festivals than they get. You can pack two spare nails and a tube of glue, fix a loss in the portaloo queue, and take the whole set off on Sunday night. That flexibility is worth a lot across four days.
How to Prep Your Nails for a Four-Day Festival
- Book three to four days before, not the day before. Gel fully hardens within about 24 hours, and you want margin to fix anything that goes wrong.
- Go one length shorter than you want. You will not regret this. You may regret the opposite.
- Ask for a rubber base or builder gel overlay if your natural nails are thin or bendy. It adds real impact resistance.
- Insist on capped free edges. Every layer, every nail. This is the single biggest factor in whether tips chip.
- Ask for two top coats over anything textured — glitter, foil, decals, 3D pieces.
- Get a matching short pedicure if you’re wearing open shoes, and do it the same week so the colors coordinate.
- Take a photo of your set before you leave. Genuinely useful if you need a salon to patch it mid-trip.
The Festival Nail Repair Kit (Fits in a Fanny Pack)
- Nail glue – the small single-use tubes, two of them
- Two spare press-ons in your most-used sizes, even if you’re wearing gel
- A mini glass file – a snag filed smooth beats a snag that keeps tearing
- Cuticle oil in a pen – doubles as a hand fix in dry, dusty heat
- A mini top coat if you’re wearing lacquer
- Plasters – for the nail that breaks below the free edge, which is a skin problem, not a nail problem
That’s it. It weighs nothing and it has saved several of my weekends.
Sunscreen, Sweat, and Heat: What Actually Damages Festival Nails
Sunscreen is the main culprit, and nobody expects it. Oils and emollients migrating onto the nail plate and under the cuticle line encourage gel to lift, and some formulas can leave a yellow cast on very light or white polish. Apply sunscreen, then wash your hands, then wipe your nails.
Heat softens polish. Regular lacquer that felt dry in an air-conditioned room can dent in a 90-degree crowd. Gel is unaffected, which is another argument for gel over lacquer in August.
Sweat and dust build up under the free edge. Rinse and dry your hands when you can. Trapped moisture under a lifted edge is how a small lift becomes a full lift by day three.
Don’t pick at a lift in the crowd. File it smooth, oil around it, and deal with it properly at home. Picking gel off takes layers of your natural nail with it – our guide on repairing nails after gel polish covers the recovery, but avoiding it is easier.
Common Festival Nail Mistakes to Avoid
- Booking the day before. No margin, no fix time, and fresh gel dents more easily than day-old gel.
- Going too long. Four days of crowds and phone use is the worst possible environment for a long stiletto set.
- Choosing heavy 3D charms. Rhinestones and charms catch on clothing, bags, and other people. They come off, and they take gel with them.
- Matte top coat in a dusty park. Matte holds dust and skin oil visibly. Gloss wipes clean.
- Assuming glow-in-the-dark works at night. It needs charging and fades fast. Use UV-reactive neons instead.
- Skipping the pedicure. If you’re in sandals for four days in a dusty park, your feet are more visible than your hands.
- Removing gel yourself in a hotel room with no acetone. It waits until you’re home. Peeling it off is how the damage happens.
Nails for Other Festivals and Editions
The same principles travel. Adjust palette to setting.
- Lollapalooza Berlin, Paris, Stockholm – cooler, later in the season. Chrome, deep brights, and a slightly longer length are all fine.
- Lollapalooza São Paulo, Buenos Aires, Santiago – March, southern-hemisphere summer. Full tropical brights, coral, turquoise.
- Lollapalooza India – January, Mumbai. Heat plus dust; short and glossy wins.
- Coachella – desert heat, pastels and boho metallics; sun protection matters more than anywhere.
- Bonnaroo, Glastonbury, camping festivals – the shortest, toughest set you’re willing to wear. Round shape, gel, no charms.
- Single-day city festivals – do whatever you want. Length is only a problem across multiple days.
For general summer inspiration that carries into festival season, our funky beach nail ideas share a lot of the same palette.