The first time I did a full camping trip with fresh gel nails, I was convinced they would be trashed by day two. Four days of dirt, campfire smoke, tent zippers, and one accidental splash into a very cold lake later, they came home looking suspiciously perfect. That trip is when I started actually planning nail designs around my trips instead of the other way around.
Outdoorsy nails have gone from a niche Pinterest board to a full aesthetic category over the last two years. The look has real staying power because it does two jobs at once: it matches the mountain-and-forest vibes you are already dressing for, and, when done well, it holds up to the abuse of actually being outdoors. This guide walks through 12 ideas, from a fifteen-minute at-home look to a full sculpted set worth booking a whole appointment for.
What Counts as Outdoorsy Nails?
Outdoorsy nails are any nail design that references nature, camping, hiking, or the outdoors through color and imagery, usually built around earthy tones and simple landscape motifs. Common elements include mountain silhouettes, pine trees, campfires, tent shapes, wildflowers, animal tracks, national park references, and forest greens layered over sky blues or neutrals. The category leans practical: shorter shapes, durable finishes, and colors that hide dirt better than a stark white would.
1. Mountain Silhouette French Tips Nails
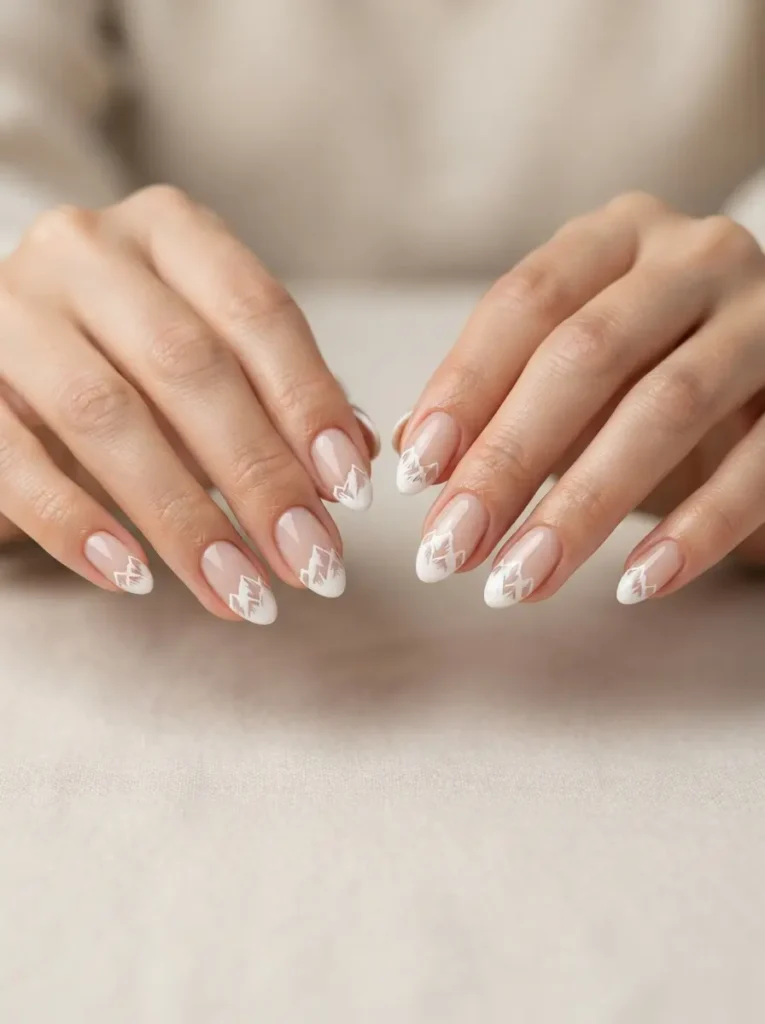
Mountain silhouette French tips replace the classic curved white smile line with a jagged mountain range painted across the tip of the nail.
Best for: subtle everyday wear that still reads outdoorsy.
Difficulty: medium.
Tools: a sheer nude gel, a dark forest green or charcoal, a very fine liner brush, top coat.
Use two peaks per nail, not more. A single small peak in the center of the tip reads as mountain. Five peaks starts to look like a saw blade.
2. Sunrise Ombré with Peaks Nails
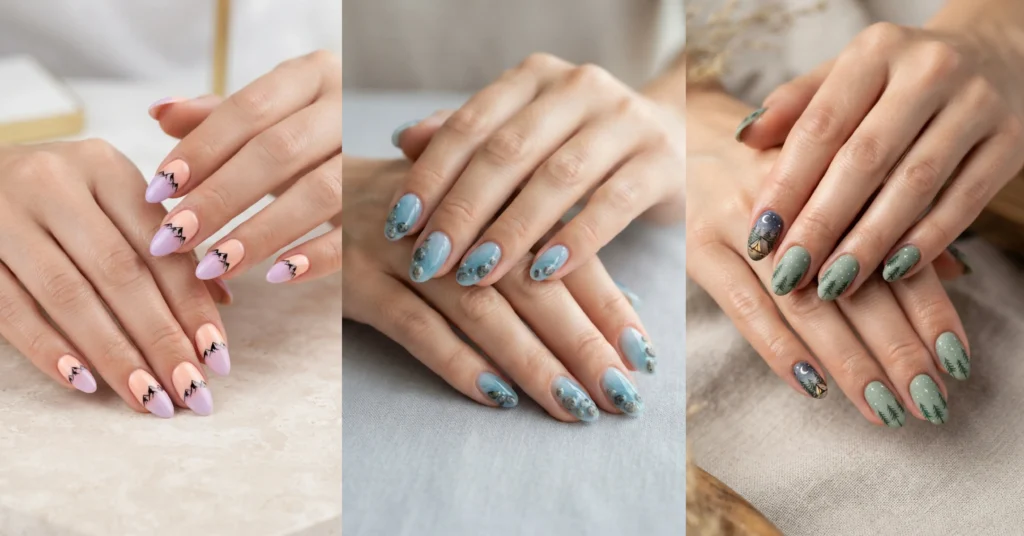
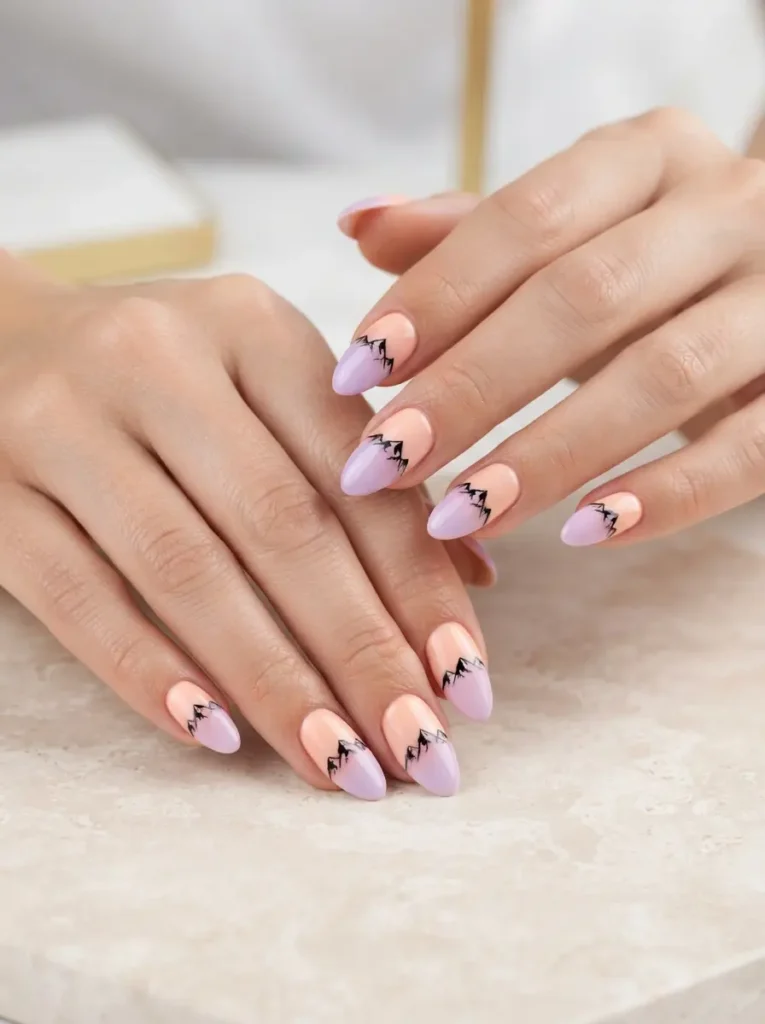
Sunrise ombré nails fade from soft peach at the cuticle to lavender at the tip, with tiny black mountain silhouettes cutting across the color line.
Best for: wedding trips to the mountains and anniversary hikes.
Difficulty: medium.
Tools: a peach, a warm pink, a lavender polish, a makeup sponge, black liner, glossy top coat.
The sponge pounces of color should overlap heavily. Sharp gradient lines break the sunrise illusion. Soft blur is what sells it.
3. Pine Tree Forest Nails
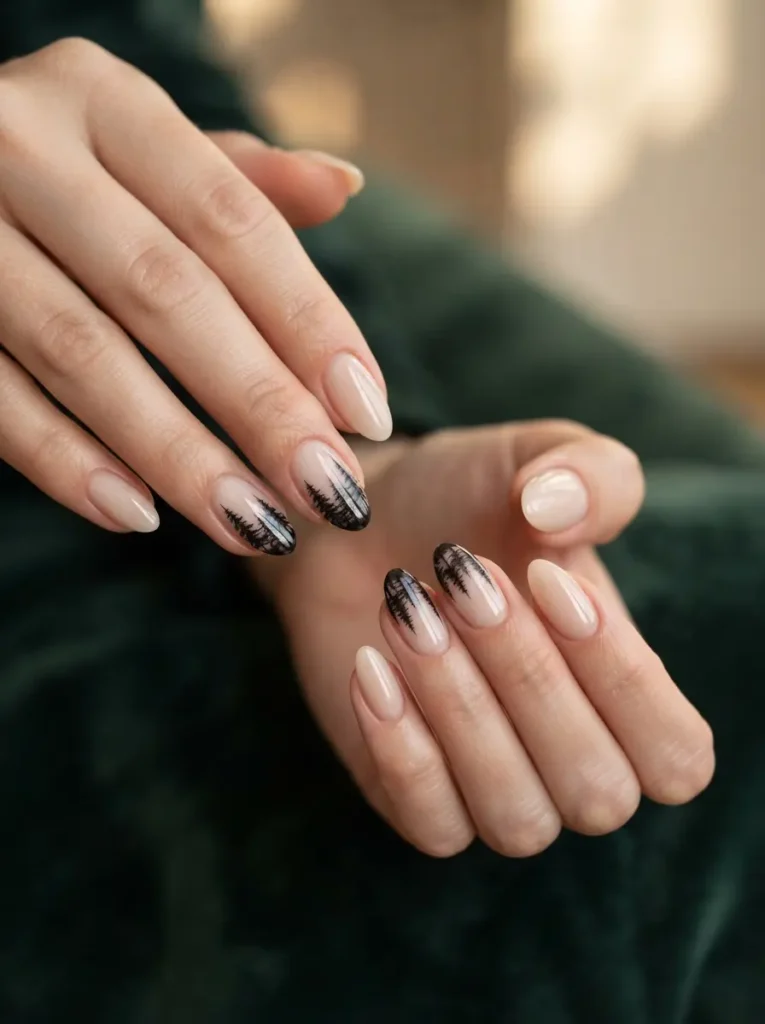
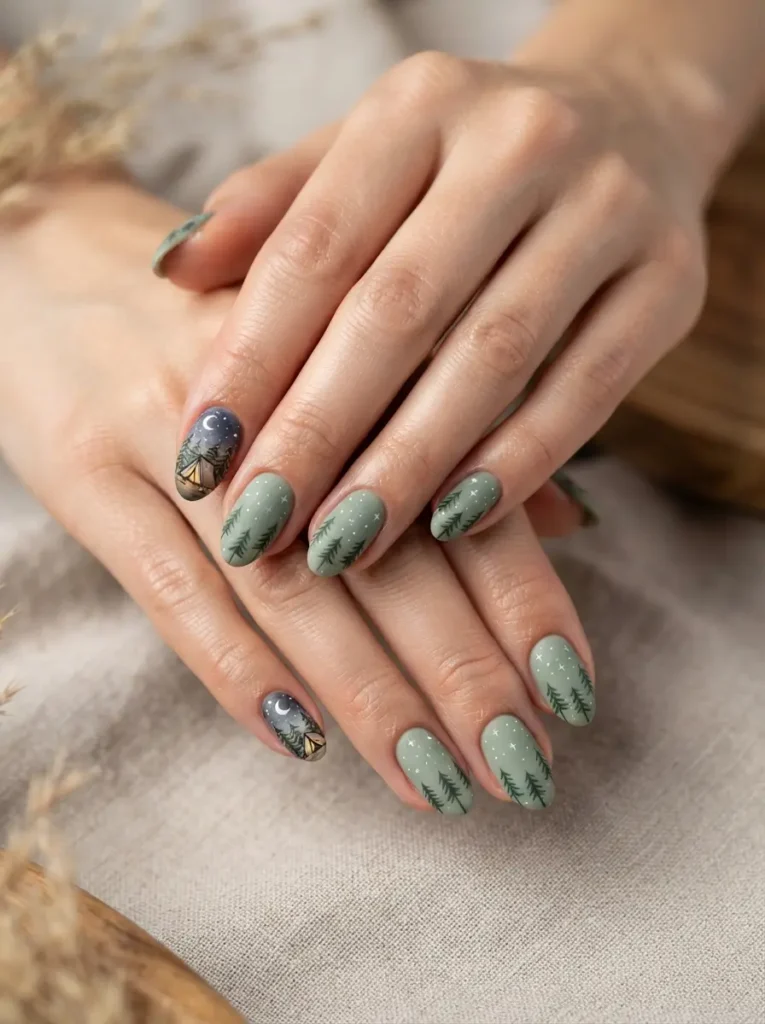
Pine tree forest nails feature repeating small pine tree silhouettes painted across two or three accent nails, usually in dark green or black against a neutral base.
Best for: fall camping trips and PNW aesthetic outfits.
Difficulty: easy.
Tools: cream or sage green polish, a fine liner brush, dark green or black polish for trees.
Trees painted in staggered heights look like a real forest. Trees at identical heights look like Christmas card wallpaper. Vary your sizing on purpose.
4. Campfire Accent Nail
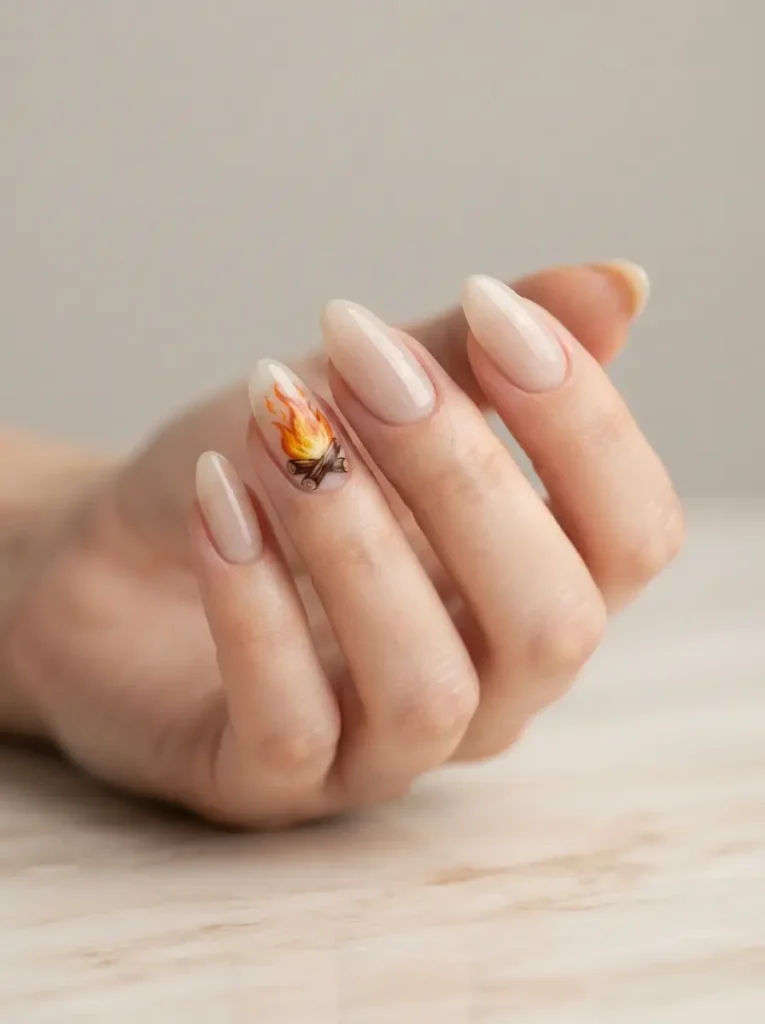
A campfire accent nail features a single small campfire painted on one nail: crossed brown logs at the bottom, orange and yellow flames rising above.
Best for: summer camp trips and October Halloween-adjacent looks.
Difficulty: medium.
Tools: cream base, brown polish, yellow, orange, and red polish, a very fine liner brush.
Layer the flames from red at the base to yellow at the top. Real flames are lightest in the middle, and painting them that way is what makes them look like fire instead of pointy triangles.
5. National Park Palette Nails
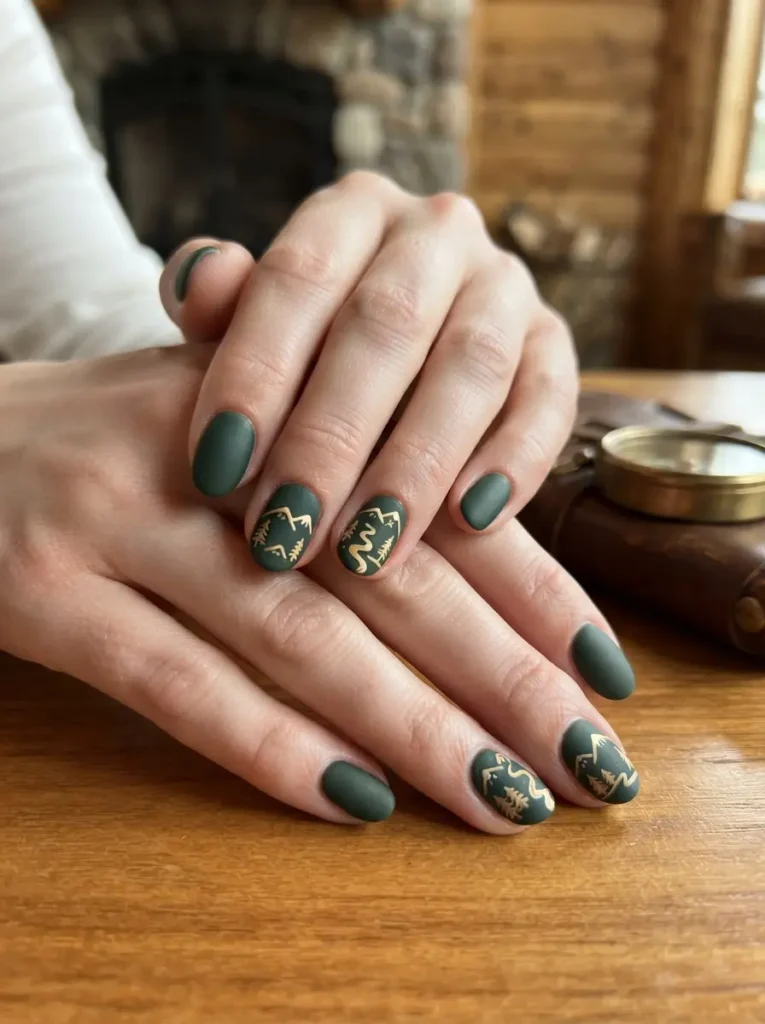
A national park palette manicure uses the actual signage colors from a specific park, most commonly the deep green and warm gold of the wooden park signs across the U.S.
Best for: road trippers who want a souvenir manicure.
Difficulty: easy.
Tools: deep forest green polish, mustard or warm gold polish, glossy top coat.
Do a solid green base on eight nails and gold on two accent nails, or reverse. This is a color-block manicure with a theme, and its beauty is in the restraint.
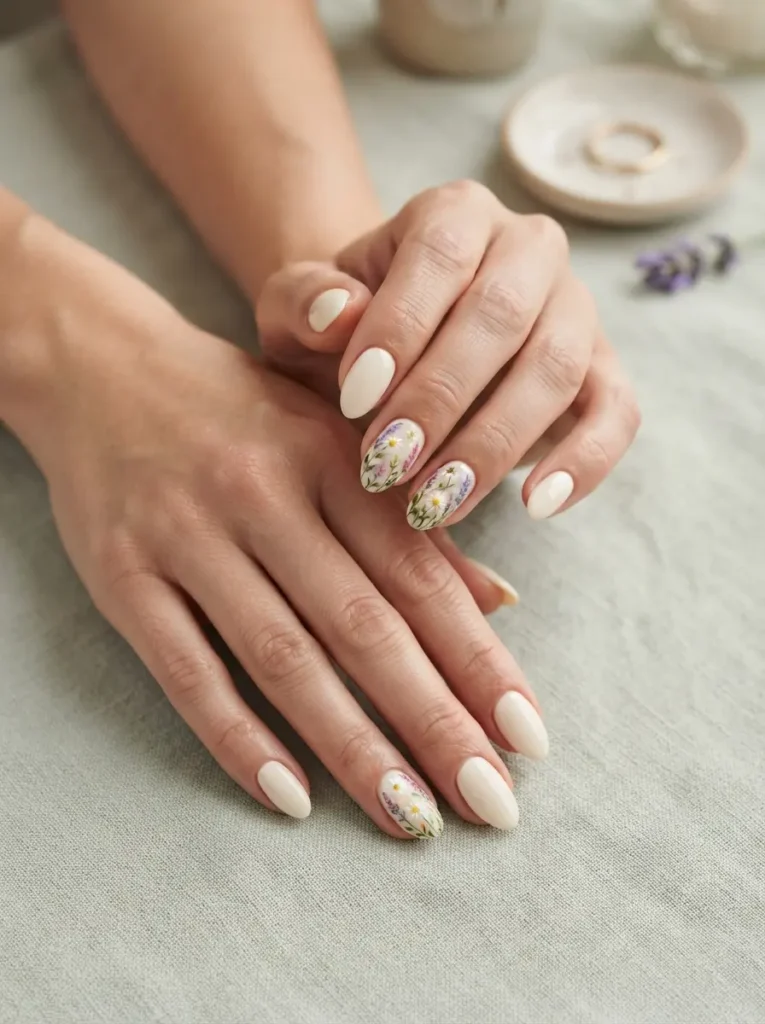
6. Wildflower Accent Nails
Wildflower accent nails feature small, hand-painted meadow flowers scattered across a cream or sage base, often in soft yellows, pinks, and purples.
Best for: spring and early summer hiking trips.
Difficulty: medium.
Tools: cream base, a dotting tool, an assortment of soft polish shades, a fine liner brush for stems.
Paint five small dots in a loose circle for a flower head, then add a green stem. Skip perfection. Real wildflowers are lopsided, and lopsided is what makes the design charming instead of clip-art.
7. Topo Map Nail Art Nails
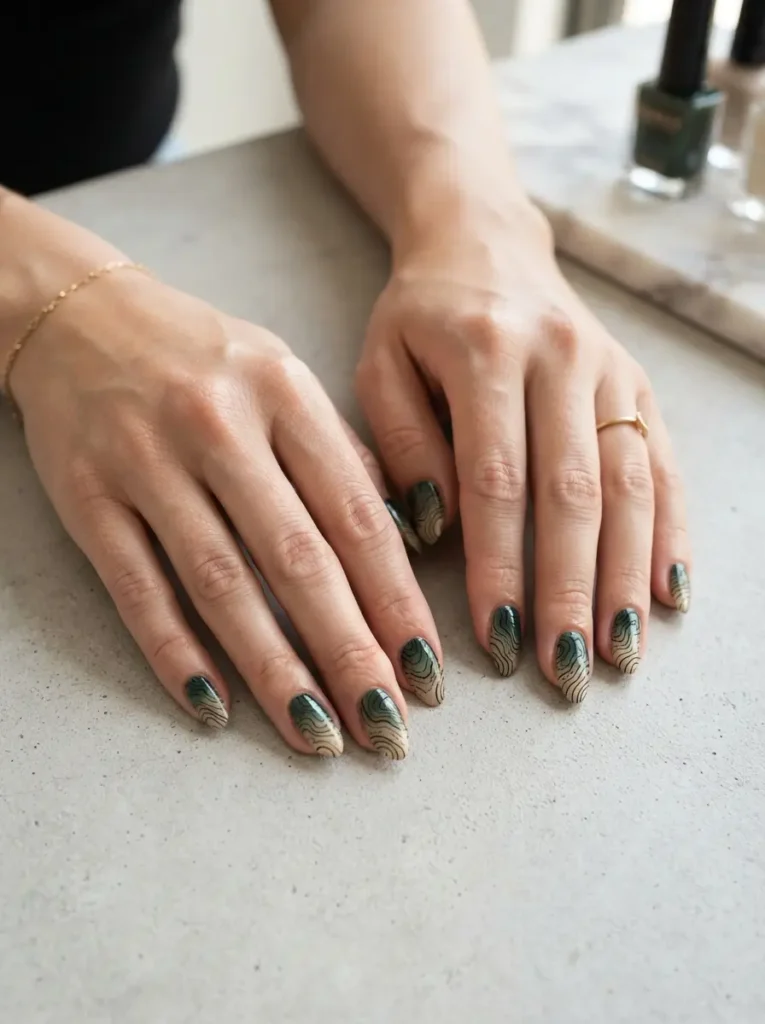
Topo map nail art recreates the swirling contour lines of a topographic map in fine liner work across a solid or gradient base.
Best for: map nerds, hikers, and anyone who likes minimalist line work.
Difficulty: hard.
Tools: cream or sand base polish, a very fine liner brush, brown or black polish, top coat.
Keep the lines varying in thickness and spacing. Real topo lines are irregular. Straight or evenly-spaced lines break the illusion instantly.
8. Constellation Night Sky Nails
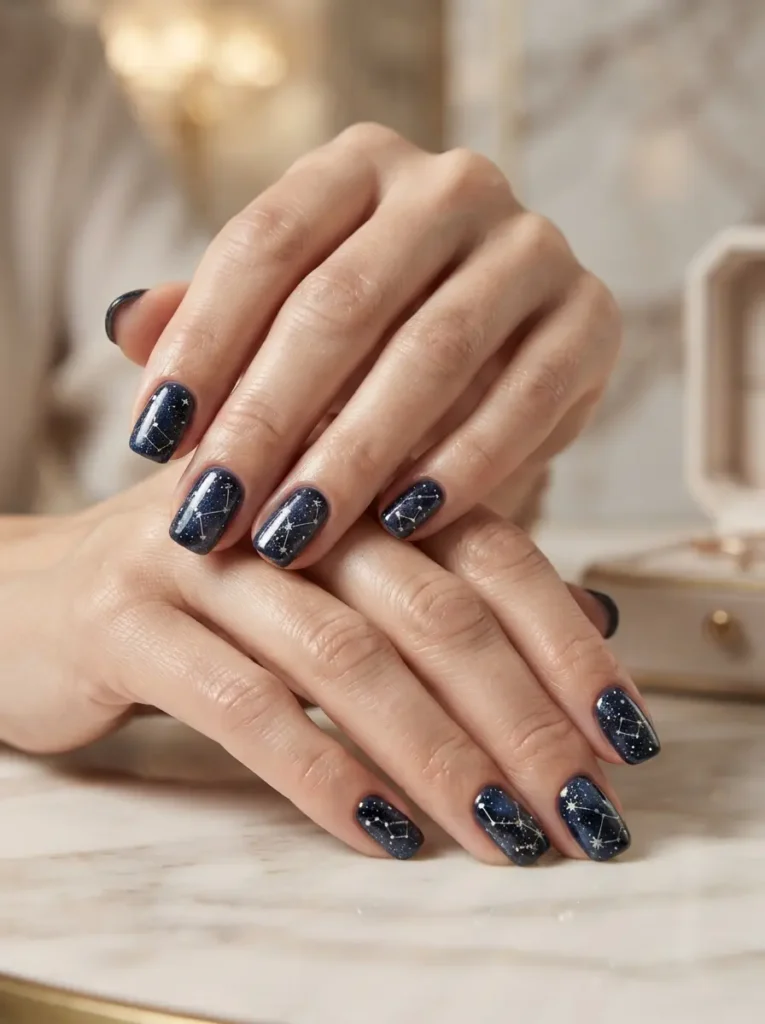
Constellation night sky nails feature a deep navy or black base scattered with tiny white and silver dots, connected into recognizable star patterns like the Big Dipper.
Best for: stargazing trips, late-summer camping, astrology fans.
Difficulty: easy.
Tools: dark navy polish, a dotting tool, white and silver polish, a fine liner for constellation lines.
Do the constellation on only one nail. The other nails just get scattered stars. A full constellation on every nail looks busy. One anchor nail with the shape is enough.
9. Earthy Neutral French Nails
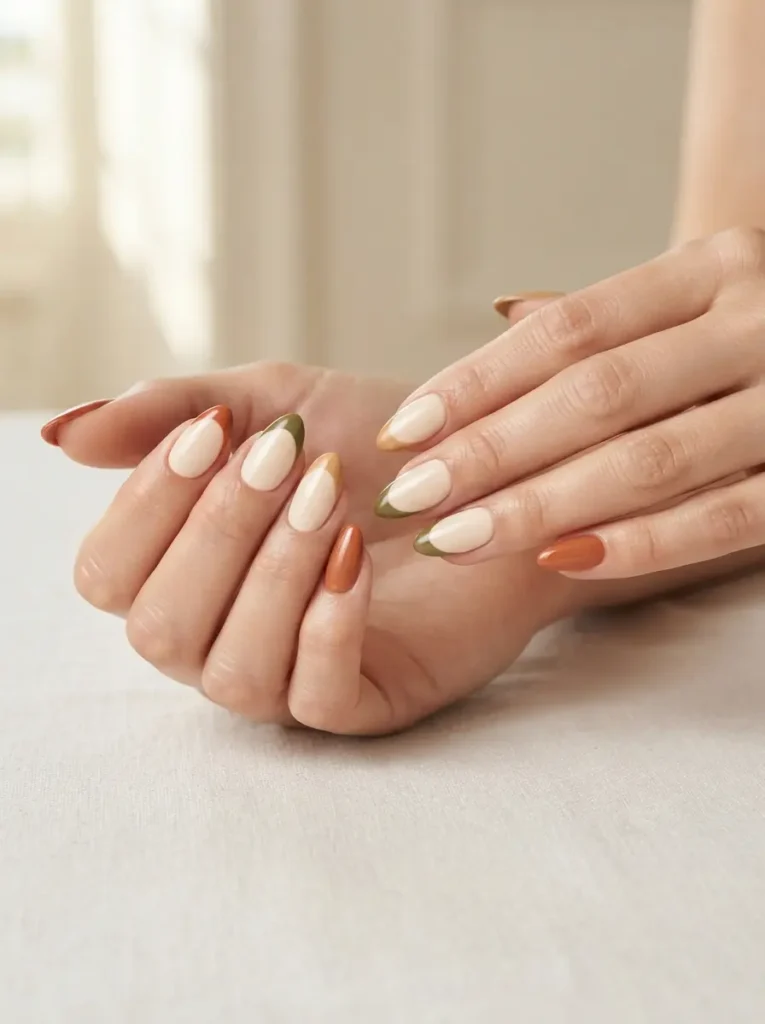
An earthy neutral French manicure swaps the traditional white tip for a warm terracotta, olive, or camel tone against a clean cream base.
Best for: anyone who wants outdoorsy vibes without any painted imagery.
Difficulty: easy.
Tools: cream base, terracotta or olive polish, a French tip brush or striping tape.
The whole point is that the colors feel like a hike without saying “hike.” Choose polish shades that match the soil, moss, and stone of a place you actually like being.
10. Tent and Trees Camping Nails
Tent and trees camping nails combine a small triangular tent shape on one nail with pine tree accents on the surrounding nails.
Best for: dedicated campers and glampers.
Difficulty: medium.
Tools: cream base, orange or yellow for the tent, dark green for trees, a fine liner brush.
Give the tent a rounded top and small door slit. Sharp geometric tents look like origami. A slightly imperfect triangle looks like an actual pitched tent.
11. River Blue with Rock Accents Nails
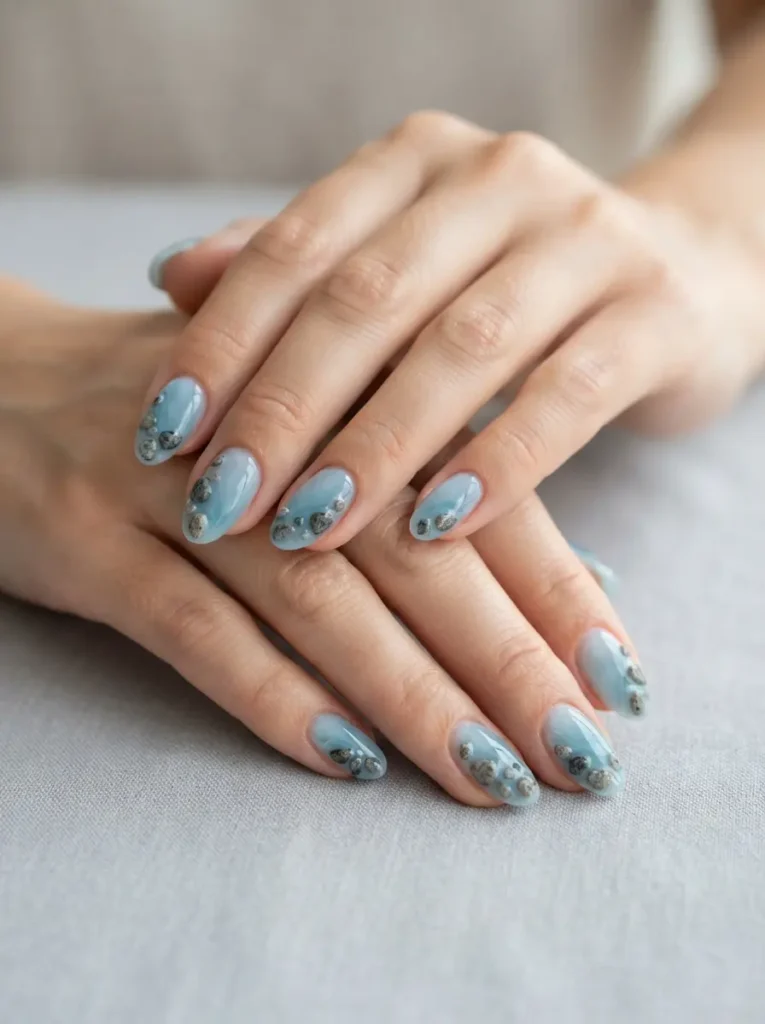
River blue with rock accents features a soft flowing blue base broken up by small grey stone shapes, mimicking a shallow riverbed.
Best for: anglers, kayakers, and river swim fans.
Difficulty: medium.
Tools: soft blue and teal polish, grey polish, a small dotting tool for stones, glossy top coat.
Sponge the blues together so the water looks like it is moving. Then add irregular, rounded grey shapes. Perfectly round stones look like buttons. Slightly oval, uneven ones look like the real thing.
12. Trail Marker Blaze Accent Nails
A trail marker blaze accent features a small rectangular blaze mark, painted like the ones on hiking trails, on one accent nail against a clean nude or green base.
Best for: thru-hikers and Appalachian Trail fans.
Difficulty: easy.
Tools: nude or sage base polish, white polish for the blaze, a striping brush.
Use white blazes if you are hinting at the Appalachian Trail, orange for local recreation trails, or your favorite regional trail’s color. This is the most subtle outdoorsy design here, and it is the one people who know, will know.
How to Prep for Outdoor Wear
Outdoor life is rougher on nails than office life. Prep the manicure to handle it:
- File nails to a shorter round or oval shape. Square edges catch on zippers and rope.
- Dehydrate the nail plate with a swipe of alcohol before base coat.
- Use a rubber-base gel if you have access to one. It flexes better under stress.
- Cap the free edge of every layer. Sealing the tip is what stops chips.
- Add two thin top coats instead of one thick one.
- Cure each layer fully. A soft layer is a peeling layer.
How to Maintain Outdoorsy Nails on Trips
Pack a mini top coat, a small file, and a cuticle oil pen. That is the entire trip kit. A dab of top coat over any small chip buys you the rest of the trip. The file rescues a snag before it turns into a torn nail. Cuticle oil at night stops the dry-out that campfire smoke and mountain air create. Skip the polish remover. If a nail is beyond top coat, it is beyond fixing until you get home.
Common Mistakes to Avoid with Outdoorsy Nails
- Choosing white polish for camping. It shows every speck of dirt. Cream or nude looks the same and hides dirt.
- Long stiletto shapes. They catch, snap, and cannot survive real outdoor use. Short round or oval wins every time.
- Skipping the top coat refresh. Reapply mid-trip. It doubles the manicure life.
- Overpainting the imagery. One or two accent nails do the storytelling. Ten accent nails look like a kid’s craft project.
- Booking your appointment for the day before you leave. Give the gel 24 hours of low-stress cure time first.