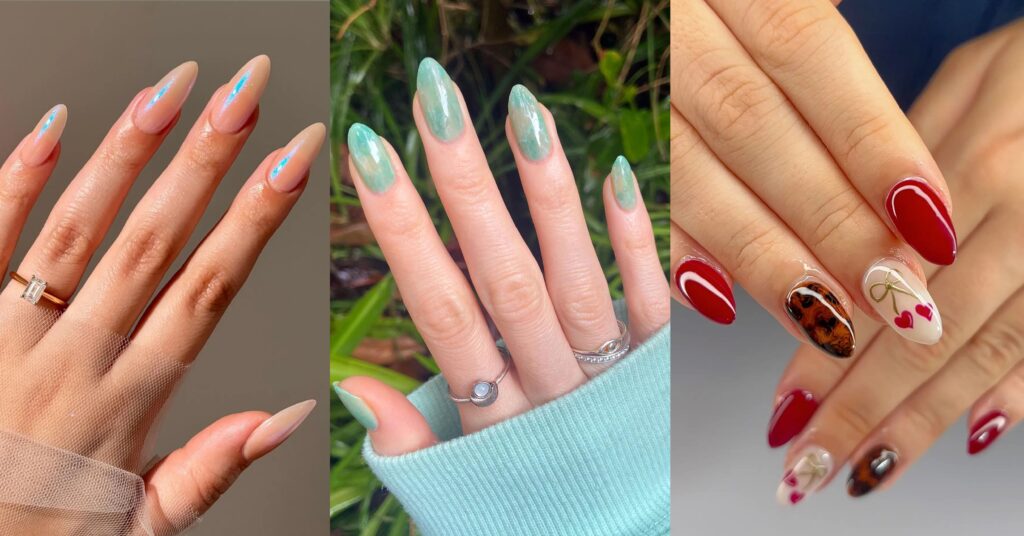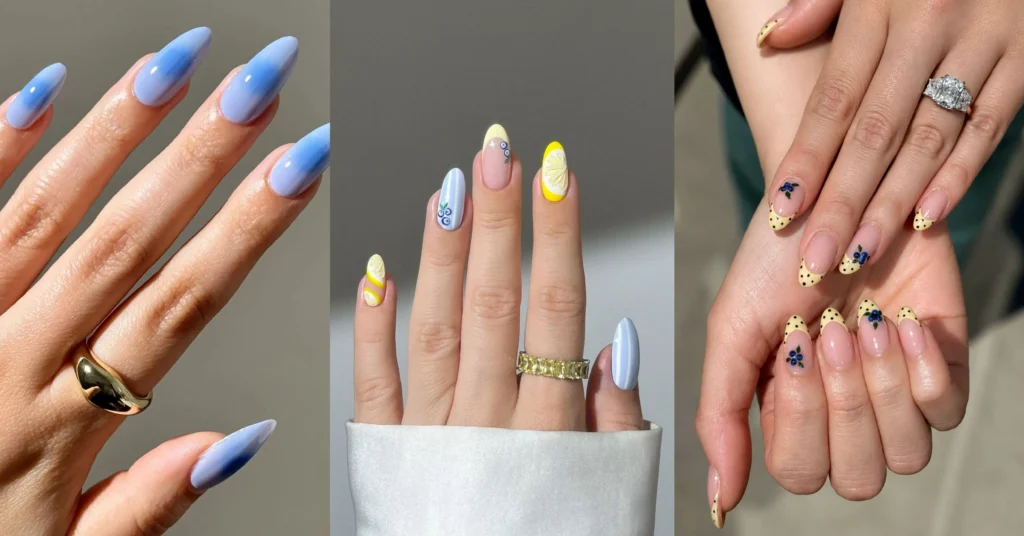
There’s a moment every nail person knows. You scroll past a set covered in chrome, charms and swirls, save it to a folder called “someday,” and then book the same soft pink you always get.
Here’s the thing though – 2026 is the year that folder finally gets opened. Nail artists across the board are calling it a maximalist year, and Business Insider’s roundup of what’s in and out for 2026 has artists pointing to bigger, louder designs after several seasons of quiet neutrals. Loud is back. Weird is back.
So this is a list of twelve genuinely crazy nail ideas – the kind that make people grab your hand in the checkout line — sorted by how hard they actually are. Some need a salon appointment. At least five you can do tonight with stuff already in your drawer. Skip around to whichever one catches your eye.
What Counts as a “Crazy” Nail Idea?
A crazy nail idea is any manicure that breaks the expected rules of a normal set – through texture, dimension, colour clash, or mismatched nails – while still being wearable enough for real life.
That last part matters. There’s a difference between crazy and unwearable. A three-inch stiletto nail with a working chandelier hanging off it is art, not a manicure. The designs below all pass the type-a-text test: they’re bold, but you can still live your life in them.
The three levers that make a set read as “crazy” are texture (velvet, glass, 3D charms), finish clash (matte next to mirror chrome), and asymmetry (every nail different). Almost every idea on this list pulls one of those three.
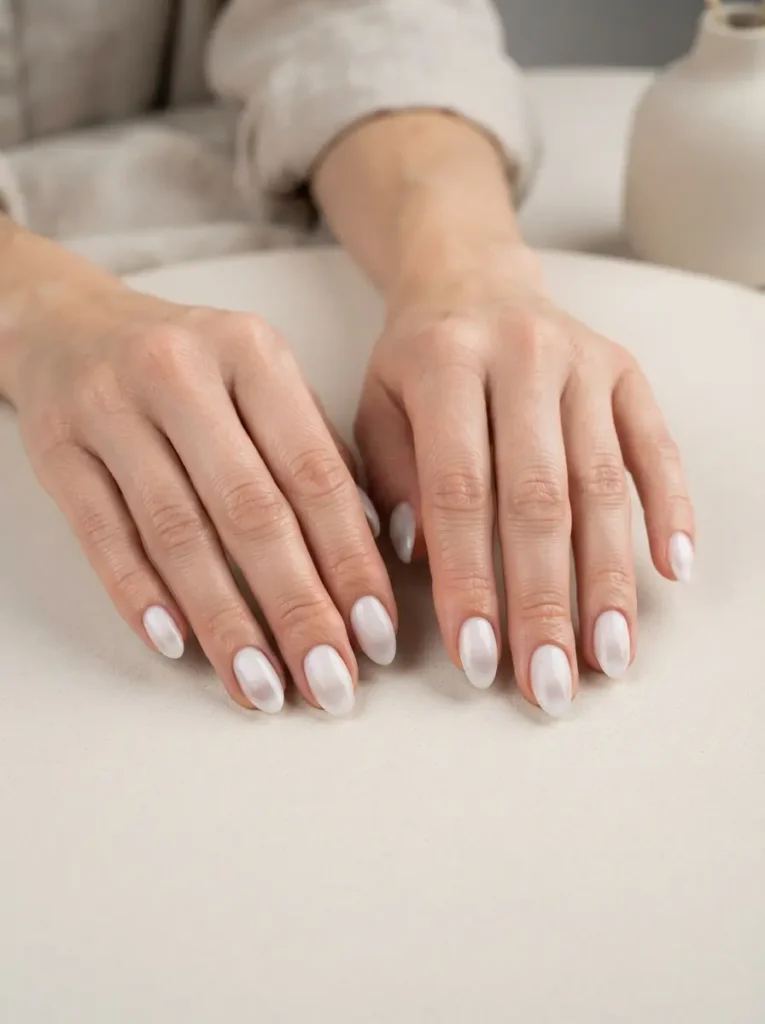
1. Cloudy French Tips Nails
Cloudy French tips replace the crisp white smile line with a soft, smoked-out edge that looks like fog rolling over the tip of the nail.
Best for: short to medium nails and anyone who wants “different” without “look at me.”
Difficulty: medium – the blur is the whole trick.
Tools: a sheer nude base, a pigmented tip colour, a small fluffy blending brush, glossy top coat.
Beauty editors have flagged this one as a defining 2026 nail art trend, and Who What Wear noted it’s already been spotted on the red carpet. The mistake people make is blending while the polish is too dry – you get streaks instead of haze. Work on one nail at a time and blend within about ten seconds of laying the colour down.
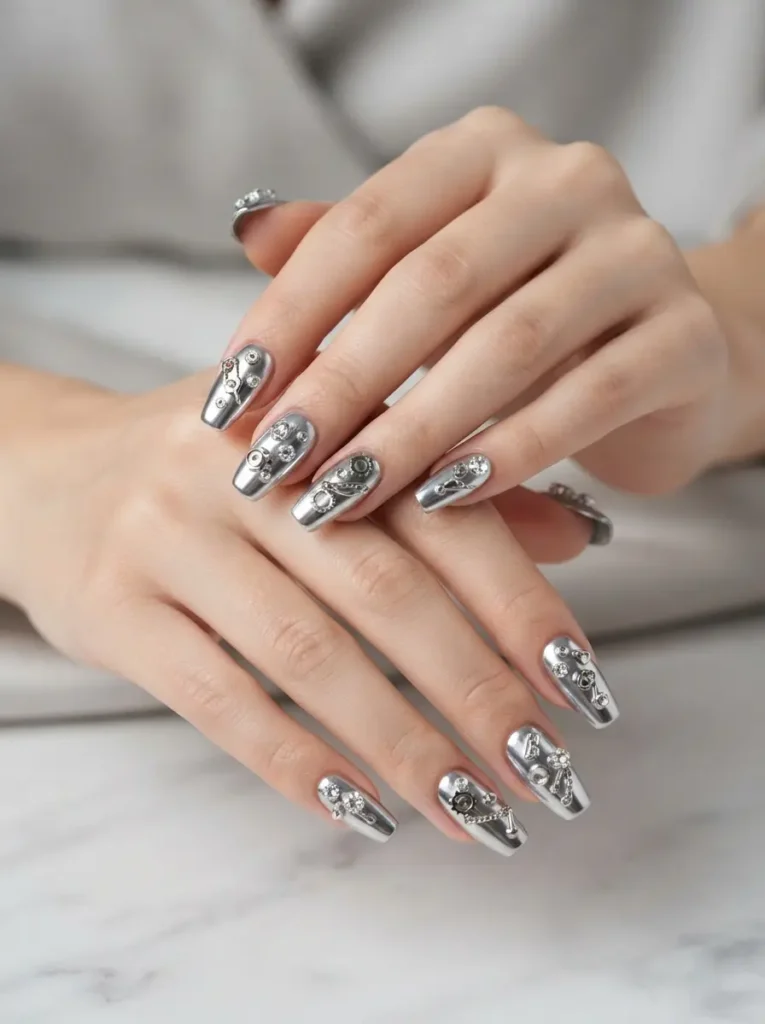
2. Extra-Celestial Chrome Nails
Extra-celestial nails are silver metallic sets dressed with crystals, 3D charms and hardware accents, styled to look like something recovered from a spaceship.
Best for: events, parties, and anyone who has already tried plain chrome and got bored.
Difficulty: hard at home – chrome powder over gel needs a lamp.
Tools: gel base, silver chrome powder, an applicator sponge, flat-back crystals, gel glue, no-wipe top coat.
Nails by Mets founder Metta Francis pointed to this as a leading 2026 look, tied to Pinterest’s beauty trend forecasting. If you want the effect without the salon bill, a mirror-chrome press-on set plus a handful of loose crystals glued on gets you about 80% of the way there.
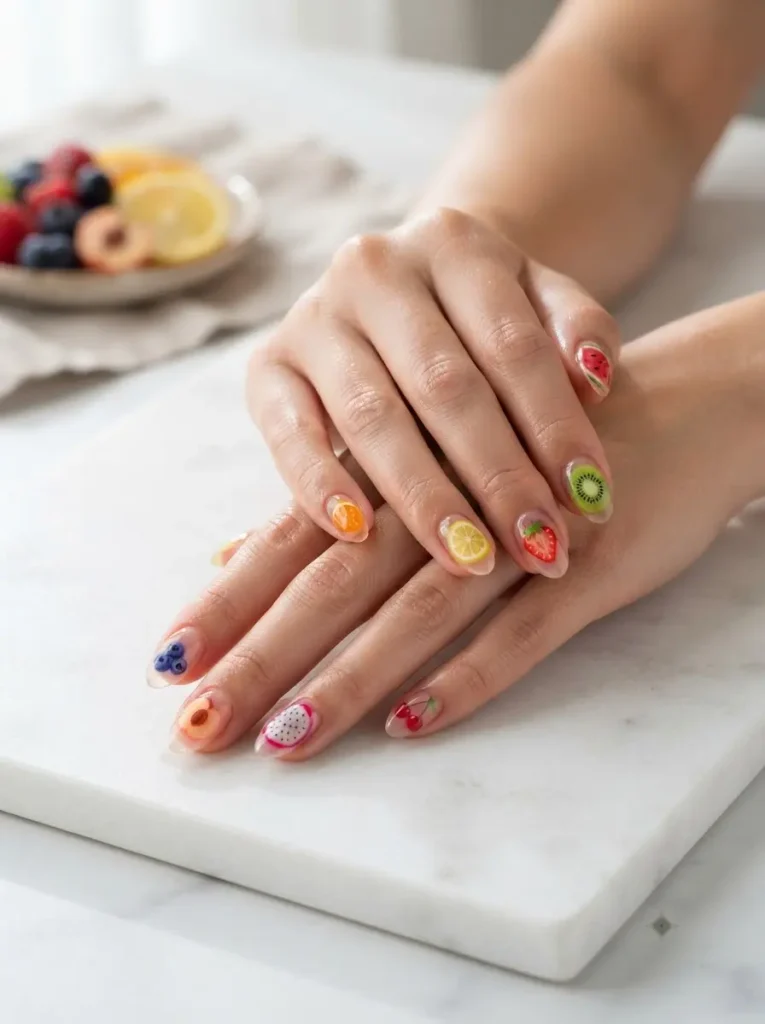
3. Jelly Fruit Nails
Jelly fruit nails use a sheer, translucent, high-gloss colour that light passes straight through, so the nail looks like a gummy sweet rather than a painted surface.
Best for: summer, short square nails, anyone nervous about bold colour.
Difficulty: easy.
Tools: a jelly-finish polish in peach, cherry, coral or milky pink, a thick glossy top coat.
Nail pros speaking to Marie Claire described the glossy jelly manicure as the standout holiday look of summer 2026, comparing the finish to lip gloss on the nails. The rule is thin layers only. Three sheer coats keep the see-through quality; two thick ones turn it into ordinary opaque polish and kill the entire effect.
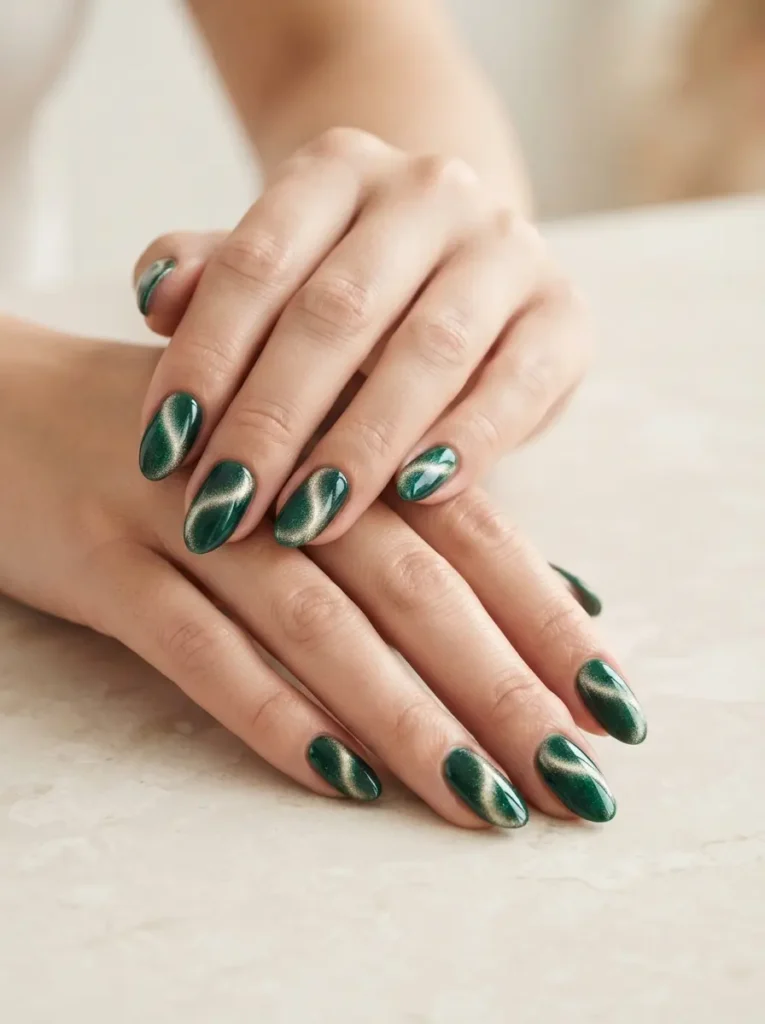
4. Cat-Eye Magnetic Swirls Nails
Cat-eye nails contain tiny magnetic particles that get pulled into a glowing streak when you hold a magnet over the wet gel, creating a shifting band of light across the nail.
Best for: cool-toned palettes – gunmetal, silver, icy pink.
Difficulty: medium.
Tools: magnetic cat-eye gel polish, a cat-eye magnet, LED lamp, top coat.
Celebrity manicurist Julie Kandalec told Business Insider that cat-eye is still growing internationally and moving toward cooler shades. The fun part is that the magnet angle changes everything – hold it diagonally for a slash, in a circle for a galaxy swirl, or at the tip for a halo. Do one nail at a time and cure immediately, because the particles drift back if you wait.
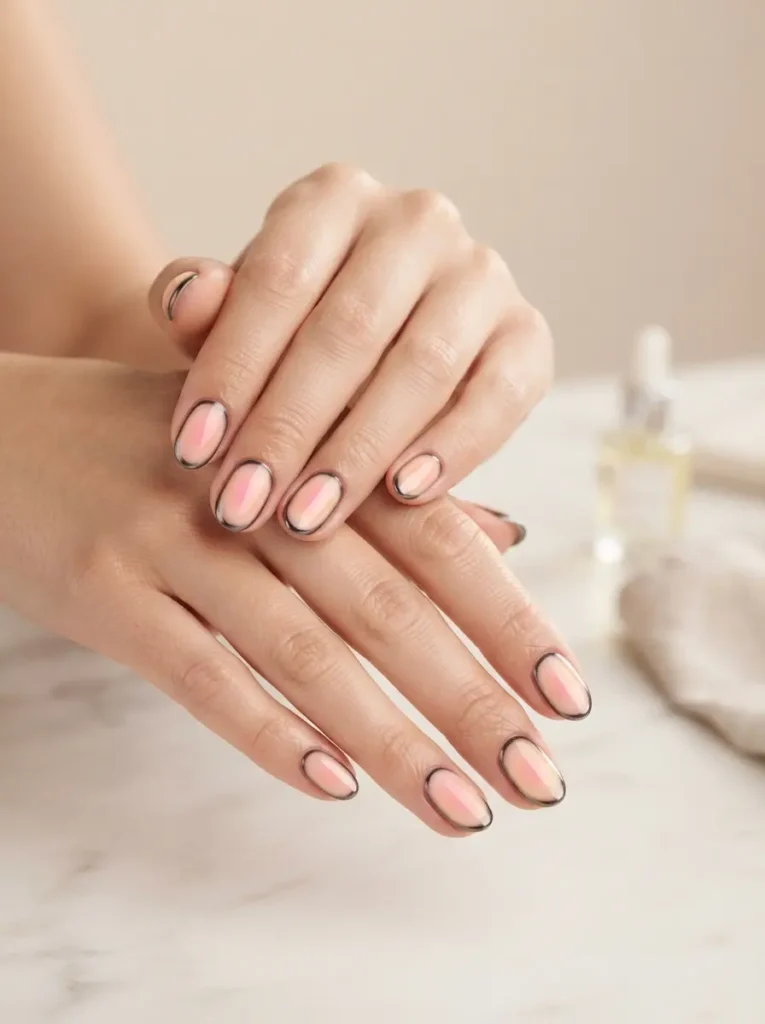
5. Outlined Aura Nails
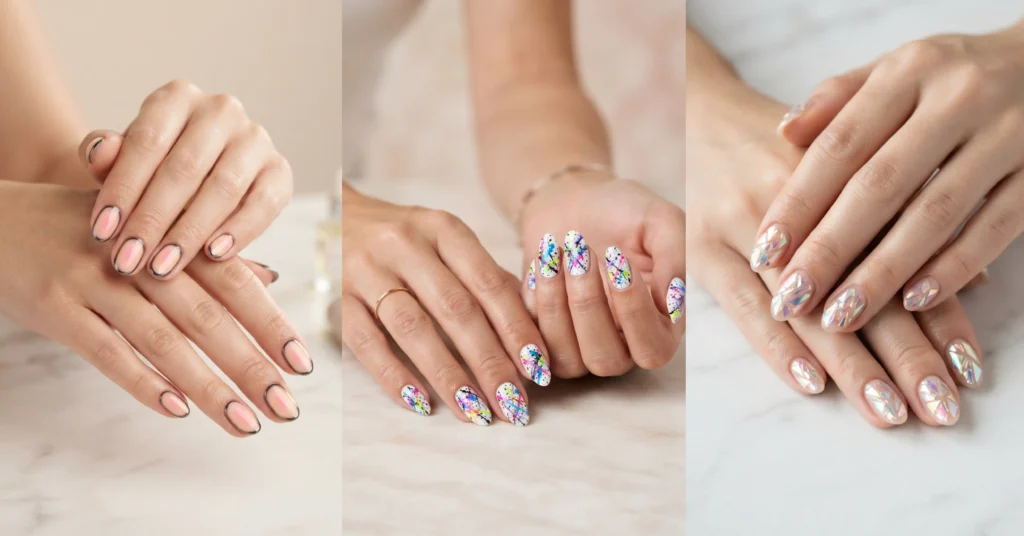
Outlined aura nails take the classic glowing halo in the centre of the nail and trace a thin dark border around the edge, turning a soft blur into something graphic and almost cartoon-like.
Best for: medium to long almond nails.
Difficulty: medium.
Tools: two contrasting gels, a small sponge for the aura, a fine liner brush, top coat.
This is the 2026 update on a trend that was everywhere last year – nail artists are adding the outline specifically to keep aura nails from looking dated. A liner brush with a long bristle gives a steadier line than a short one, because it holds more product and drags less.
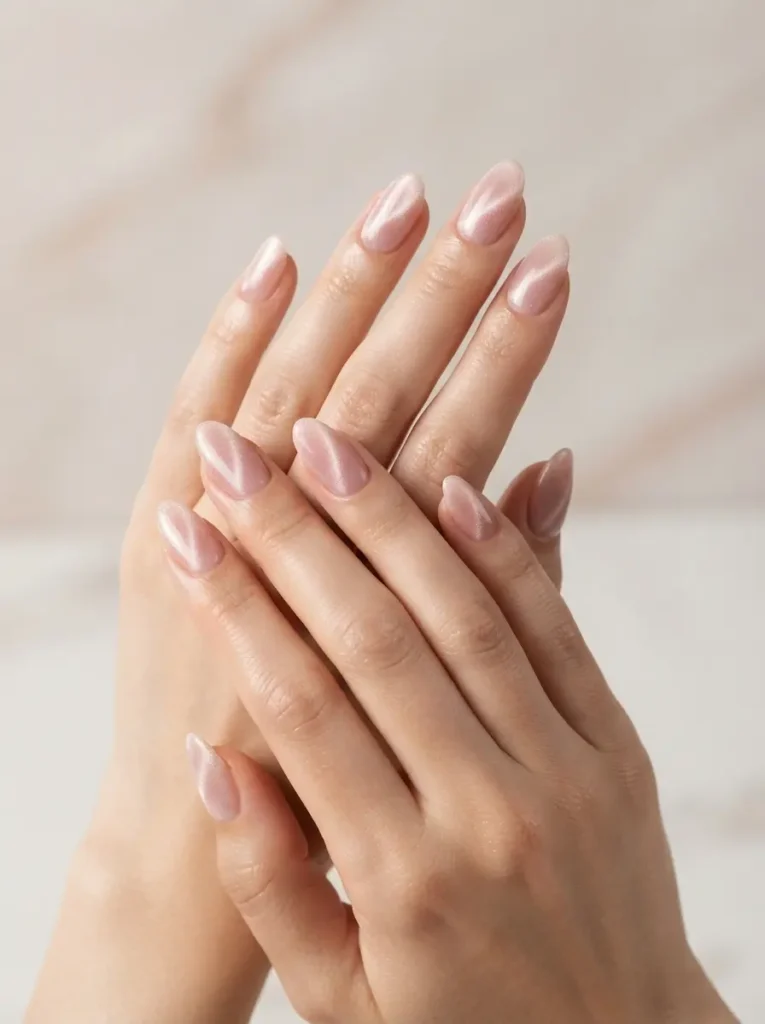
6. Velvet Glass Nails
Velvet glass nails combine a soft, light-catching velvet shimmer with a translucent glass base, so the nail looks frosted and lit from inside at the same time.
Best for: winter, evening looks, neutral wardrobes that need one loud element.
Difficulty: medium.
Tools: sheer glass-effect gel, velvet or magnetic shimmer gel, LED lamp, matte or gloss top coat.
Byrdie listed velvet glass among 2026’s rising manicure finishes, alongside mixed metals and charm-heavy sets. This one photographs far better than it looks in flat indoor light, so if you’re doing it for content, shoot near a window.
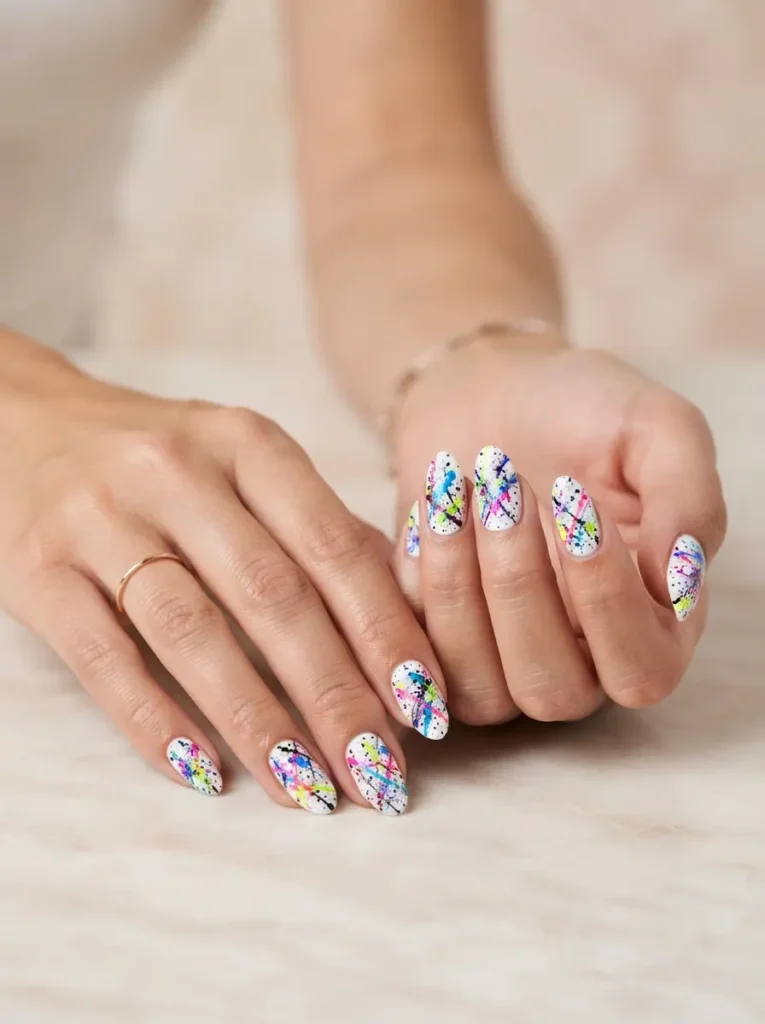
7. Graffiti Splatter Nails
Graffiti splatter nails are made by flicking multiple polish colours across the nail so they land in random specks and streaks, like a wall that’s been tagged five times.
Best for: anyone who wants chaos and has zero patience for precision.
Difficulty: easy – genuinely the easiest “hard-looking” set here.
Tools: an old clean toothbrush, foil to pour polish on, two to four colours, base and top coat, tape or liquid latex around the nail.
Nail artist Naomi Yasuda demonstrated the toothbrush version of this technique for a Fox News tutorial: pour polish on foil, dip the brush, dab off the excess, then flick. Her advice was to layer colours without waiting for each to dry, because the messier the mix, the better it reads. Protect the skin around your nails first or you’ll be scrubbing your fingers for twenty minutes.
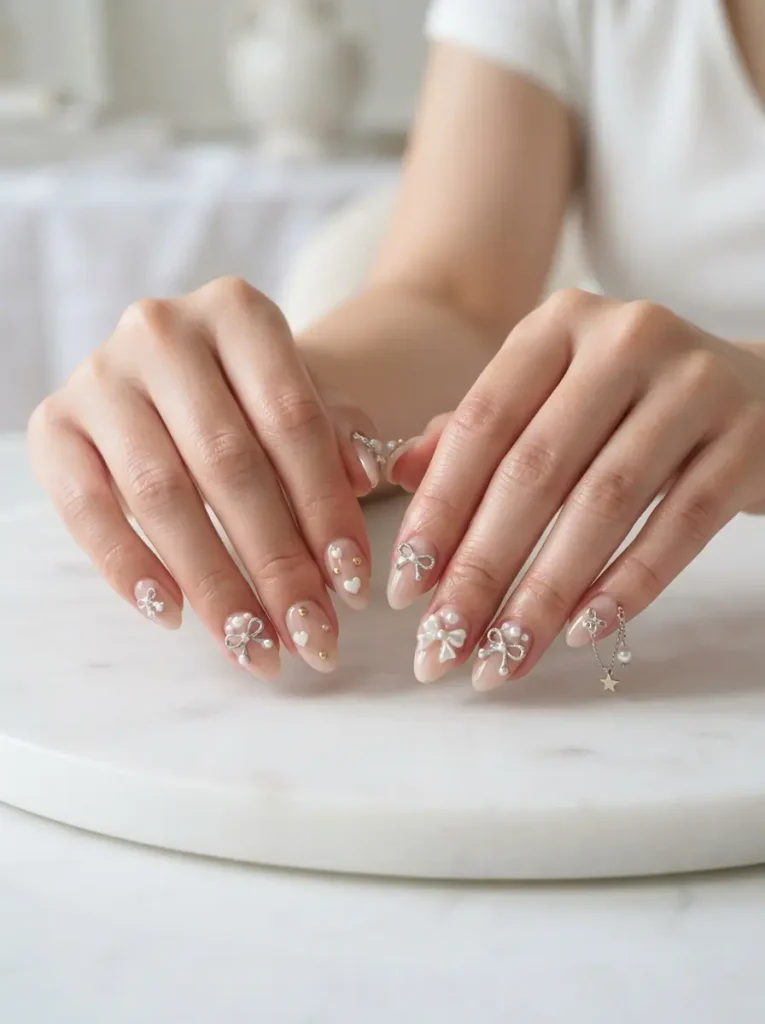
8. 3D Charm and Dangle Nails
Charm nails glue small three-dimensional objects – bows, pearls, tiny hearts, metal hardware, even dangling chains – directly onto a finished manicure.
Best for: one or two accent nails, not all ten.
Difficulty: easy to apply, hard to live with.
Tools: gel glue or builder gel, charms, tweezers, top coat around the base of each charm.
Charms have been called out repeatedly in 2026 trend forecasts as part of the maximalist swing. Practical warning from anyone who’s worn them: charms snag on hair, jumpers and pockets. Keep them on your ring and pinky fingers, and never on your dominant index if you type for a living.
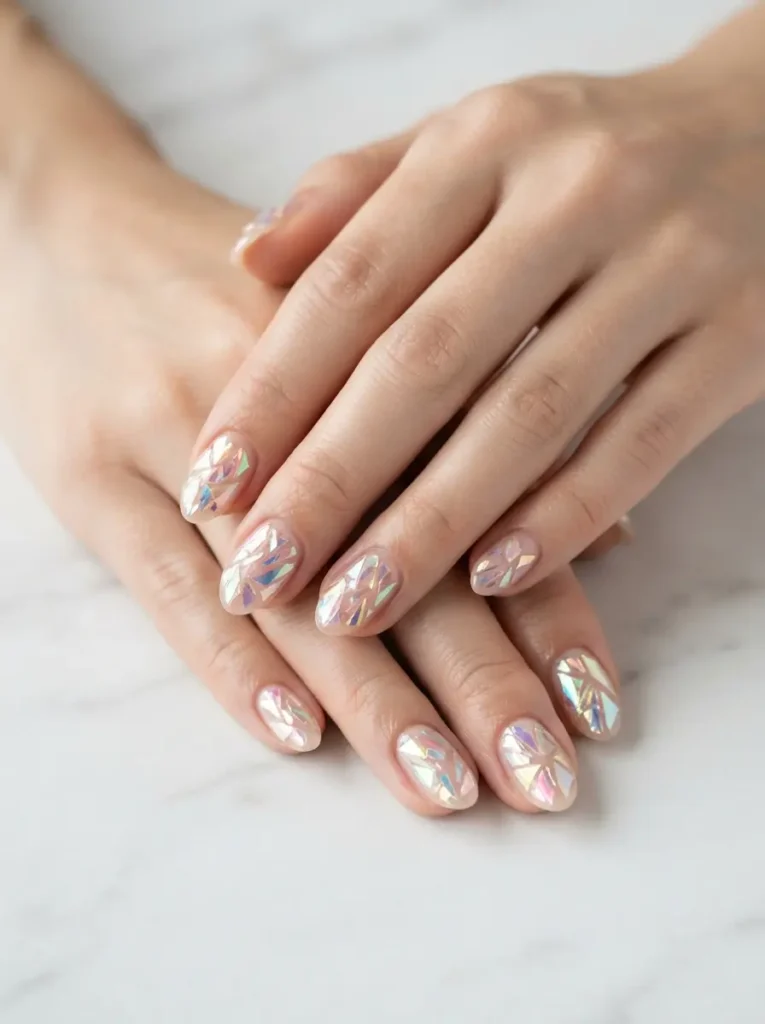
9. Glass Shard Nails
Glass shard nails press slivers of iridescent cellophane film onto tacky polish, so the nail appears to have broken glass embedded under a clear surface.
Best for: dark or clear bases where the shards can catch light.
Difficulty: easy.
Tools: iridescent cellophane or a “shattered glass” nail film, small scissors, tweezers, a thick top coat.
Cut the film into irregular pieces rather than neat squares – the randomness is what sells it. Then flood the nail with top coat, because any shard edge left sticking up will catch on fabric and lift the whole design within a day.
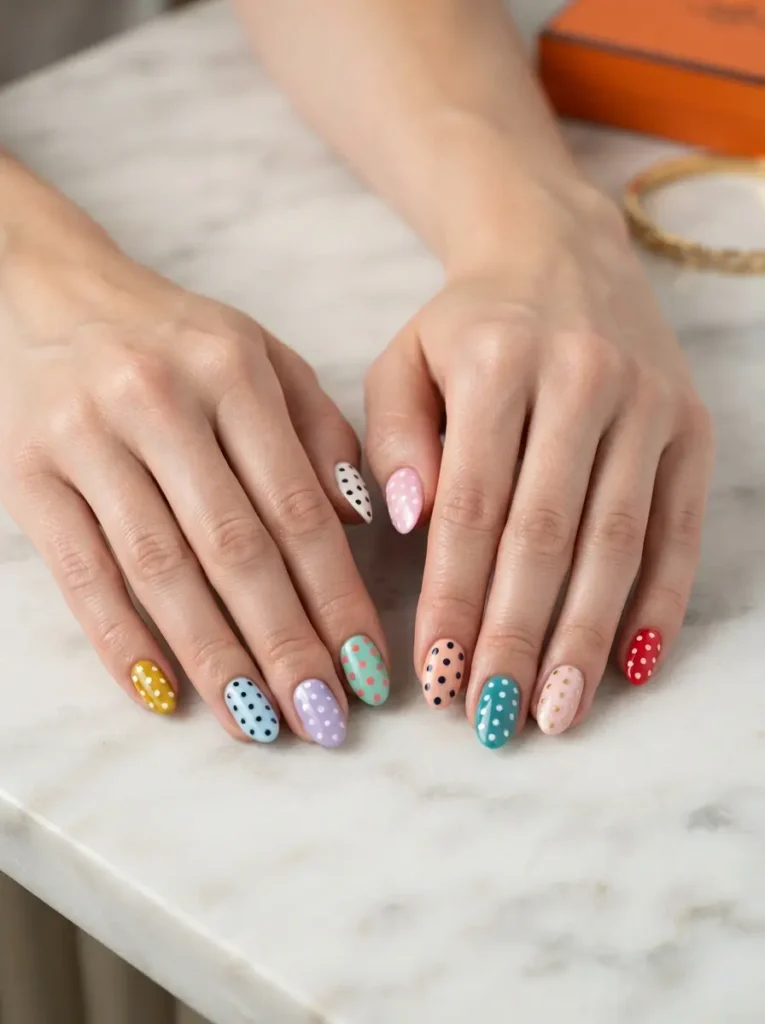
10. Mismatched Polka Dot Skittles Nails
Skittle polka dots give every nail a different base colour with dots in a clashing shade, so no two fingers match.
Best for: beginners, kids’ parties, and anyone using up half-empty polish bottles.
Difficulty: easy.
Tools: four or five polish colours, a dotting tool or a bobby pin.
Nail artists talking to Business Insider named polka dots as an accessible, fun trend for 2026, and it’s the one design on this list that genuinely requires no skill. A closed bobby pin makes a perfect medium dot; the head of a straight pin makes a tiny one. Re-dip for every single dot so they stay the same size.
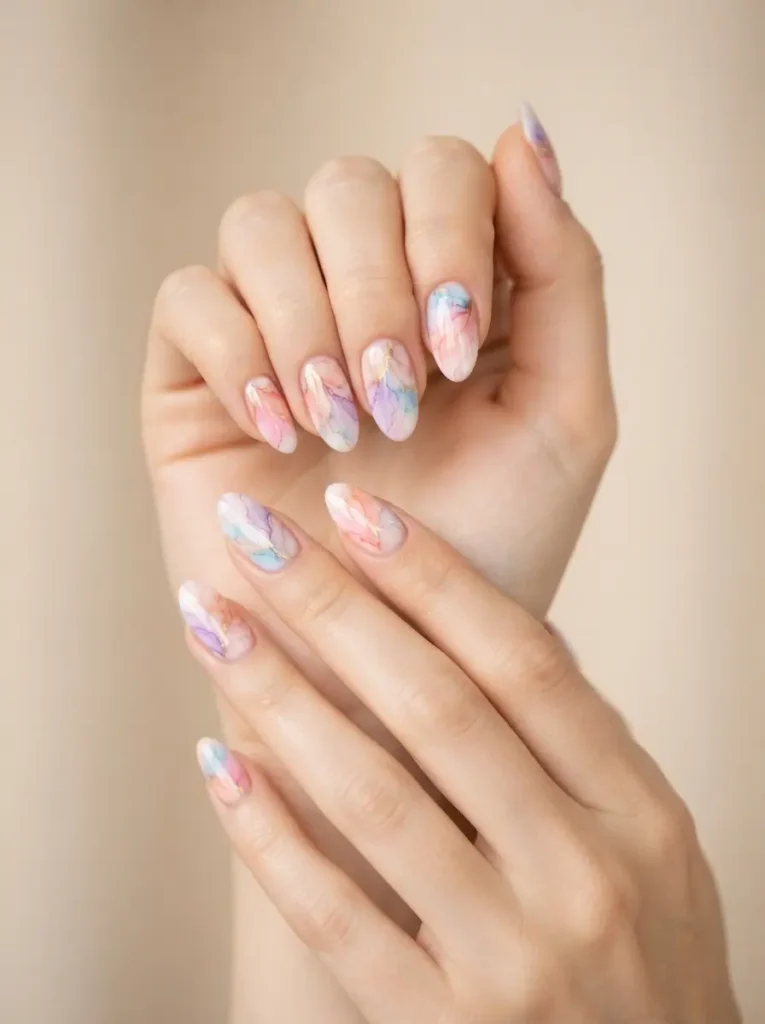
11. Watercolour Bloom Nails
Watercolour bloom nails use alcohol ink or blooming gel to make colour spread and feather on its own, producing soft hand-painted shapes that never come out the same twice.
Best for: almond and oval nails, spring palettes, one-of-a-kind sets.
Difficulty: medium.
Tools: blooming gel, a few pigmented gel colours, a fine brush, LED lamp.
The technique that most people get wrong is over-working it. You drop the colour on and step away – the gel does the spreading. Poking at it turns a bloom into mud. Cure the moment it looks right, because it keeps spreading until you do.
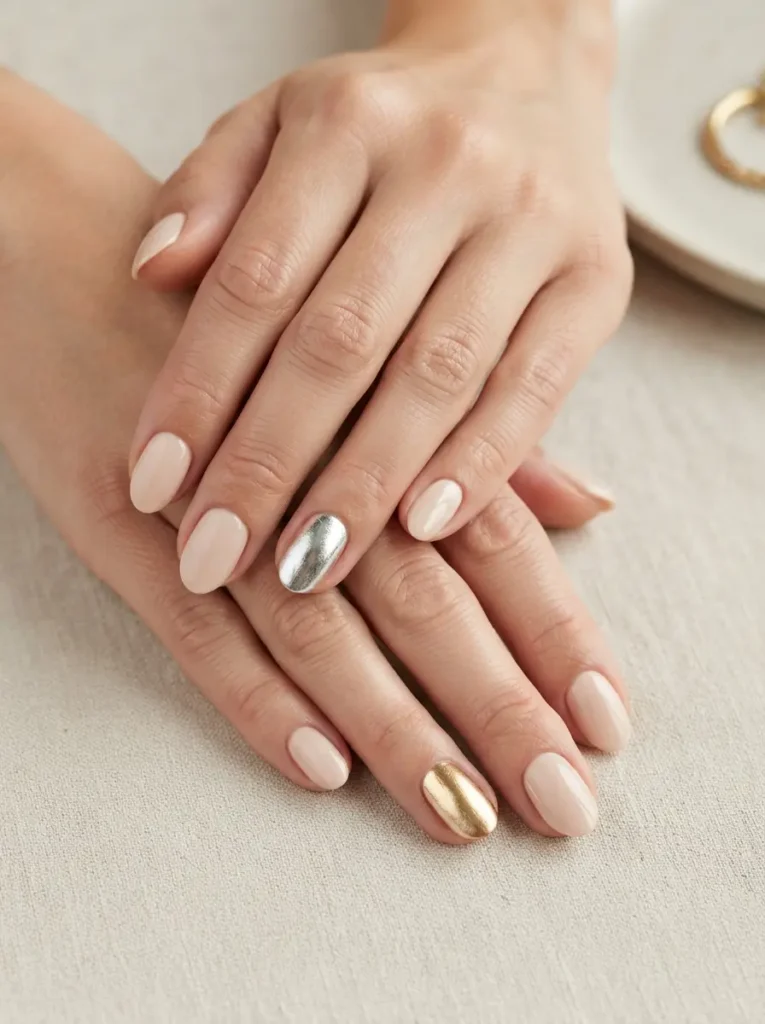
12. Mixed-Metal Accent Nails
Mixed-metal nails combine gold, silver and rose gold in one set, usually as one or two metallic accent nails against a muted neutral base.
Best for: work-appropriate boldness, short nails, and anyone easing into maximalism.
Difficulty: easy.
Tools: a neutral base polish, two or three metallic polishes or chrome powders, top coat.
The 2026 approach is deliberately restrained – trend write-ups this year keep describing metallics as strategic accents rather than full sets, because ten metallic nails can look costume-y in daylight. Two is the sweet spot. Put them on the ring and thumb.
How to Make Crazy Nail Art Actually Last
Detailed nail art fails faster than plain polish because there are more layers to lift. This routine is what separates a set that survives two weeks from one that chips on day three.
- Strip everything off first. Wipe the nail with acetone or alcohol to remove oils and old product. Skip this and nothing bonds properly.
- Shape and file in one direction. Sawing back and forth splits the free edge and starts a chip.
- Push cuticles back – don’t cut them. Nail pros interviewed by Fox News have called cutting cuticles a health risk, because it leaves open cuts that can get infected. A wooden or silicone pusher after a warm soak is enough.
- Use a real base coat. Manicurist Miss Pop explained that a base coat seals out the natural oils in the nail plate the way primer works under foundation, and can add days of wear on its own. A top coat used as a base is not a substitute.
- Apply thin layers and let each one set. Two or three thin coats beat one thick coat every time. Thick layers stay soft underneath, bubble, and dent against your bedsheets.
- Seal the free edge. Run the top coat brush along the tip of the nail. This one move is the single biggest chip-preventer.
- Oil daily, glove up for chores. Dermatology guidance consistently links long water and cleaning-product exposure to a weakened, peeling nail plate, so gloves genuinely extend the life of a set.
How Long Will These Actually Stay On?
Regular polish with nail art typically holds up for about a week, while a gel version of the same design lasts roughly two to three weeks. Multiple salon and dermatology sources put standard gel wear at 14 to 21 days before lifting starts, with proper prep being the biggest variable.
A few notes worth knowing before you commit:
| Manicure type | Typical wear | Best for which designs |
|---|---|---|
| Regular polish | About 1 week | Splatter, polka dots, glass shards |
| Gel polish | 2–3 weeks | Cat-eye, aura, chrome, blooming |
| Press-ons | 1–2 weeks | Chrome, charms, anything complex |
| Acrylic / builder gel | Up to 4 weeks | Heavy 3D charms and extensions |
Leaving gel on much past three weeks tends to backfire — it starts lifting at the edges, and that gap can trap moisture against the nail plate. Removal also gets harder the longer you wait, which usually means more soaking and more force.
Common Mistakes to Avoid With Bold Nail Designs
- Doing all ten nails in the loudest design. Two accent nails plus eight supporting ones reads as intentional. Ten reads as costume.
- Skipping base and top coat because “it’s just art.” Nail artists consistently name this as the number one beginner error. The art is the part that lifts first.
- Flooding the cuticle. Dip the brush no more than halfway up the bristles and wipe the excess on the bottle rim. If you do flood it, wait until it’s tacky, then clean it up with a wooden stick dipped in remover.
- Picking or peeling gel off. This takes layers of your actual nail plate with it, and you’ll feel the thinness for months.
- Choosing a design that fights your job. Long charm nails and a keyboard are not friends. Match the design to your week, not just your mood.