Your hands are about to become the most photographed part of your body. The ring close-up, the bouquet shot, the champagne toast – a wedding photographer aims at your fingers more often than you’d guess, and a chipped or clashing manicure shows up in every single frame.
The good news: elegant wedding nails don’t require dramatic art or extreme length. The most beautifully bridal looks right now are soft, luminous, and quietly expensive-looking. Here are ten that work, plus the booking details most inspiration galleries never tell you.
What Makes Wedding Nails Look Elegant?
Elegant wedding nails are manicures in soft, light-reflecting shades – milky whites, sheer pinks, warm nudes – with a refined finish and at most one delicate detail, so the nails enhance the ring and dress instead of competing with them. Bridal nail artists sum up the 2026 direction as nails that look expensive, not nails that look “done.”
That’s the filter for every look below. Each one keeps the base soft and lets a single element – a gradient, a pearl, a whisper of shimmer – do the talking.
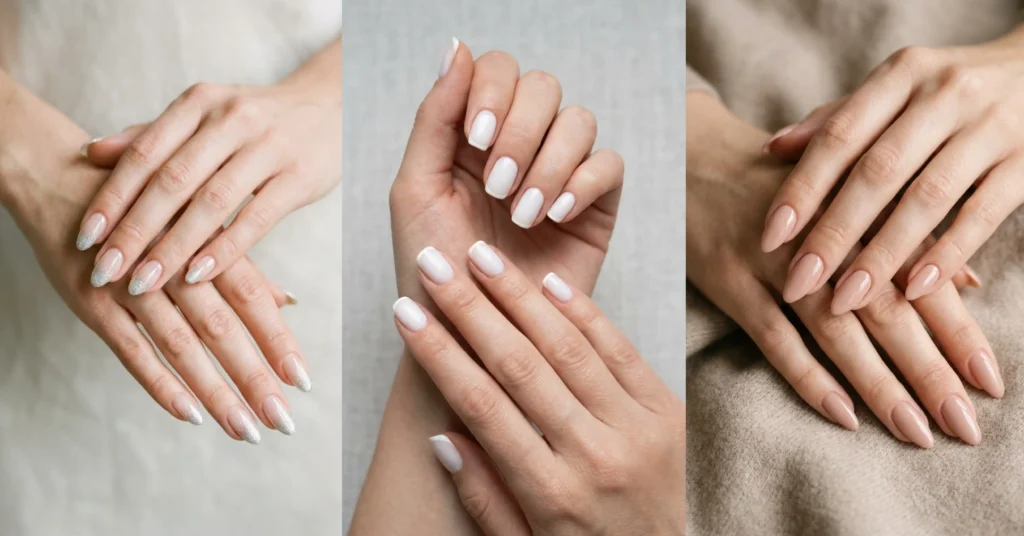
1. Milky White Sheer Nails
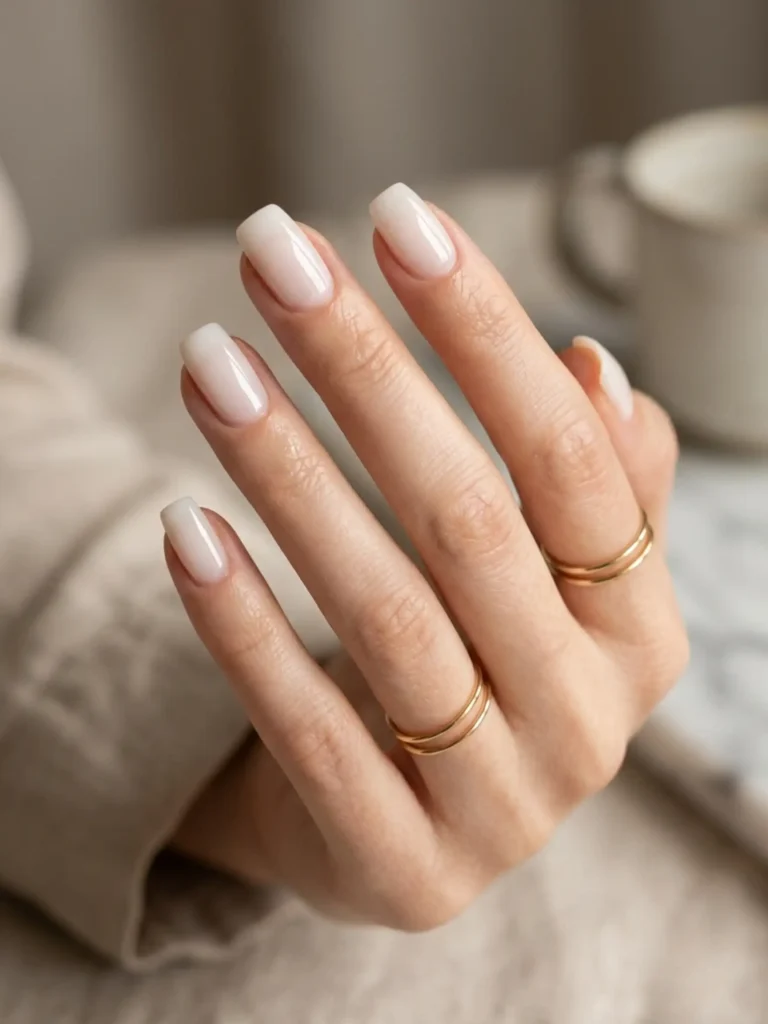
Milky nails use thin coats of translucent white polish under a high-gloss top coat, so the nail looks dipped in milk rather than painted solid white.
Best for: brides who want a clean, ethereal match for an ivory gown.
Difficulty: easy – even a careful DIY works.
Ask your tech for: a sheer milky white applied in thin layers, finished glossy.
The mistake to avoid is opacity. Two thin coats keep the soft glow; three thick ones turn it into stark correction-fluid white, which photographs flat.
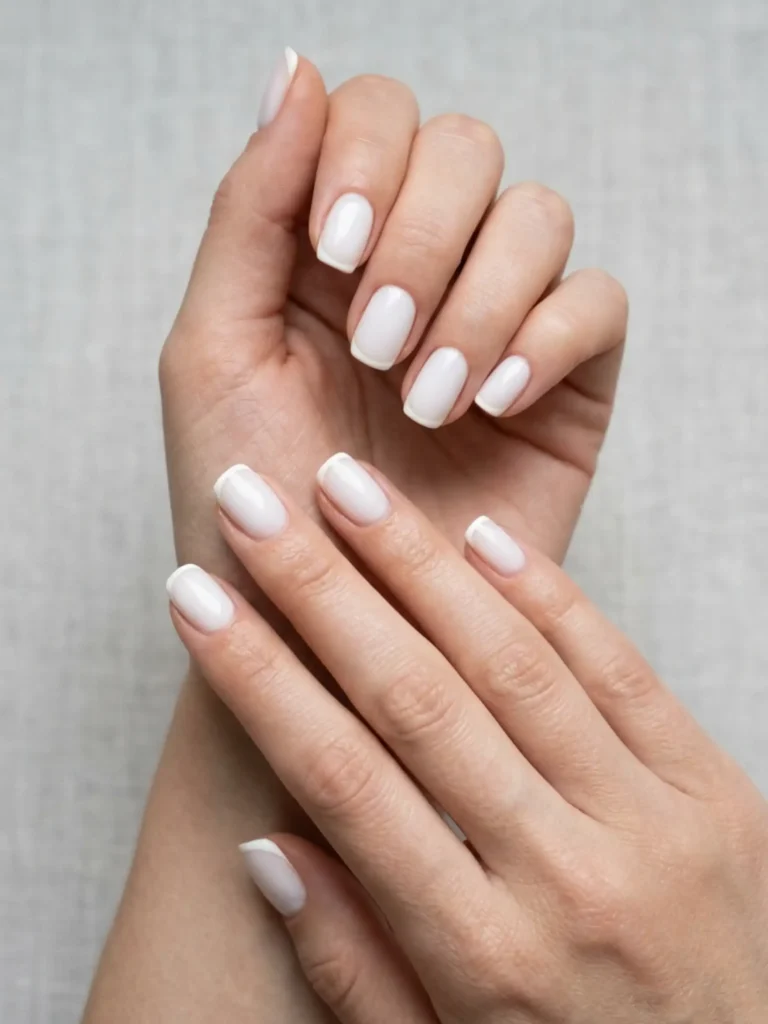
2. Micro French Tips Nails
The micro French replaces the classic thick white band with a hairline of soft white or ivory along the very edge of the nail.
Best for: brides who love tradition but want it modernized.
Difficulty: medium – the thin line demands a steady professional hand.
Ask your tech for: a micro French in off-white on a sheer nude or milky base.
Keeping the tip shade close in tone to the base is what makes this read as refined rather than retro. It photographs as a glowing edge, not a graphic stripe.
3. Baby Boomer Ombré Nails
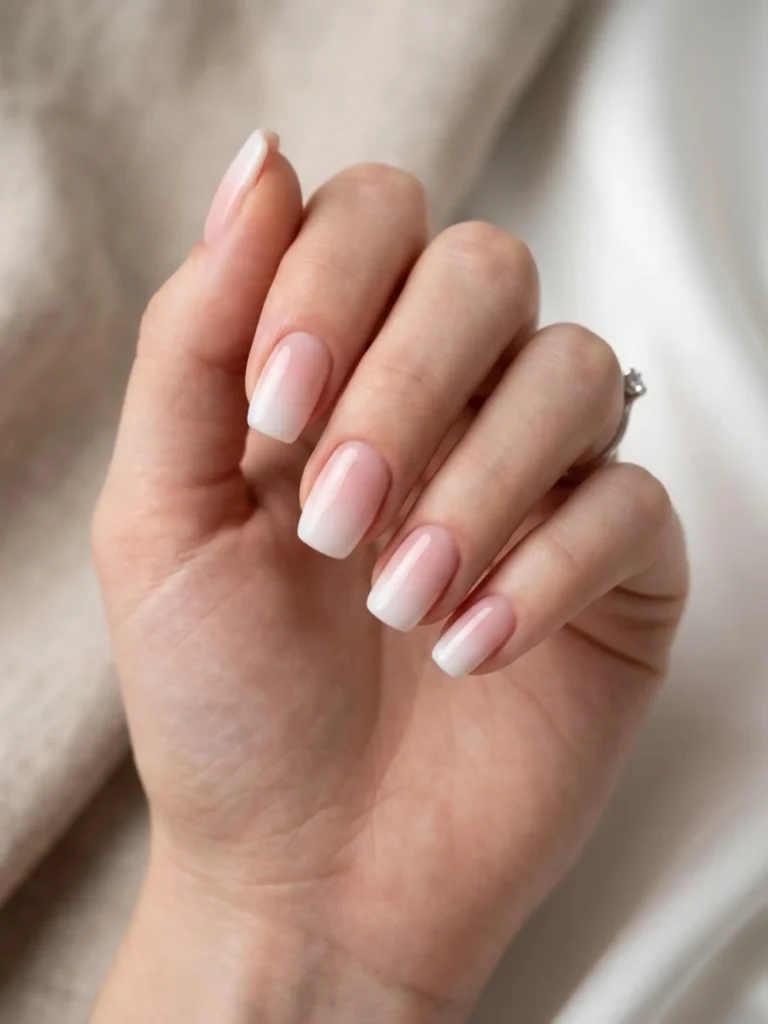
The baby boomer is a seamless gradient from soft pink at the cuticle to white at the tip – a French manicure with the line melted away.
Best for: romantic brides and lace or tulle gowns.
Difficulty: medium to hard – smooth gradients take skill.
Ask your tech for: a pink-to-white ombré (most techs know it by the “baby boomer” name).
This one flatters every nail length and skin tone, which is why it has stayed a bridal staple for years while louder trends came and went.
4. Pearl Chrome Glaze Nails
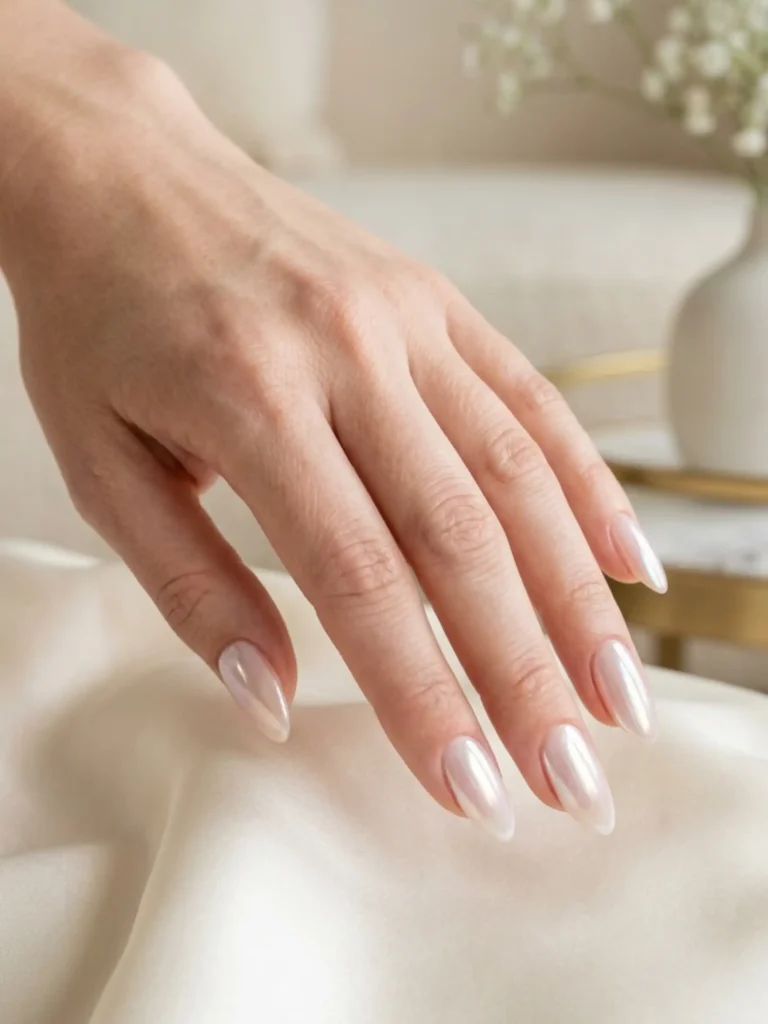
Pearl chrome layers an iridescent powder over a sheer pink or white base, giving nails the soft multicolor sheen of an actual pearl.
Best for: brides wearing pearl jewelry or a satin gown.
Difficulty: medium – needs gel and a salon chrome powder.
Ask your tech for: pearlescent chrome powder over a sheer base, not mirror chrome.
There’s a real difference between the two finishes: pearlescent shifts subtle pinks and blues in the light, while mirror chrome is full-on metallic. For elegance, pearlescent wins.
5. Sheer Blush “Princess” Nails
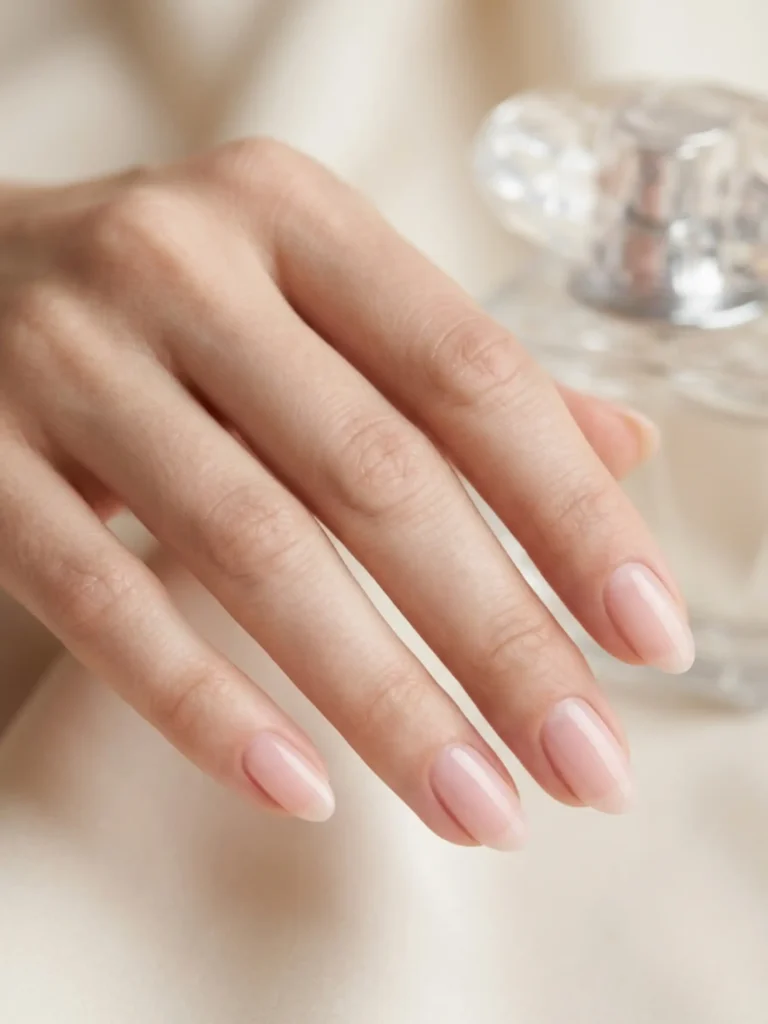
Princess nails are a barely-there blush pink applied so thinly the nail looks naturally perfect – the manicure equivalent of no-makeup makeup.
Best for: minimalist brides and close-up ring photos.
Difficulty: easy.
Ask your tech for: a sheer blush or “your nails but better” look in thin, even coats.
According to Who What Wear’s 2026 bridal report, manicurists expect this natural, quietly polished direction to define the year’s wedding nails. It also grows out gracefully – useful if your honeymoon starts the next morning.
6. Dainty Pearl Accents Nails
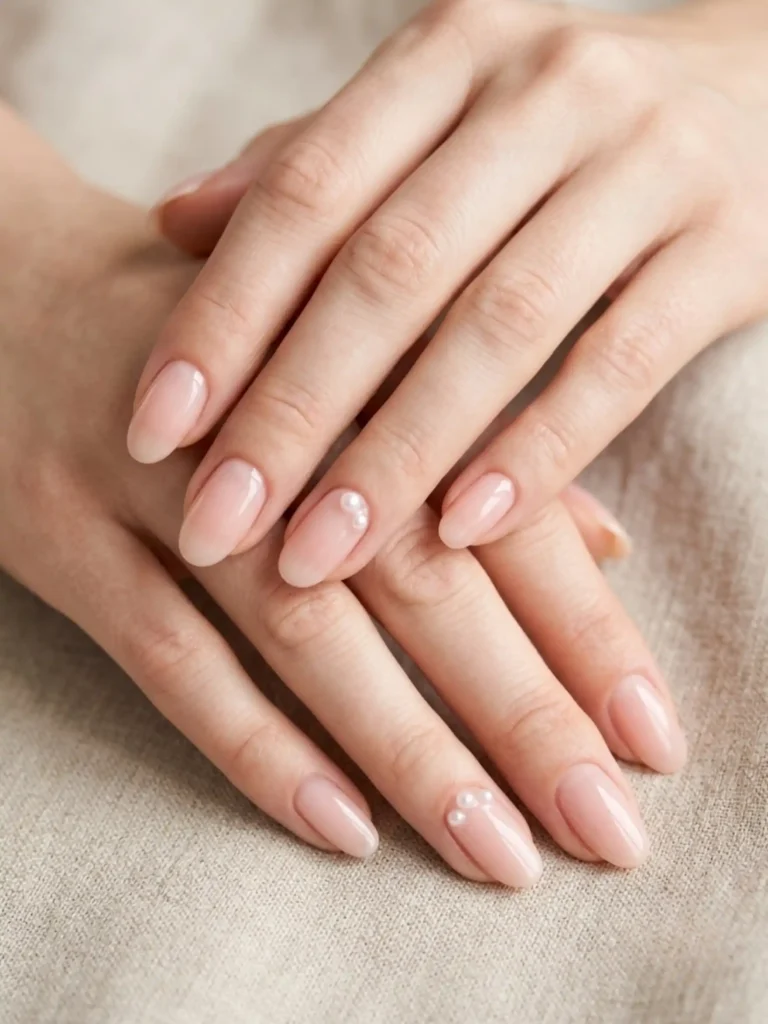
Pearl accent nails scatter two or three mini half-pearls near the cuticle of one or two nails, leaving the rest clean and glossy.
Best for: classic brides who want one heirloom-feeling detail.
Difficulty: easy at the salon; fiddly at home.
Ask your tech for: a small pearl cluster on the ring finger only, over a sheer base.
Restraint is the whole trick. Pearls on every nail read as costume; pearls on one nail read as jewelry.
7. Delicate Lace Nail Art Nails
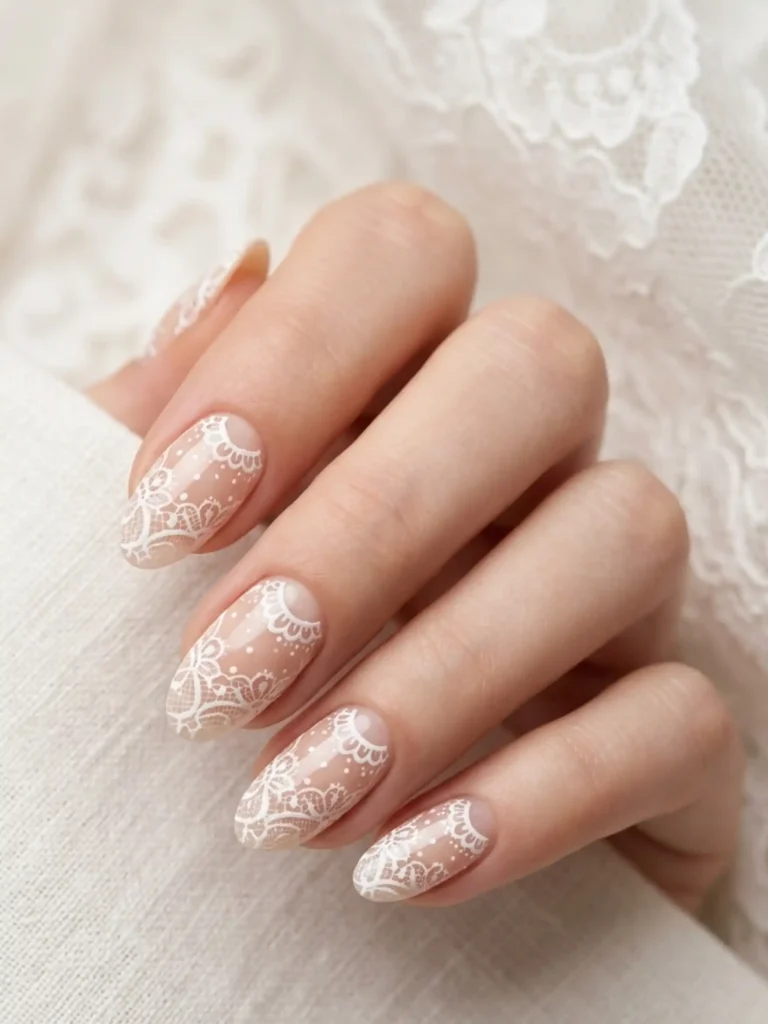
Lace nails use fine white gel paint to draw scalloped edges and dot patterns that echo the lace of a wedding gown.
Best for: brides in lace dresses who want the details to rhyme.
Difficulty: hard – this is fine detail-brush work.
Ask your tech for: hand-painted white lace detailing on one or two accent nails over sheer nude.
Bring a photo of your actual dress lace to the appointment. A tech who can mirror your gown’s pattern turns the manicure into a custom piece.
8. Nude Almond Nails
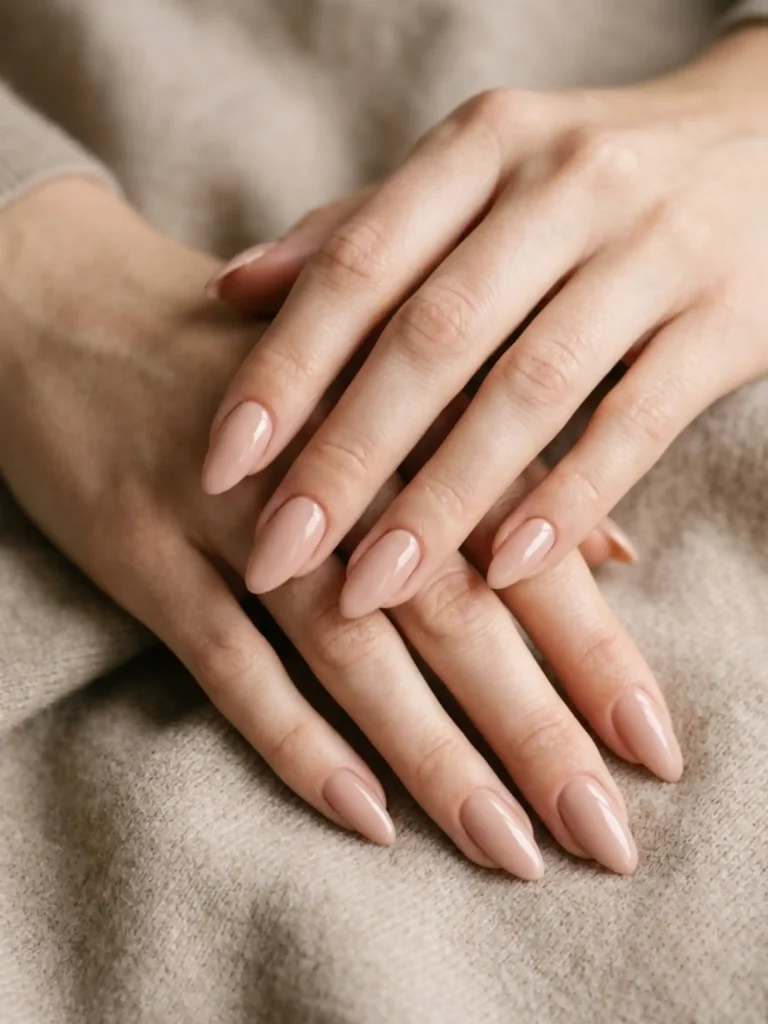
Nude almond nails pair a skin-flattering neutral polish with a softly tapered almond shape that visually lengthens the fingers.
Best for: any bride who’s undecided – this is the can’t-miss option.
Difficulty: easy.
Ask your tech for: an almond shape with a nude matched to your undertone (peachy for warm, pinkish for cool).
Finding your nude is worth the trial appointment. The right shade makes hands look naturally elegant; the wrong one washes them out in photos.
9. Sheer “Something Blue” Accent Nails
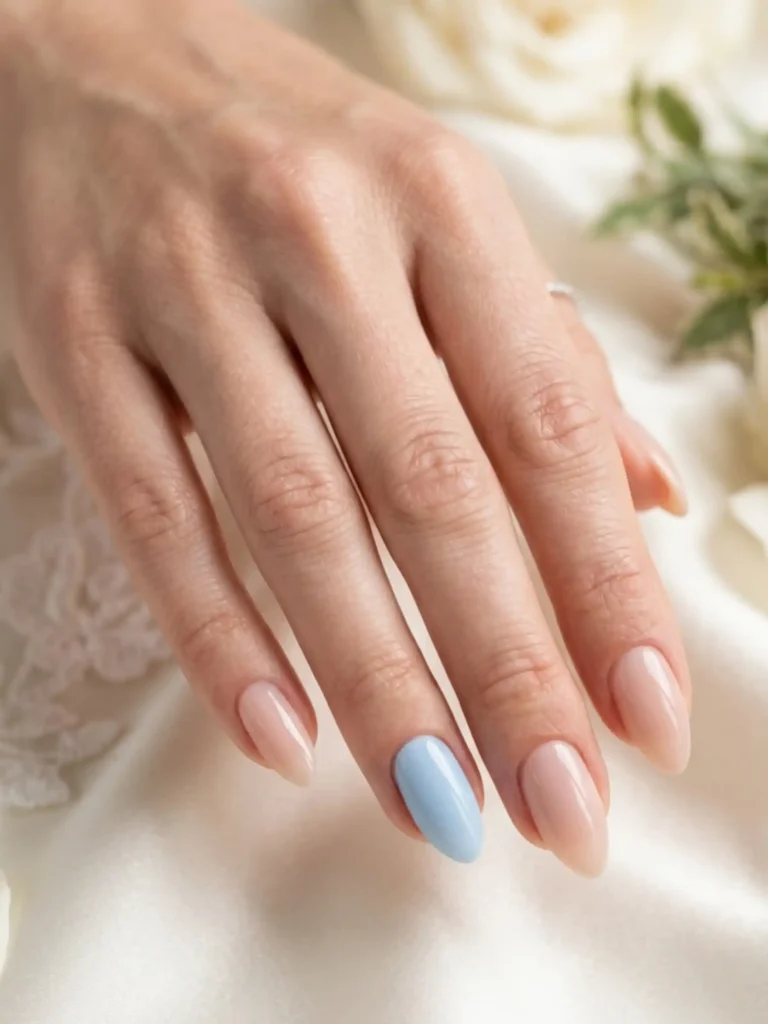
This look hides your something blue in the manicure: a milky pastel-blue accent nail, or a thin blue micro French tip, against otherwise neutral nails.
Best for: sentimental brides who want the tradition without a blue dress.
Difficulty: easy to medium.
Ask your tech for: one sheer milky-blue accent nail, or blue micro tips, kept pastel.
Keep it sheer and powdery. A soft wash of blue feels like a secret; an opaque royal blue feels like a statement the rest of the look didn’t agree to.
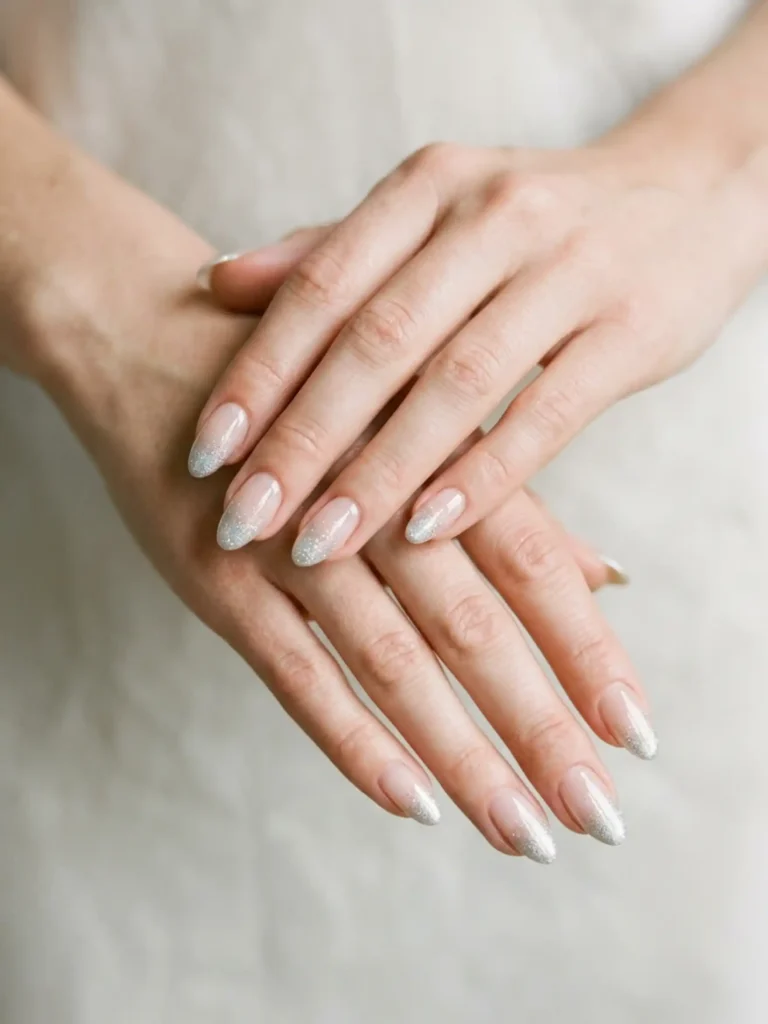
10. Fine Shimmer Tips Nails
Shimmer tips concentrate an ultra-fine glitter gradient at the nail’s edge, so the sparkle reads as light-catching rather than glittery.
Best for: the reception, sunset photos, and brides who want celebration in the details.
Difficulty: easy to medium.
Ask your tech for: a fine shimmer fade at the tips over a sheer base – no chunky glitter.
The particle size is everything. Micro-shimmer under a glossy top coat glows in golden-hour light; craft-glitter flakes photograph as texture, not sparkle.
When to Get Your Wedding Nails Done
Book gel nails one to two days before the wedding, and acrylic or Gel-X extensions two to four days before. Here’s the full countdown:
- 3–4 weeks out: book a trial appointment. This catches lifting, allergies, and design regrets while there’s still time to change course.
- 1 week out: stop picking, peeling, and DIY experiments. Moisturize cuticles daily.
- 2–4 days out (extensions only): get acrylics or Gel-X applied. Bridal timing guides like EVORÉ’s note that first-time extension wearers need a day or two to adjust to how they feel.
- 1–2 days out: get your gel manicure. Salons such as The W Nail Bar recommend two to three days out so nails stay fresh without crowding the wedding-week schedule.
- Wedding morning: nothing. Freshly done nails plus morning-of stress is a combination with no upside.
Budget-wise, gel and acrylic manicures typically run about $35–70 before add-ons, according to V Beauty Pure’s wedding nail guide – and quality press-ons are a legitimate lower-cost backup that many bridal brands now design specifically for wedding wear.
Which Nail Shape Is Most Bridal?
Almond is the most universally flattering bridal nail shape, with soft oval and squoval close behind. All three taper gently, which visually lengthens the fingers – exactly what you want in ring close-ups. 2026 trend reports consistently put almond and soft squoval at the front of bridal bookings.
One practical caution: sharp square and stiletto shapes can snag delicate fabrics. If your gown is tulle, lace, or has a long veil, rounded edges are the safer beautiful choice.
Common Wedding Nail Mistakes to Avoid
- Booking the manicure a week early. Gel stays glossy, but cuticle regrowth becomes visible in close-ups after four or five days.
- Skipping the trial. The trial isn’t vanity – it’s how you discover a polish allergy or a shade mismatch three weeks out instead of three hours out.
- Choosing stark opaque white by default. Milky and sheer whites flatter far more skin tones and photograph softer.
- Going long for the first time ever. Extensions change how you grip, button, and hold things; a wedding day is a bad time to relearn your hands.
- Ignoring the dress. Nails, gown, and jewelry should share an undertone – warm with warm, cool with cool.