I still remember the first time someone grabbed my hand at a coffee shop and asked, “Wait – is that painted on your nail?” It was a tiny mountain scene on my ring finger, smaller than a postage stamp, and it got more compliments that week than any outfit I owned.
That’s the magic of artistic nail designs. Your nails are ten little canvases you carry everywhere, and with the right idea, even the simplest manicure becomes a conversation starter. This guide walks you through 14 nail art ideas that genuinely look like miniature works of art – from watercolor washes to kintsugi-inspired gold veins. Skip around, save your favorites, and pick the one that feels most you.
What Makes Nail Art Feel Like a Tiny Masterpiece?
A “tiny masterpiece” nail look is any design that borrows techniques from real art forms – painting, mosaic, embroidery, stained glass – and shrinks them down to fit a fingernail. The difference between ordinary nail art and museum-worthy nails usually comes down to three things: a clear artistic concept, intentional color choices, and one or two fine details that reward a closer look.
You don’t need salon-level skills for most of these. Many of the designs below rely on smart shortcuts – sheer bases, dotting tools, thin striping brushes, and a patient hand. What matters most is choosing an idea with a strong visual identity, because that’s what makes people stop scrolling (and stop you in coffee shops).
1. Ink-Wash Watercolor Nails
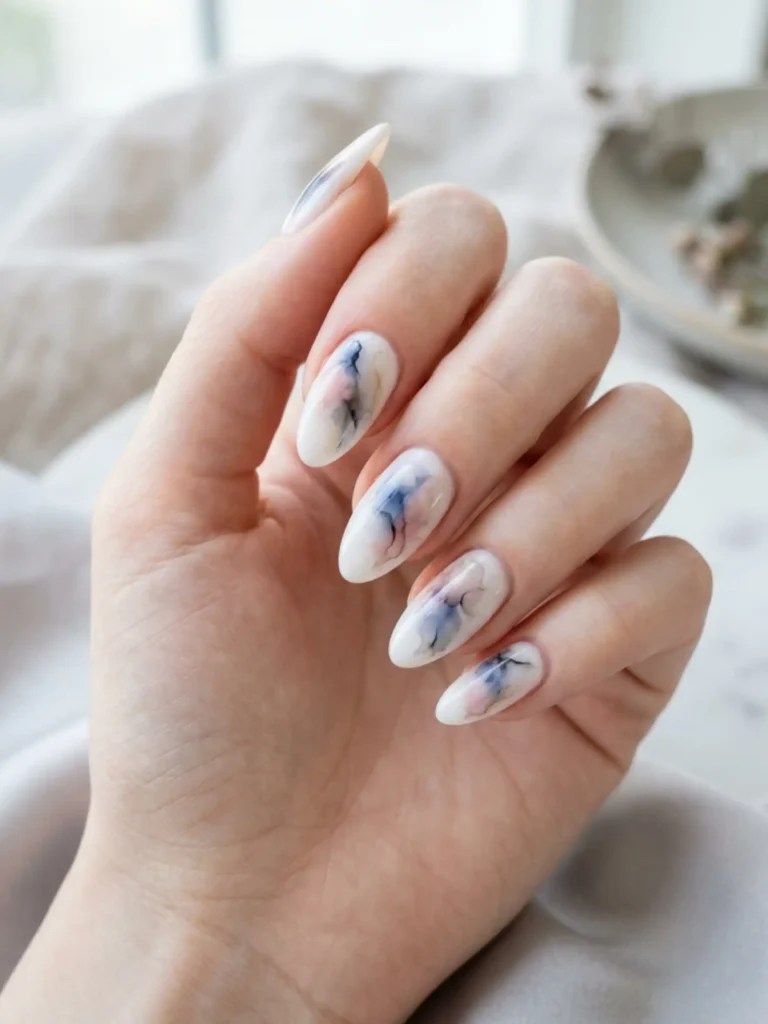
Ink-wash watercolor nails recreate the soft, bleeding edges of watercolor paint using heavily diluted polish over a milky white base.
Picture soft blooms of dusty rose, sage, and slate blue melting into each other with no hard lines anywhere. The look works because the colors stay translucent – you should almost see the base through every layer. Dab the diluted polish on with a small eyeshadow sponge instead of a brush, and let each “bloom” dry before adding the next so the colors kiss instead of turning muddy.
The finished manicure looks like a page torn from a painter’s sketchbook.
2. Stained Glass Nails
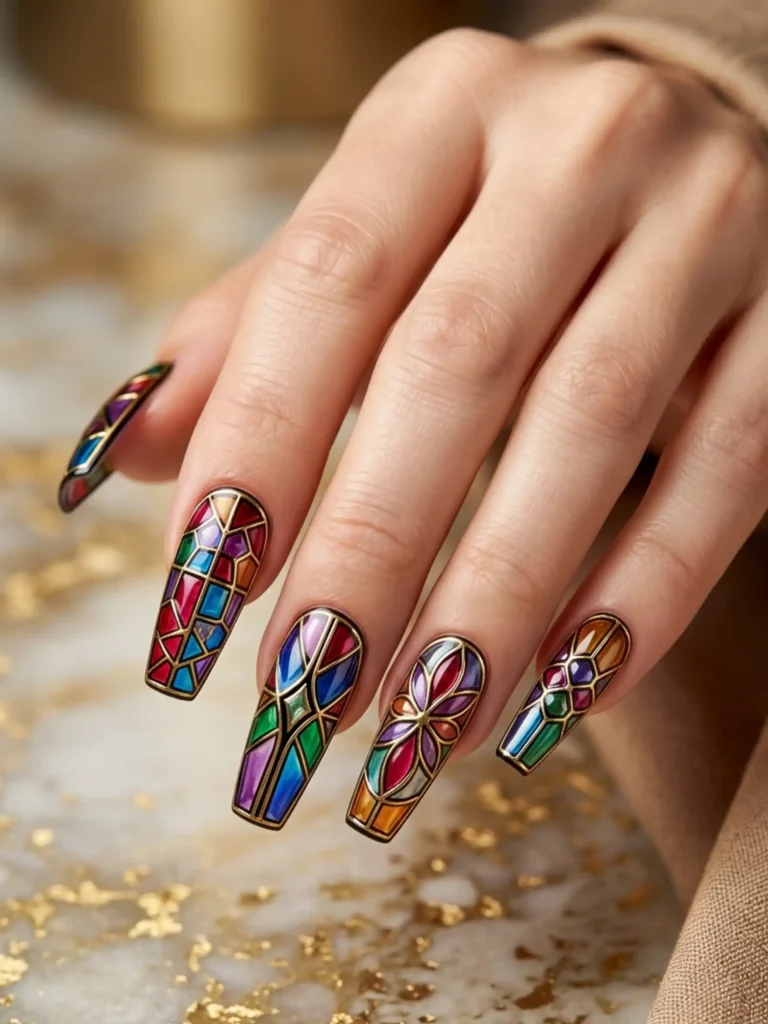
Stained glass nails divide the nail into jewel-toned glassy segments outlined with thin black or gold lines, just like a cathedral window.
Sheer, syrupy shades are the secret here – emerald, amber, ruby, and sapphire jelly polishes that let light glow through. Once the colored sections dry, trace the borders between them with a fine liner brush.
The outlines don’t need to be perfect; slightly wobbly lines actually make it look more like real leaded glass. Under sunlight, these nails genuinely sparkle like tiny windows.
3. Miniature Landscape Nails
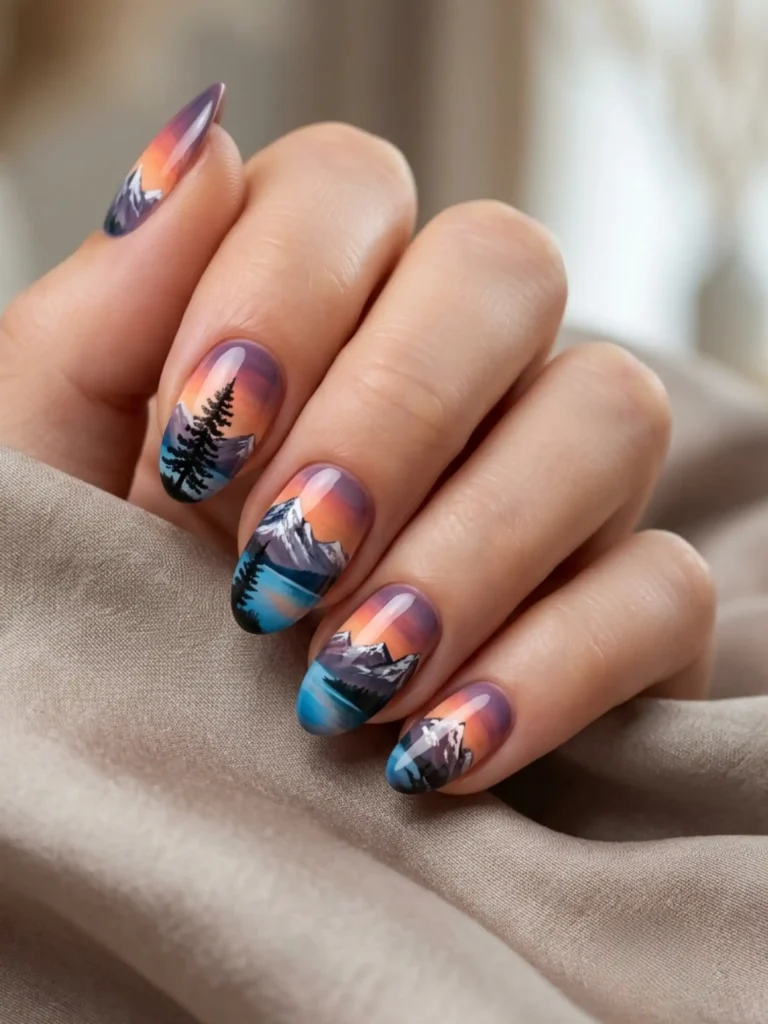
Miniature landscape nails feature a complete tiny scene – mountains, a sunset, a lake, a lone tree – painted across one or two accent nails.
The trick is layering from back to front: sky gradient first, then distant hills in a muted tone, then darker foreground details last. Keep the rest of the manicure in a solid color pulled from the scene so the landscape becomes the hero.
My first attempt looked like a green blob until I learned to make background elements lighter and blurrier – the moment I did, the whole scene snapped into focus.
4. Embroidery-Stitch Nails
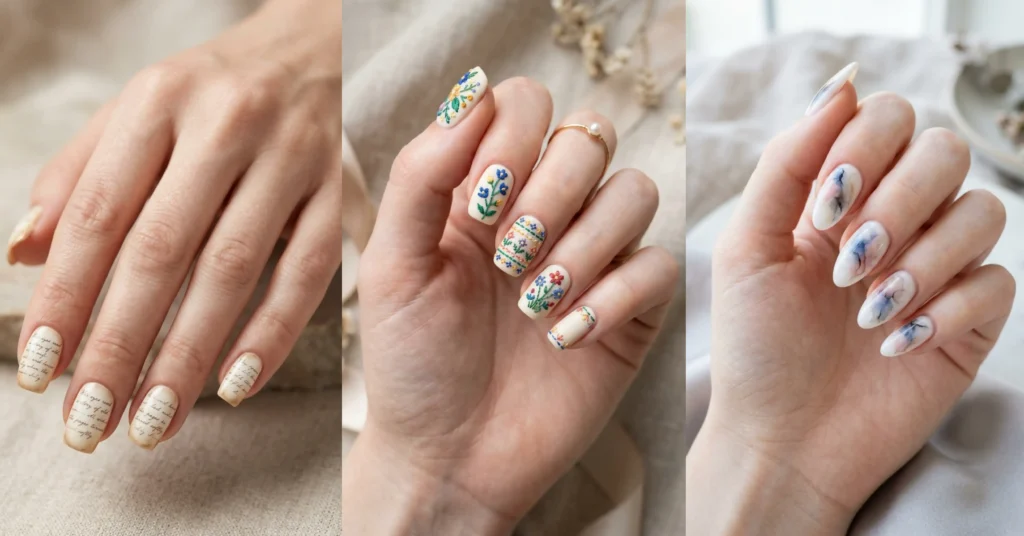
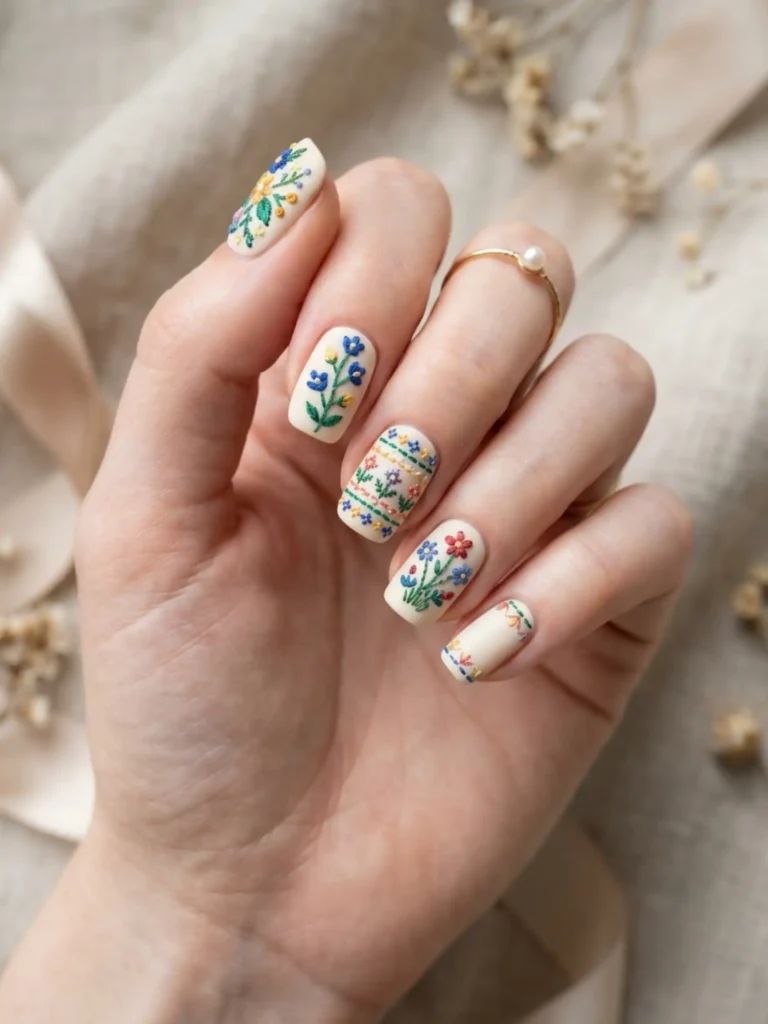
Embroidery-stitch nails mimic hand-sewn thread work with short, deliberate dashes of polish arranged into florals, borders, or cross-stitch patterns.
Instead of painting a smooth flower, you build it from tiny “stitches” – little dashes radiating from a center point. A matte top coat is non-negotiable here; it transforms shiny polish lines into something that reads as actual thread on linen.
Warm neutrals with pops of burgundy and mustard give serious cottagecore energy, and the texture illusion is what makes people lean in for a second look.
5. Mosaic Tile Nails
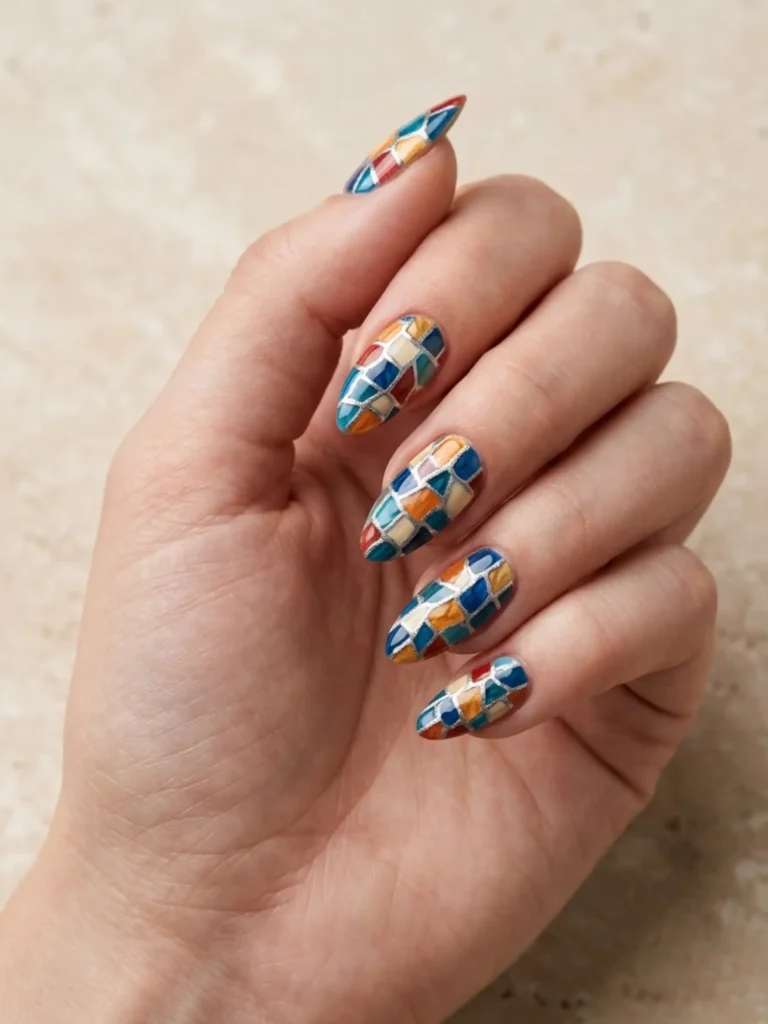
Mosaic tile nails break the nail surface into small irregular blocks of color separated by thin “grout” lines, like a Mediterranean tabletop.
Start with a light grey or white base – that becomes your grout. Then fill in uneven squares and triangles of color, leaving a sliver of base showing between every piece. Terracotta, teal, cobalt, and cream together feel straight off a Spanish courtyard wall.
No two nails should match exactly; the charming imperfection is the whole point of mosaic art.
6. Pressed Flower Shadow, Box Nails
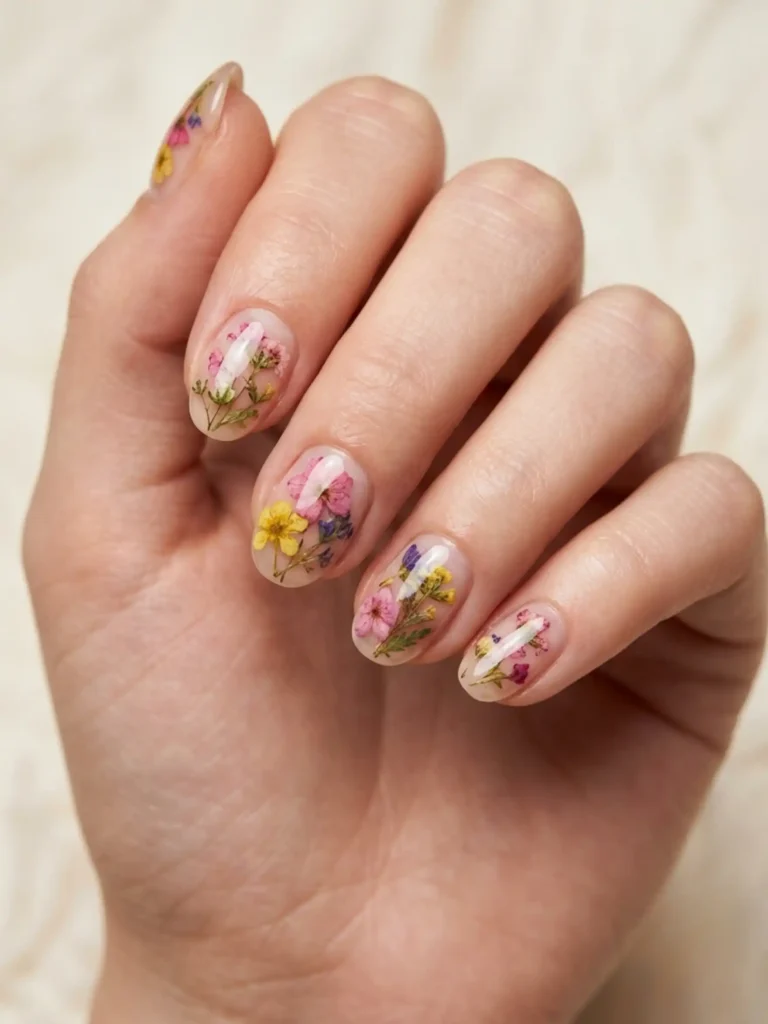
Pressed flower shadow box nails encapsulate real dried micro-flowers under a thick glossy top layer, so each nail becomes a tiny botanical display case.
Real pressed flowers (sold in tiny craft jars) sit on a sheer nude or milky base, sealed under builder gel or several coats of thick top coat until the surface is perfectly smooth. The depth is what sells it – the flower looks suspended, not stuck on.
One warning from experience: trim the flowers smaller than you think you need to. An oversized petal will snag on everything and lift the seal within days.
7. Constellation Map Nails
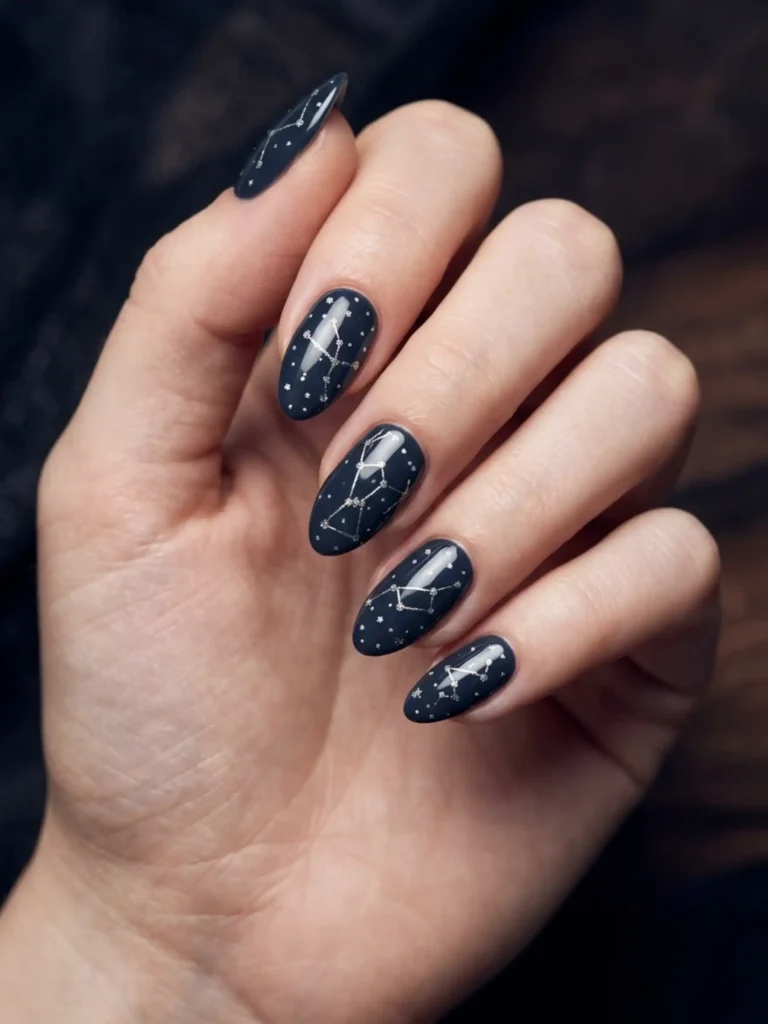
Constellation map nails scatter tiny star dots across a deep navy or charcoal base, connected with hair-thin lines to form real zodiac constellations.
This design rewards restraint. A few precisely placed dots in white or gold, joined by faint lines, look far more elegant than a sky full of random glitter. Pick your own zodiac sign for the accent nail – it turns the manicure into something personal, which is exactly why this design gets saved and shared so much.
A shimmer top coat adds the faint galaxy haze without overwhelming the stars.
8. Impasto Brushstroke Nails
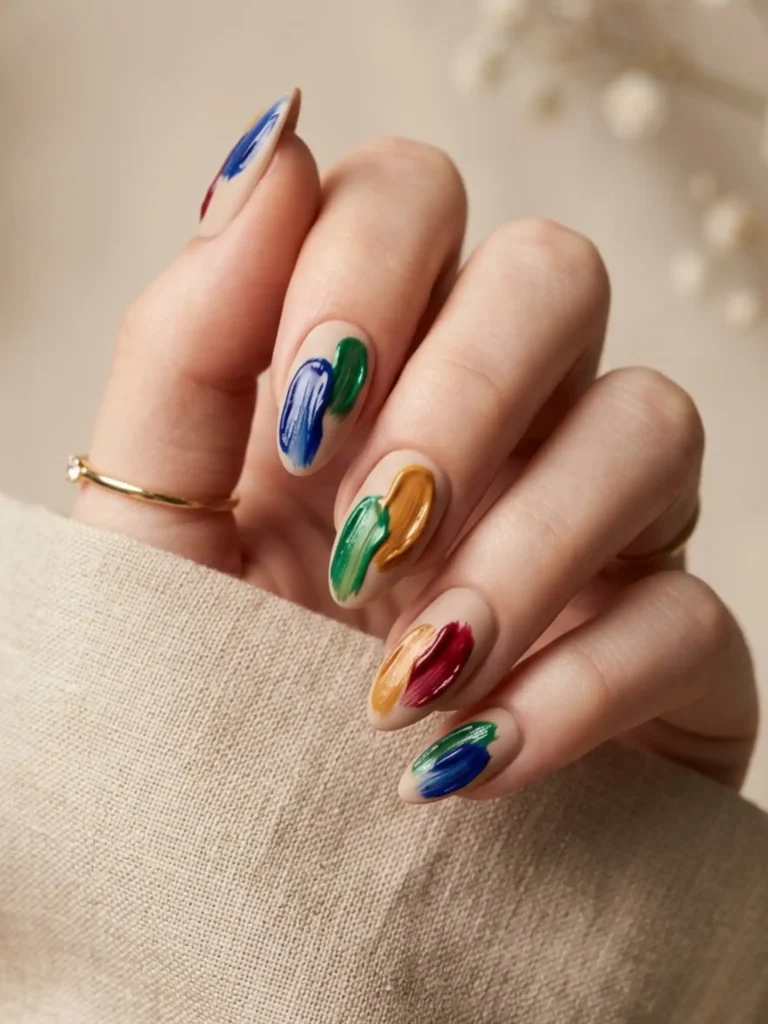
Impasto brushstroke nails copy the thick, textured strokes of oil painting, with one or two bold, raised swipes of color standing proud on a neutral base.
The strokes should look confident and unblended – a single sweep of crimson, a dab of ochre, a curve of teal, each with visible “brush” texture. Layering the same stroke two or three times builds that raised, dimensional paint look.
On a soft beige base, it reads as abstract gallery art. This one is shockingly forgiving because in impasto painting, messiness is the technique.
9. Antique Book Page Nails
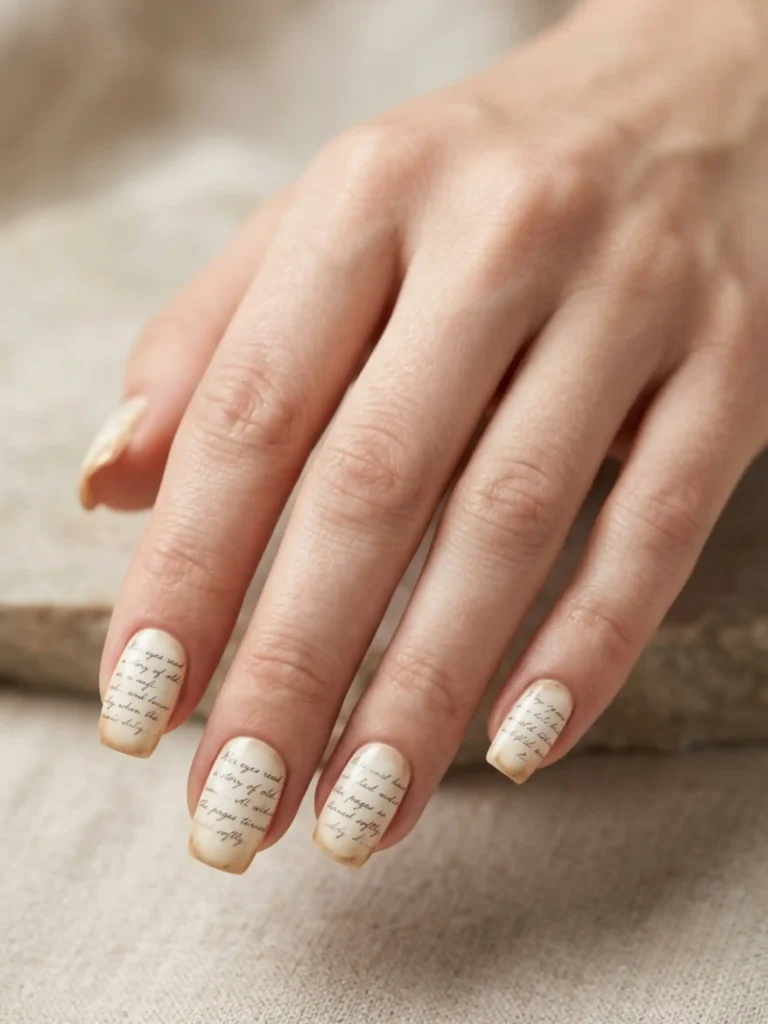
Antique book page nails feature faint lines of handwritten-style script and aged sepia edges over an ivory base, like fragments torn from an old novel.
Nobody can read text that small, and that’s the secret – you’re not writing words, you’re suggesting them. Thin, wavy horizontal squiggles in soft brown ink create the illusion of script. Sponge a whisper of tan around the nail edges for that aged-paper burn.
Add one tiny detail on an accent nail, like a small red wax-seal dot, and the storybook theme comes together beautifully.
10. Aurora Veil Nails
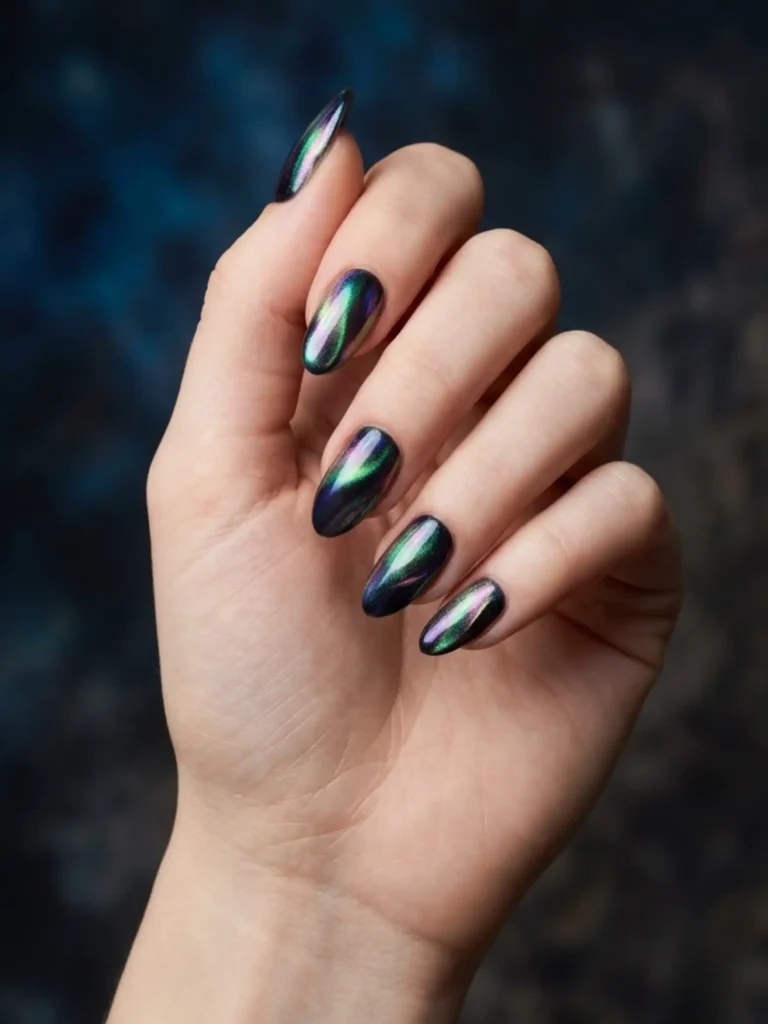
Aurora veil nails drape a shifting, iridescent sheen over a dark base, recreating the northern lights in miniature.
The formula is simple: a near-black base (deep green or navy works even better than pure black), then a color-shifting chrome or aurora powder rubbed on in soft diagonal streaks rather than all over.
Leaving some of the dark base exposed is what creates that “light moving across a night sky” effect. Every tilt of your hand shifts the colors – it’s the closest a manicure gets to being genuinely hypnotic.
How to Make Your Nail Art Last Longer
Even a masterpiece chips if the foundation is rushed. Here’s the routine that keeps detailed nail designs alive well past a week:
- Prep your nails properly – push back cuticles, buff the surface lightly, and wipe away every trace of oil with polish remover before painting.
- Apply a sticky base coat and let it set completely; art layered on a wet base slides and smears.
- Paint in thin layers, always. Two thin coats outlast one thick coat every single time.
- Seal the free edge by running your top coat along the very tip of the nail – this is where chips are born.
- Refresh the top coat every three or four days to keep details protected and glossy.
- Protect your work by wearing gloves for dishes and cleaning; hot water and detergent are nail art’s worst enemies.
Common Mistakes to Avoid with Artistic Nail Designs
- Overcrowding every nail with detail. Give your design breathing room – two or three statement nails with simple companions look far more expensive than ten busy ones.
- Skipping drying time between layers. Fine-line work drags and bleeds on tacky polish; five extra minutes saves the whole design.
- Using a regular brush for detail work. A proper fine liner brush costs very little and instantly improves every design on this list.
- Choosing colors that fight each other. Pull your palette from one source – a painting, a photo, a piece of fabric – and the manicure will automatically look cohesive.
- Forgetting a matte or glossy finish on purpose. The top coat is a design decision, not an afterthought; matte sells sketch and embroidery looks, gloss sells glass and jelly looks.