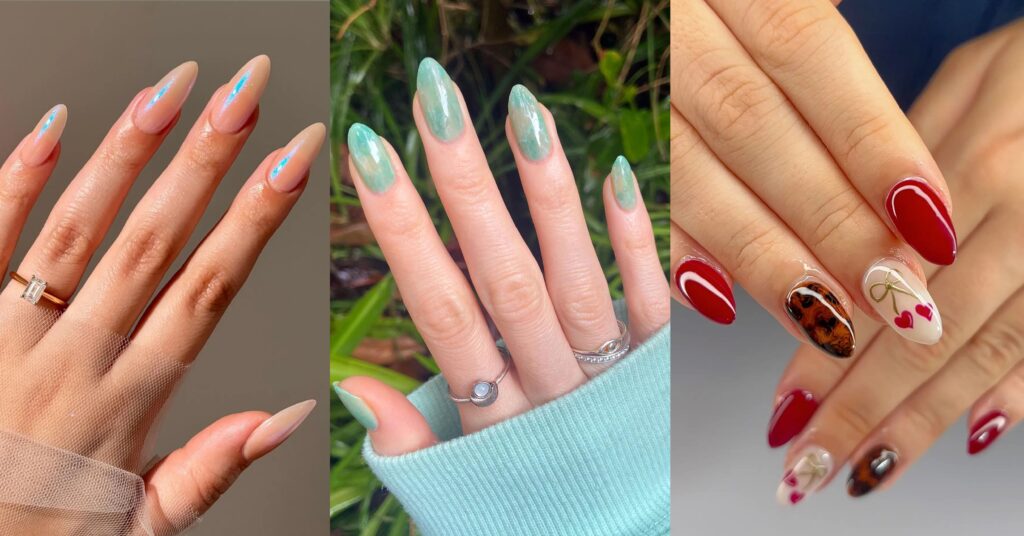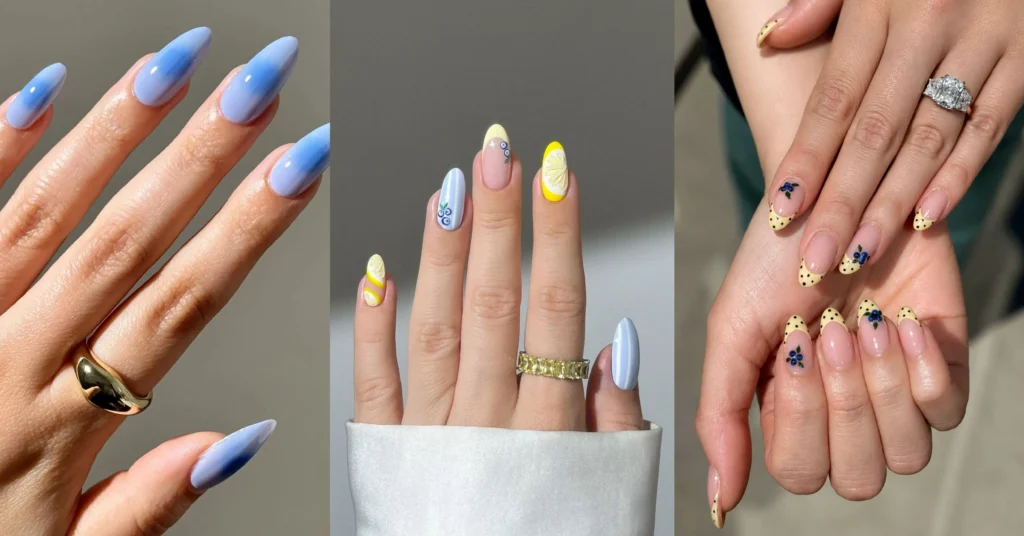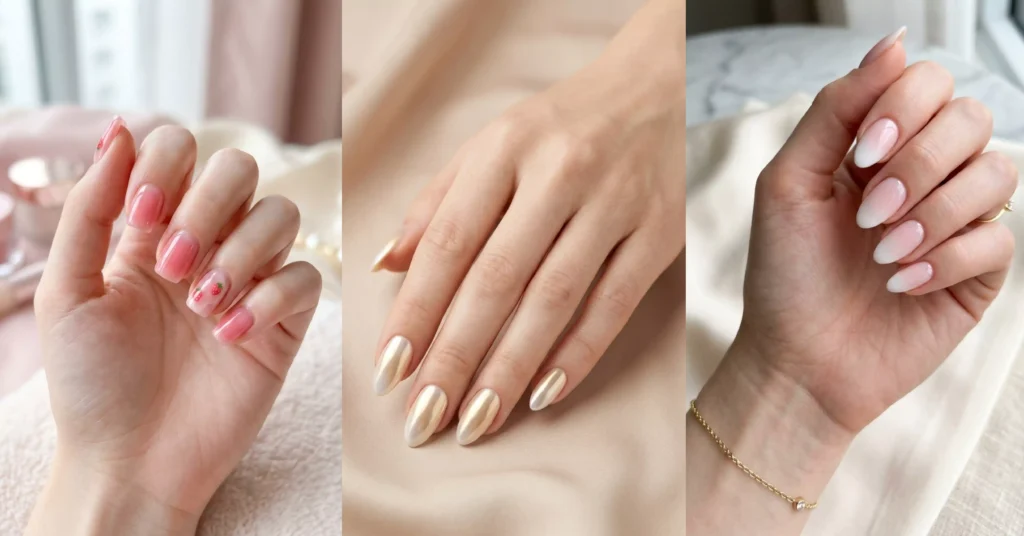
My nails used to peel the moment they grew past my fingertips. I tried strengthening polishes, cuticle oils, even those bitter anti-bite coats, and nothing worked until a nail tech talked me into a builder gel overlay. Three weeks later, my nails were still intact, still glossy, and for the first time in years, growing.
That’s the magic of builder gel: it protects your natural nails while making them look expensive. And because it comes in every shade from sheer milk to deep chocolate, it’s as much a canvas for nail art as it is a strengthener.
This guide walks you through twelve builder gel nail ideas, from everyday sheer overlays to encapsulated flowers, plus how to make your set last, how to remove it safely, and answers to the questions everyone asks. Feel free to skip straight to the designs that catch your eye.
What Is Builder Gel?
Builder gel is a thick, self-leveling gel that cures under a UV or LED lamp to create a strong, flexible layer over your natural nails or a short extension. Unlike regular gel polish, which is thin and purely cosmetic, builder gel adds actual structure – including an apex, that subtle arch of strength in the middle of the nail that keeps it from snapping.
You’ll also see it called BIAB (builder in a bottle), hard gel, or a gel overlay, depending on the brand and consistency. Whatever the name, the idea is the same: reinforcement first, beauty built right in. Every idea below starts with that strong builder base, then plays with color, finish, and art on top.
1. Milky White Glazed Nails
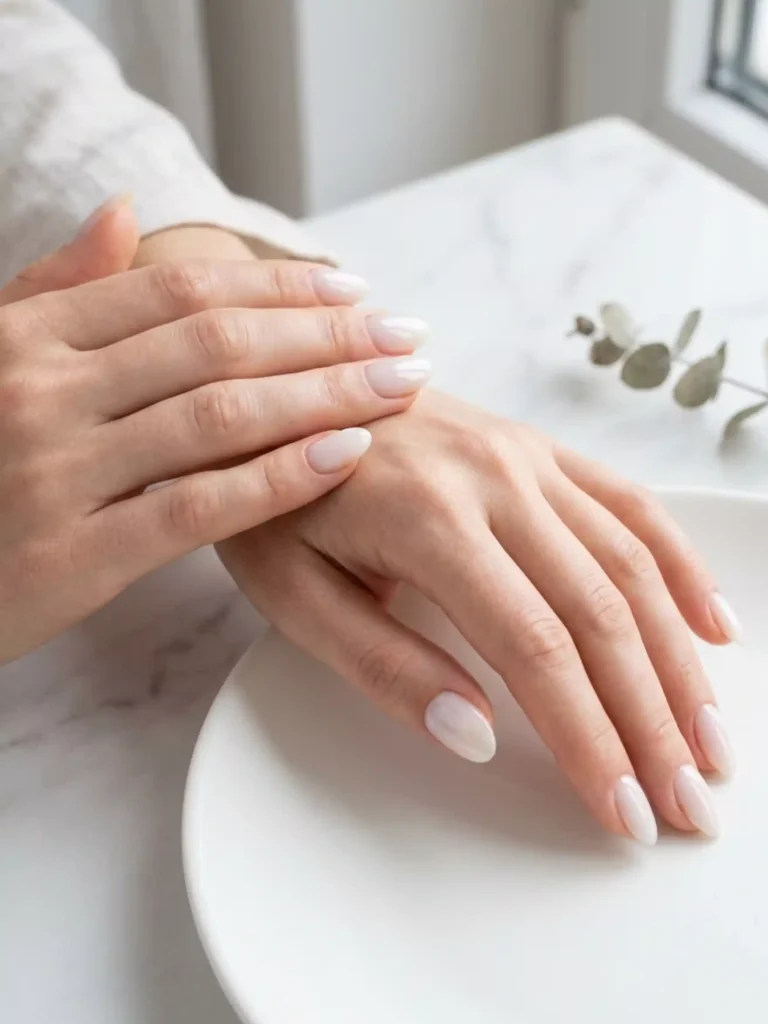
Milky white builder gel nails use a soft, semi-opaque white base with a high-shine finish that looks like a glass of milk caught in sunlight. It’s the cleanest, most universally flattering look on this list.
What makes this design special is the depth. Because builder gel is applied in a thicker, self-leveling layer, the milky color looks dimensional rather than flat – almost like porcelain. It pairs beautifully with an almond or oval shape and works on every skin tone.
My tip: ask for two thin milky layers instead of one thick one. One heavy coat can cure cloudy and uneven; two thin coats give you that perfect frosted-glass softness.
2. Sheer Nude “Your Nails But Better” Overlay
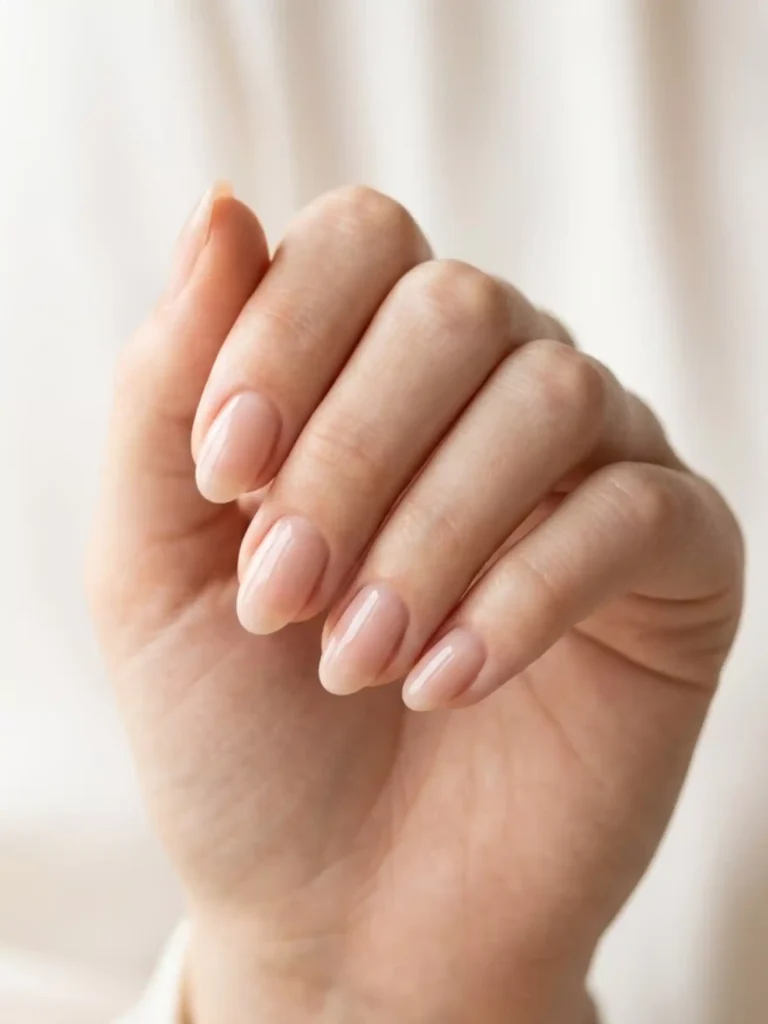
A sheer nude builder gel overlay is a barely-there wash of pinky-beige that strengthens your nails while looking almost completely natural. This is the manicure people compliment without being able to explain why your hands look so polished.
It’s ideal if your workplace is conservative, you play sports, or you simply love a low-maintenance routine. As your nails grow out, the regrowth line is nearly invisible, so a set can quietly stretch past the three-week mark without looking neglected.
Choose a shade one step warmer than your natural nail bed. Too pink reads as artificial; slightly warm reads as healthy.
3. Blush Pink Sculpted Almond Nails
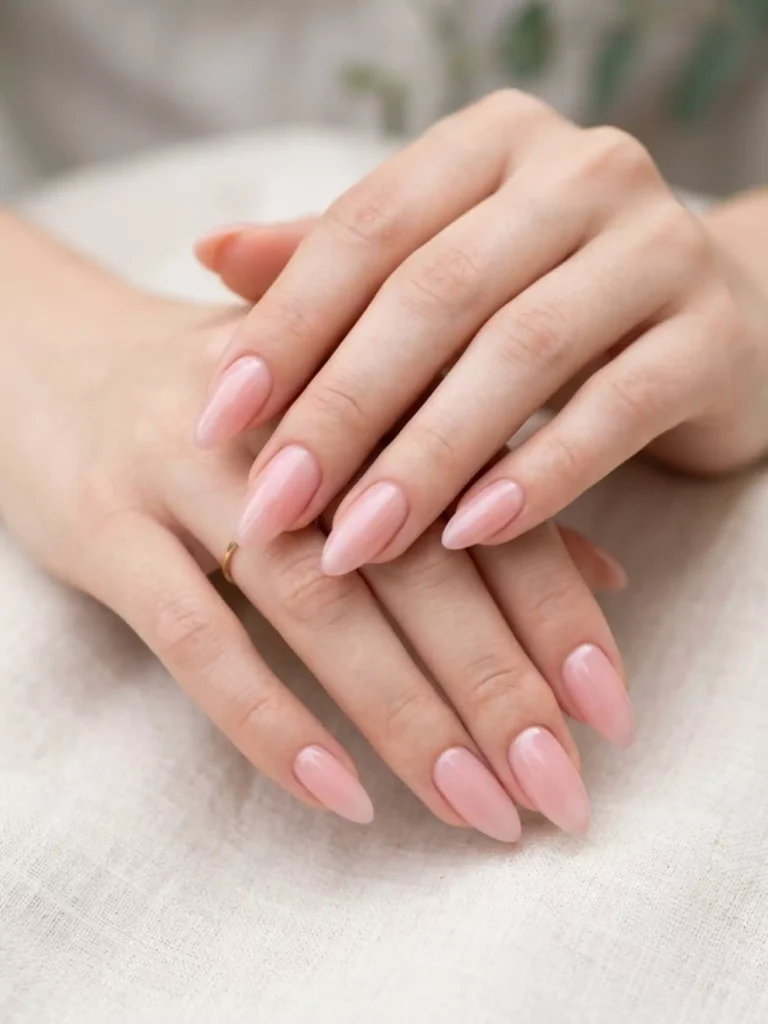
Blush pink sculpted almond nails combine a soft rosy builder gel shade with a tapered almond shape built entirely from the gel itself. The color is romantic; the shape is what makes it feel high-end.
Because builder gel can be sculpted, your tech can create a graceful almond silhouette even if your natural nails are squarish or uneven. The blush tone keeps the whole look feminine without tipping into bubblegum territory.
The first time I got these, I kept catching myself staring at my own hands while typing. Fair warning: this shape is addictive, and you may never go back to square.
4. Classic French Tips on a Builder Base
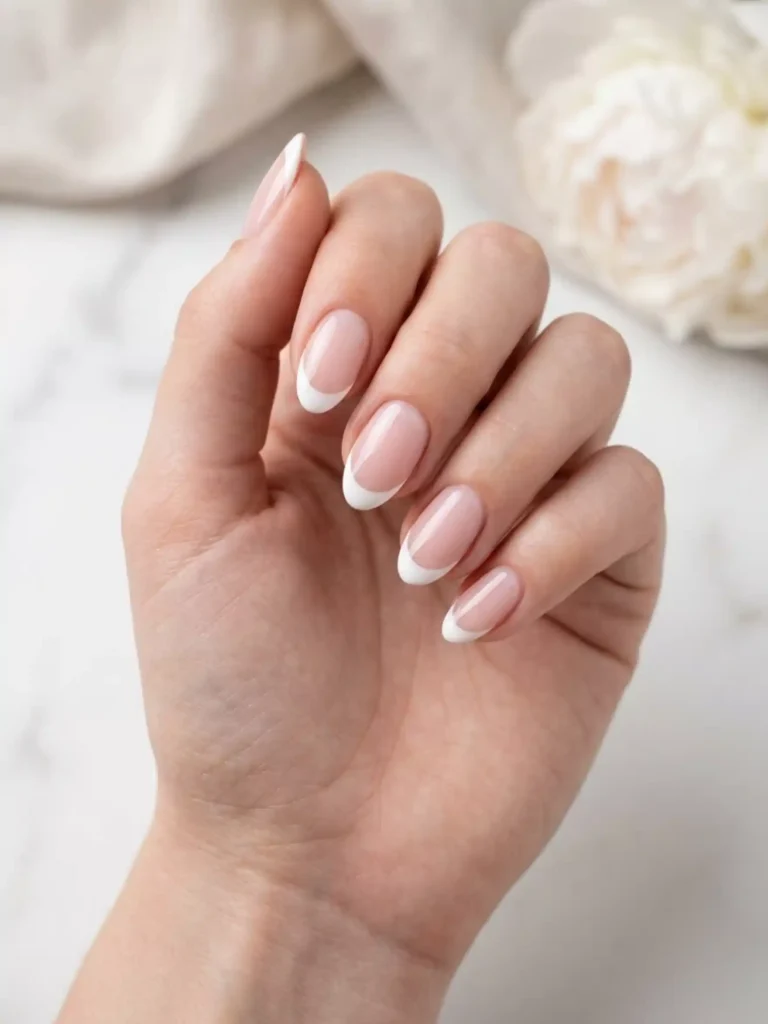
French tip builder gel nails feature a crisp white smile line painted over a sheer pink or nude builder foundation, then sealed under a glossy top layer. It’s the timeless French manicure, upgraded with real durability.
Traditional polish French tips chip at the free edge within days because that’s exactly where nails take the most impact. With builder gel underneath and gel sealing the tip, the white line stays sharp for weeks instead.
If a full white tip feels too retro, ask for a slightly deeper smile line and a thinner band of white – small tweaks that instantly modernize the look.
5. Baby Boomer Ombre Nails
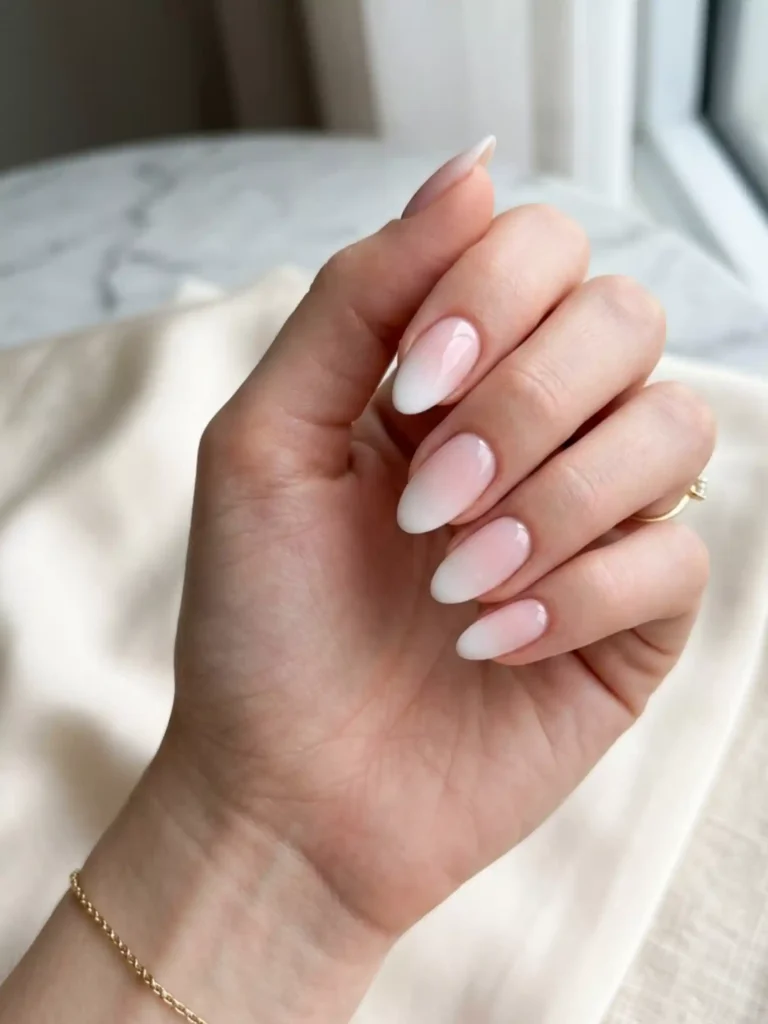
Baby boomer nails blend a soft pink base into a white tip with no visible line, creating a seamless gradient that looks airbrushed. Think of it as the French manicure’s dreamier, softer sister.
This design shines with builder gel because the gradient can be built into the structure itself, with the white melting into pink like fog. It photographs beautifully, which is exactly why it floods every bridal nail board – it’s a favorite for weddings, graduations, and any event with a photographer present.
One thing I learned the hard way: the blend quality depends heavily on your tech’s technique. Bring a reference photo showing the exact softness you want.
6. Vanilla Chrome Pearl Nails
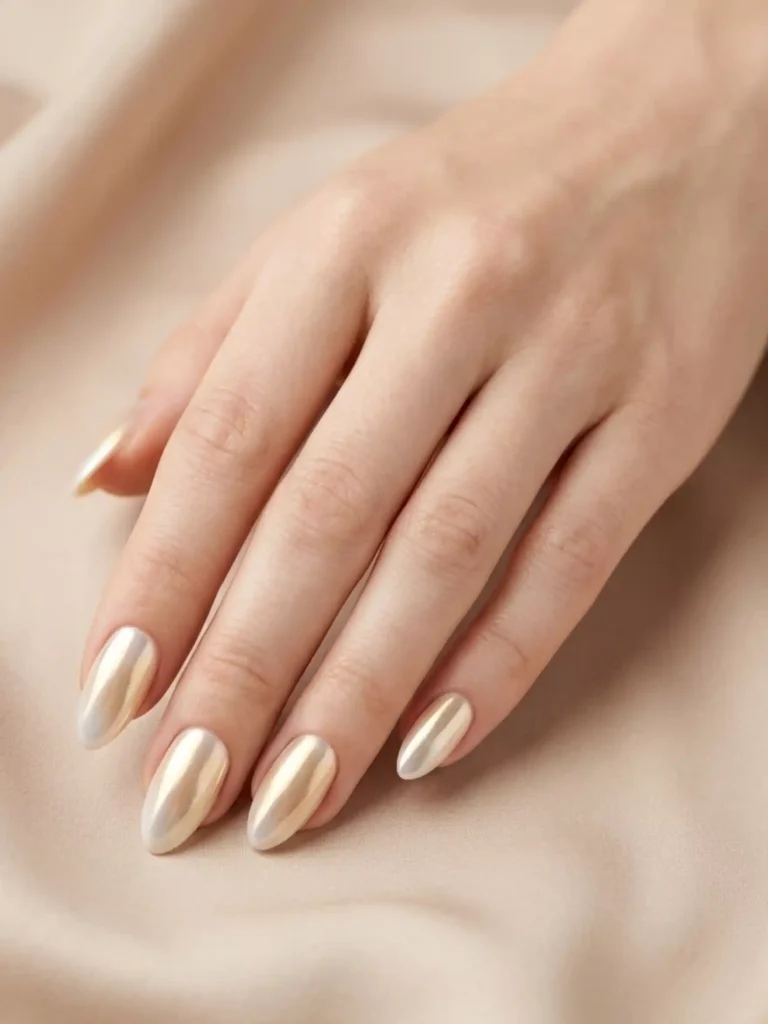
Vanilla chrome nails layer a fine pearlescent chrome powder over a creamy off-white builder base, creating a finish that shifts between white, gold, and champagne as your hands move. It’s the “glazed donut” effect in its warmest, most wearable form.
The chrome powder is buffed onto the cured gel and then sealed under a no-wipe top coat, so the shimmer sits inside the finish rather than on top of it. The result feels lit from within – subtle in dim light, luminous in the sun.
This one is my personal cool-weather favorite because it dresses up knitwear and neutral outfits without ever clashing with anything.
7. Strawberry Milk Jelly Nails
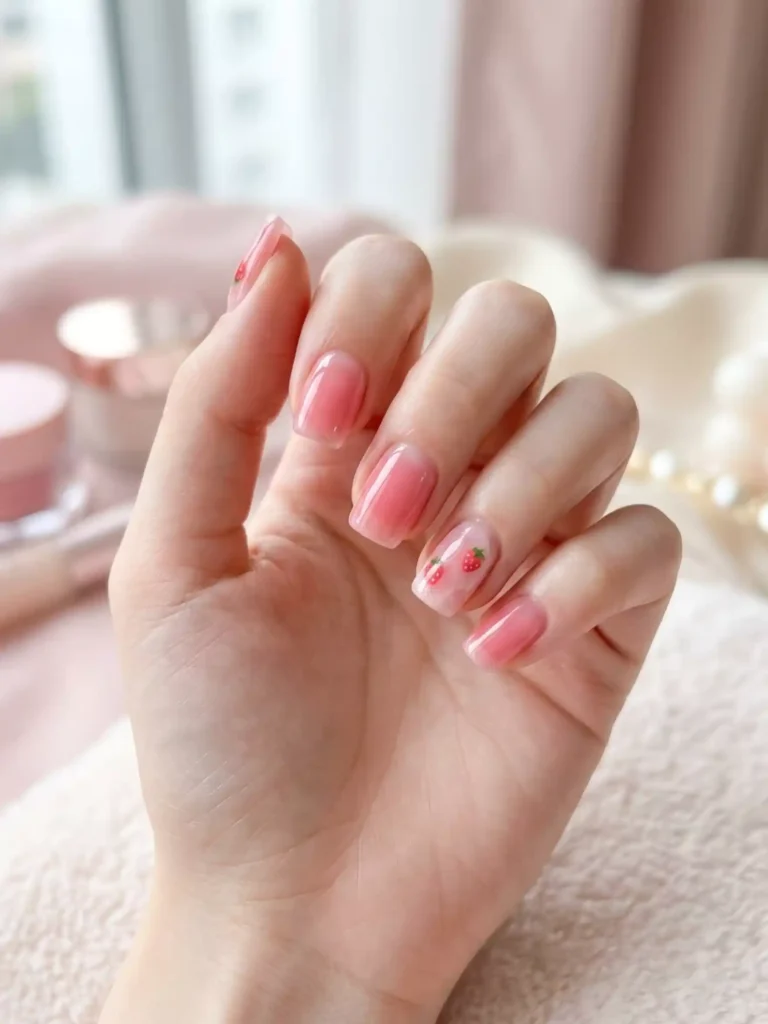
Strawberry milk jelly nails use a translucent, squishy-looking pink builder gel that lets light pass through, like strawberry-flavored candy poured over your nails. The sheer finish is what separates jelly nails from a regular pink manicure.
Because the color stays see-through, a hint of your natural nail shows underneath, giving the design a juicy, dimensional glow you simply can’t get from opaque polish. It’s playful without being loud – perfect for spring and summer sets.
The secret is restraint: the moment the pink turns opaque, the jelly effect dies. Thin, glassy layers are everything here.
8. Encapsulated Gold Foil Nails
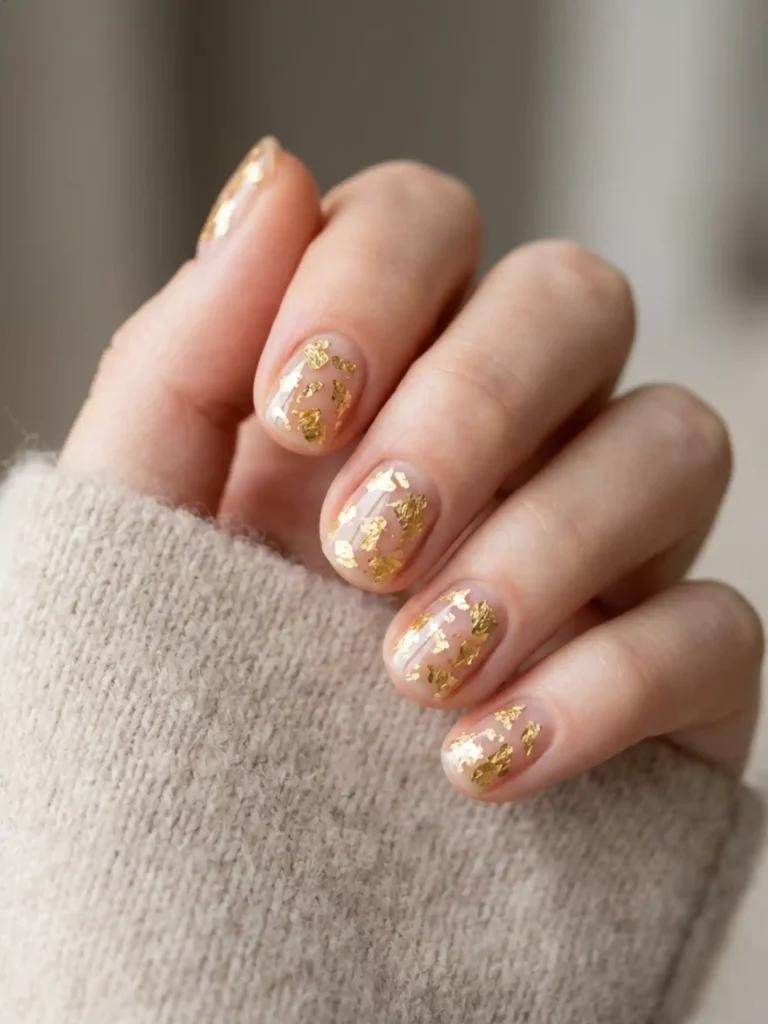
Encapsulated gold foil nails trap delicate flakes of gold leaf inside clear builder gel, suspending them like flecks in amber. Because the foil sits under the surface rather than on top, it never peels, snags, or dulls.
This is where builder gel truly outperforms regular polish – encapsulation is only possible when you have a thick, clear layer to bury the art inside. You can scatter foil across every nail or keep it to two accent fingers over a nude base for a quieter luxury.
Ask your tech to place the flakes irregularly. Perfectly even spacing looks printed; scattered placement looks like real gold, because it is.
9. Pressed Flower Nails
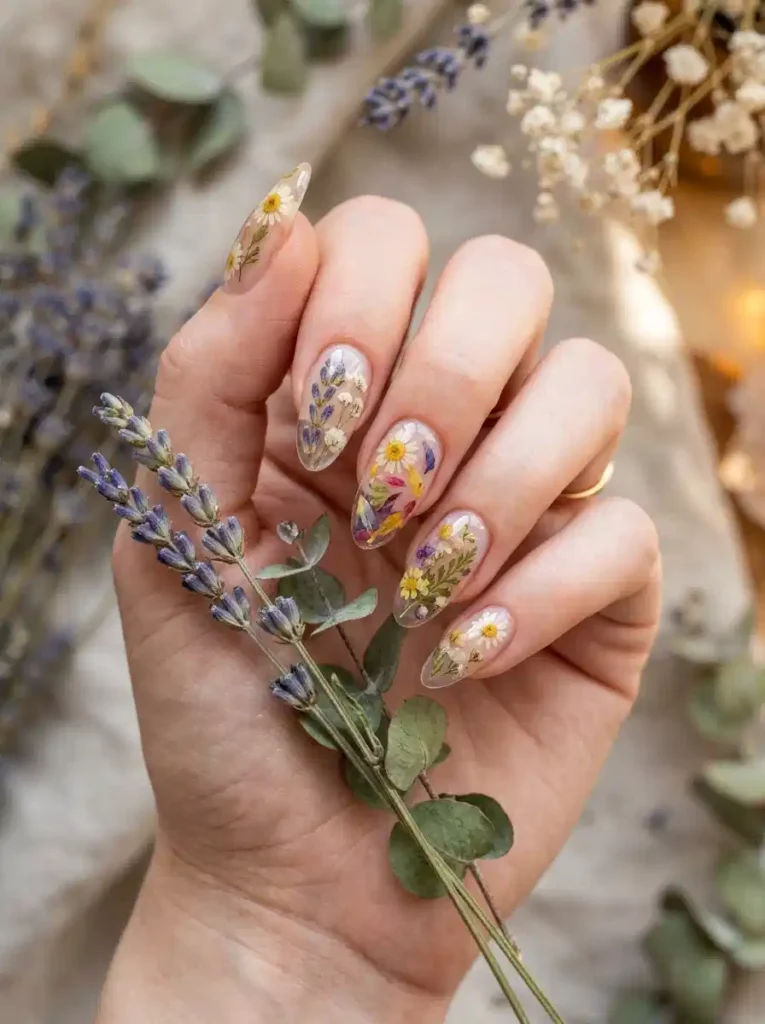
Pressed flower nails encapsulate tiny real dried flowers – often daisies, gypsophila, or lavender buds – inside clear or milky builder gel. Each nail becomes a miniature botanical keepsake, and no two sets are ever identical.
The flowers stay perfectly preserved under the gel for the entire life of the manicure, which feels a little like wearing spring on your fingertips through any season. A sheer milky base makes the petals pop while keeping the overall look soft.
Keep the flowers to three or five nails per hand rather than all ten. A little negative space lets each bloom breathe and keeps the set elegant instead of busy.
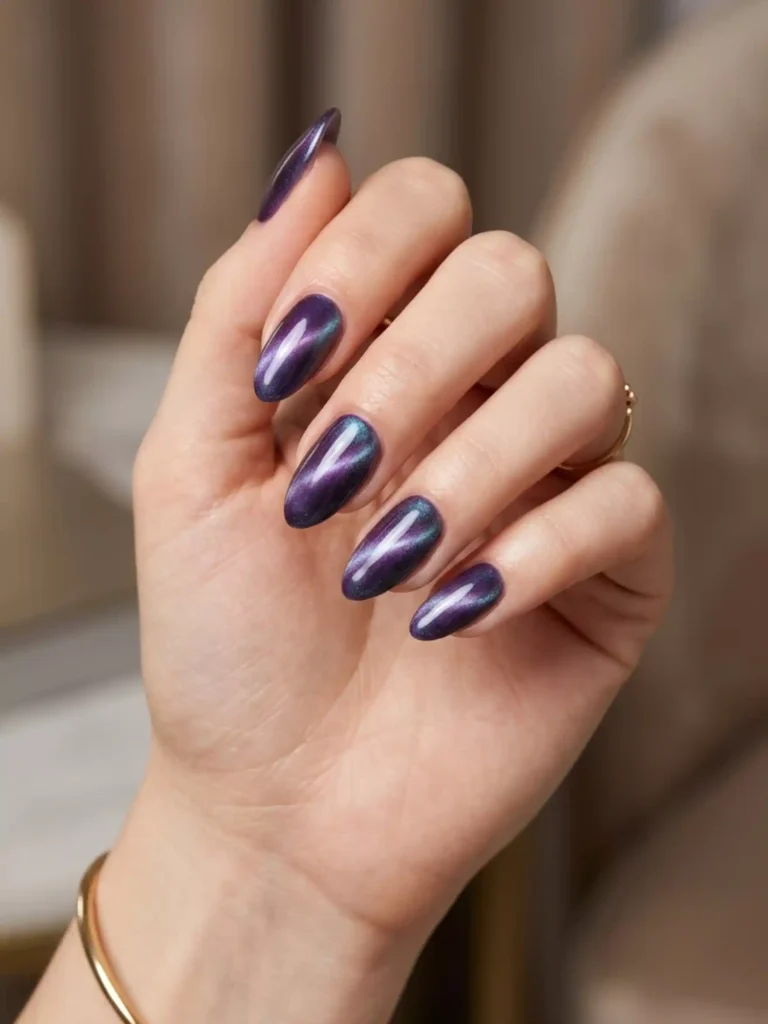
10. Velvet Cat Eye Nails
Velvet cat eye nails use a magnetic builder-compatible gel filled with metallic particles that, when a magnet is hovered over the wet gel, pull into a glowing band of light across the nail. The effect looks like velvet fabric or a cat’s eye gemstone, and it shifts as your hand moves.
Deep emerald, sapphire, and chocolate brown are the shades where this effect looks most luxurious. Over a strong builder base, the depth of the gel makes the light band look almost three-dimensional.
If you’re torn between colors, go emerald green in a dim room before you decide. Watching that stripe of light glide across the nail is the moment everyone gets hooked.
11. Latte Nails
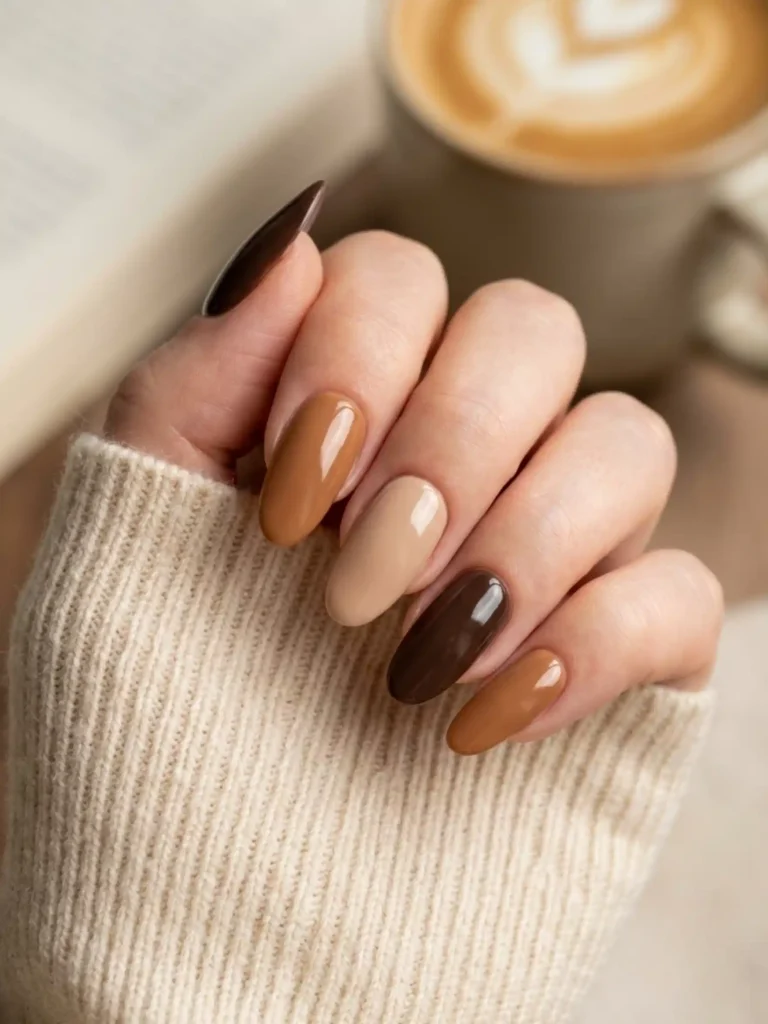
Latte nails combine two or three creamy coffee-toned shades – think espresso, caramel, and steamed-milk beige – across one set of builder gel nails. The mismatched-but-coordinated palette is what gives this design its cozy, curated feel.
Warm neutrals like these flatter deeper skin tones especially well, and the mix-and-match approach means you never have to commit to a single color. It’s the manicure equivalent of your favorite oversized sweater.
Bring your usual coffee order as inspiration. I once asked for “caramel macchiato, extra drizzle,” and my tech knew exactly what to do.
How to Make Builder Gel Nails Last Longer
A builder gel set can comfortably last three to four weeks if you treat it right. Here’s the routine that keeps mine flawless:
- Prep matters more than product – arrive with clean, dry, unpolished nails, and let your tech push back and dehydrate the cuticle area properly.
- Oil your cuticles daily; flexible skin around the nail prevents the lifting that starts most chips.
- Wear gloves for dishes, cleaning, and gardening, because prolonged hot water is builder gel’s worst enemy.
- Avoid using your nails as tools – no prying open cans, peeling stickers, or scraping labels.
- Book an infill every three to four weeks instead of waiting for the set to fail; a fill rebalances the apex as your nails grow.
- Resist picking at any lifted edge – trapped moisture under lifted gel is how problems start.
How to Remove Builder Gel Safely
Safe builder gel removal means filing down the bulk of the product and soaking the rest off with acetone – never peeling or ripping. Peeling builder gel takes layers of your natural nail with it, undoing weeks of strengthening in about thirty seconds.
At the salon, your tech will file off the top layers with an e-file or hand file, wrap your fingertips in acetone-soaked cotton and foil for ten to fifteen minutes, then gently slide the softened gel away. At home, the same method works with a coarse file, pure acetone, foil, and patience. Some harder builder formulas don’t dissolve in acetone at all and must be carefully filed off, so ask your tech what was used on your set. After removal, give your nails a few days of cuticle oil and hand cream before your next appointment.
Common Mistakes to Avoid with Builder Gel Nails
- Skipping the apex. Builder gel applied flat, like polish, loses its whole structural purpose – the arch is what stops breaks.
- Applying coats too thick. Overly thick layers can cure improperly, trap heat spikes, and lift early; thin, controlled layers cure more strongly.
- Peeling off a lifted corner. Every peel takes the natural nail with it and invites moisture under the rest of the set.
- Ignoring cure times. Under-cured gel stays soft, dents easily, and can cause sensitivity; always cure the full recommended time for your lamp.
- Stretching a set past five weeks. As nails grow, the apex shifts forward and the whole nail becomes leverage for a crack – infill on schedule.