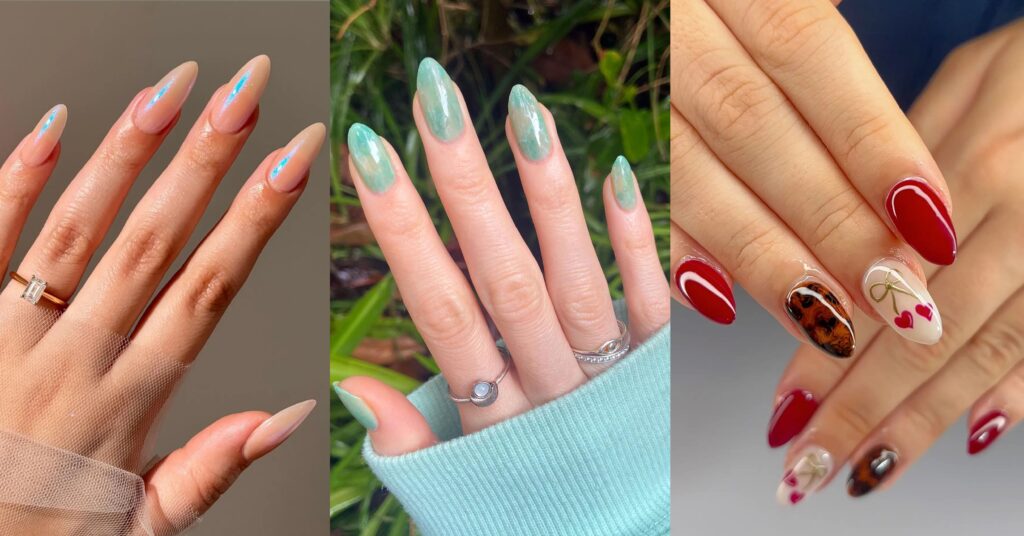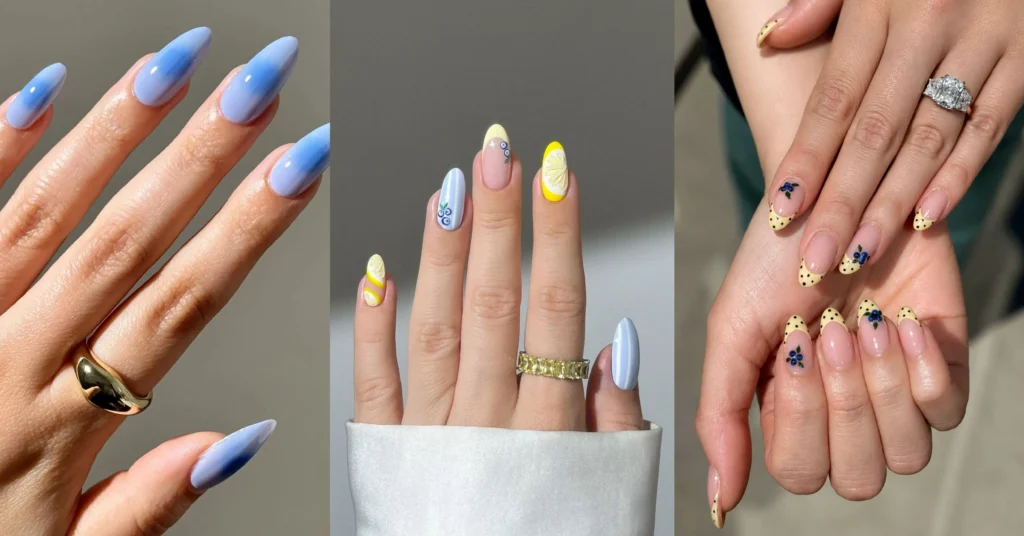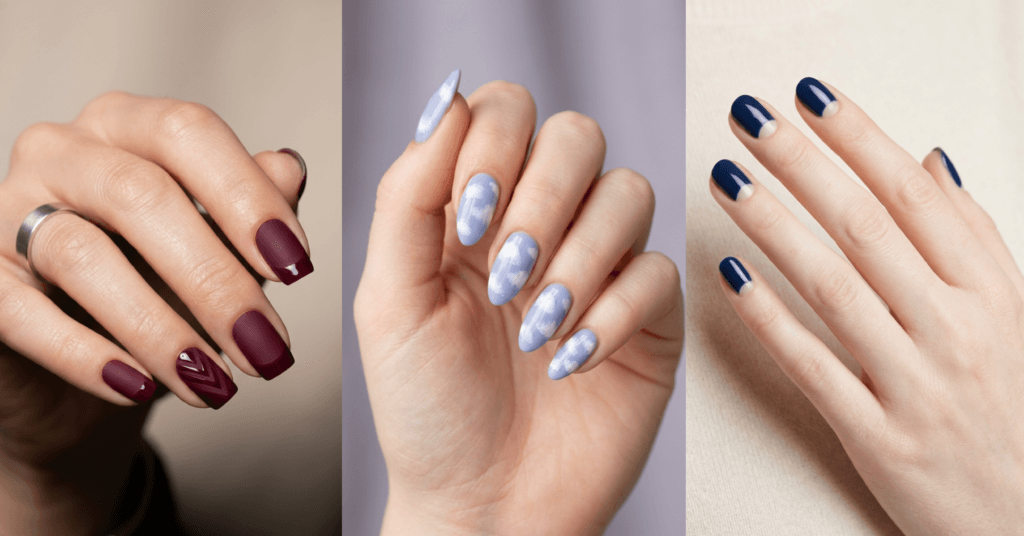
I used to believe pretty nails required a steady hand, a drawer full of brushes, and a salon appointment I kept forgetting to book. Then one rainy Sunday, I did my first “one line” manicure with nothing but two polishes and a bobby pin, and I realized how much of nail art is just clever shortcuts.
This guide collects 10 easy nail ideas you can recreate at home with basic polish and things you already own — no nail art brushes, no e-file, no experience needed. Every design here is beginner-friendly, but none of them look basic.
Feel free to skip straight to the idea that catches your eye. Each one stands on its own.
What Counts as an Easy Nail Idea?
An easy nail idea is a design you can finish at home in one sitting, using regular polish or gel, without specialist tools or freehand painting skills. The looks below all share three things: they forgive shaky hands, they use household items as tools (tape, sponges, bobby pins, cling film), and they still photograph beautifully. That last part matters – simple at-home nails can look every bit as polished as a salon set when the technique does the work for you.
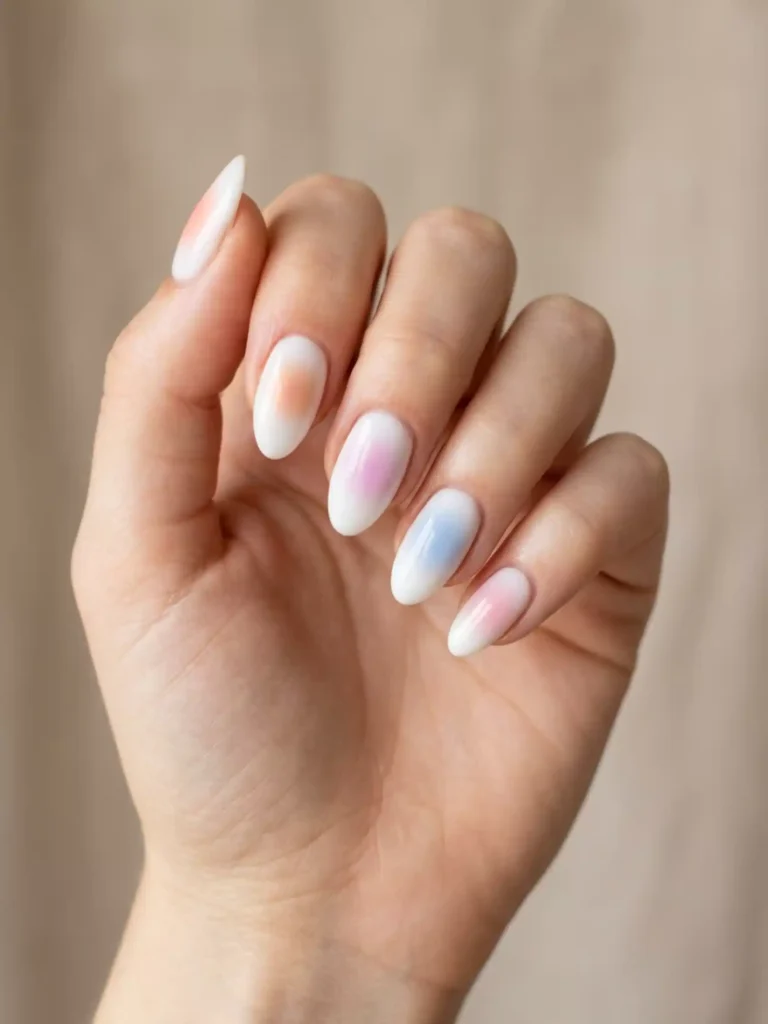
1. Blurred Aura Dot Nails
Aura nails are a soft, glowing circle of color blurred into the center of each nail, like a tiny halo. They’re one of the easiest “expensive-looking” manicures you can do at home because blurry is the whole point – there’s literally nothing to mess up.
Paint a neutral base (milky pink or sheer nude works best), then dab a small dot of a brighter shade – peach, lilac, or warm orange – into the center of the nail using the tip of a makeup sponge. Pat the edges gently so the color fades outward. Two light layers give you that dreamy glow, and a glossy top coat melts everything together.
My first attempt looked patchy until I switched from pressing the sponge to barely tapping it. Less pressure, better blur.
2. One-Line Minimalist Nails
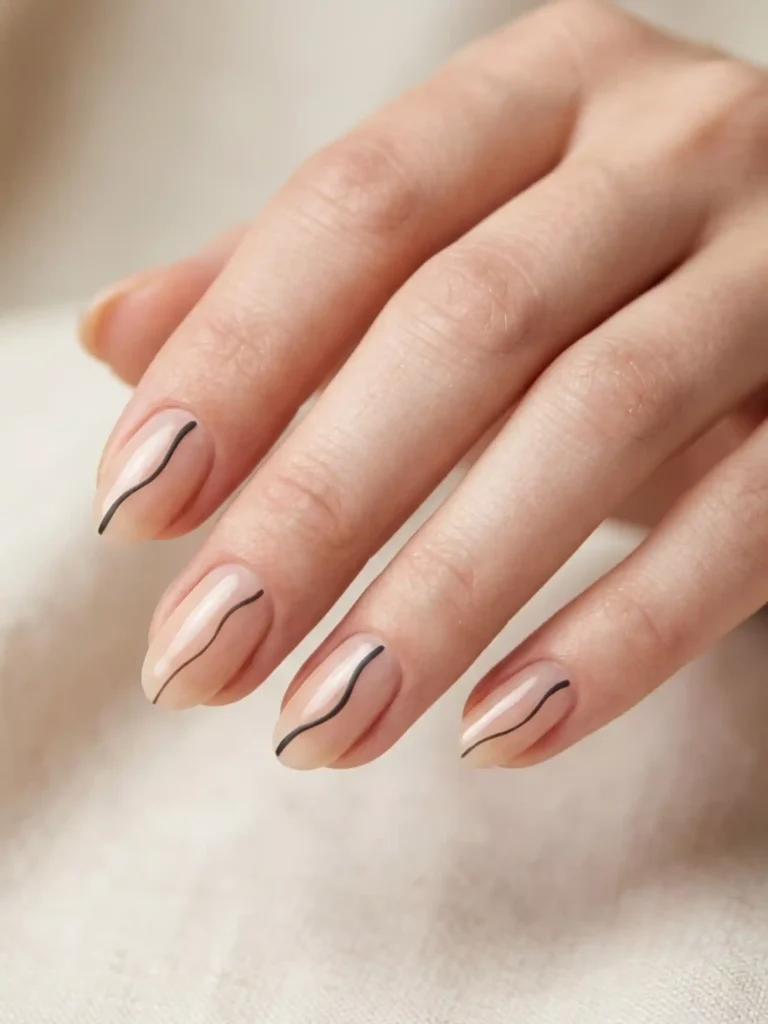
One-line nails are exactly what they sound like: a bare or neutral nail with a single thin line of color drawn across it. The beauty is in the imperfection – a slightly wavy line looks intentional and artistic, not messy.
Start with a sheer nude or completely bare nail sealed with a base coat. Dip the rounded end of a bobby pin into black, chocolate brown, or gold polish, and drag one line across each nail – horizontal, diagonal, or curved, whatever feels natural. Vary the placement from nail to nail so the whole hand looks like a little gallery.
If a line goes wrong, wipe it off with a cotton bud dipped in remover before it dries. The base stays untouched.
3. Sugared Berry Micro Dots Nails
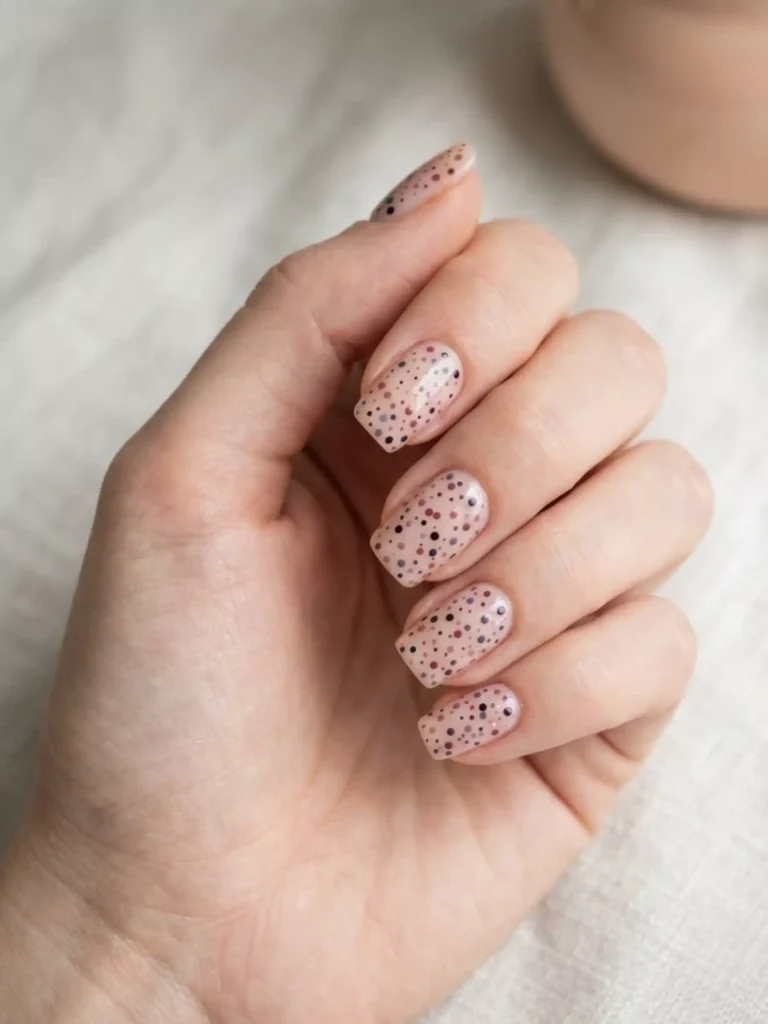
Micro dot nails scatter tiny dots of polish across the nail like sprinkled sugar, and they’re the most forgiving nail art pattern in existence. Random placement is the goal, so there is no “wrong.”
Over a jammy berry, soft pink, or cream base, dot on a contrasting shade using the tip of a toothpick – white dots on berry look like frosted fruit, while burgundy dots on cream feel very coffee-shop-in-autumn. Keep the dots of different sizes and uneven in spacing. That randomness is what makes it look hand-done in the best way.
The mistake I made early on was reloading the toothpick after every single dot. Do three or four dots per dip instead – the natural size variation looks better.
4. Tonal Gradient Manicure Nails
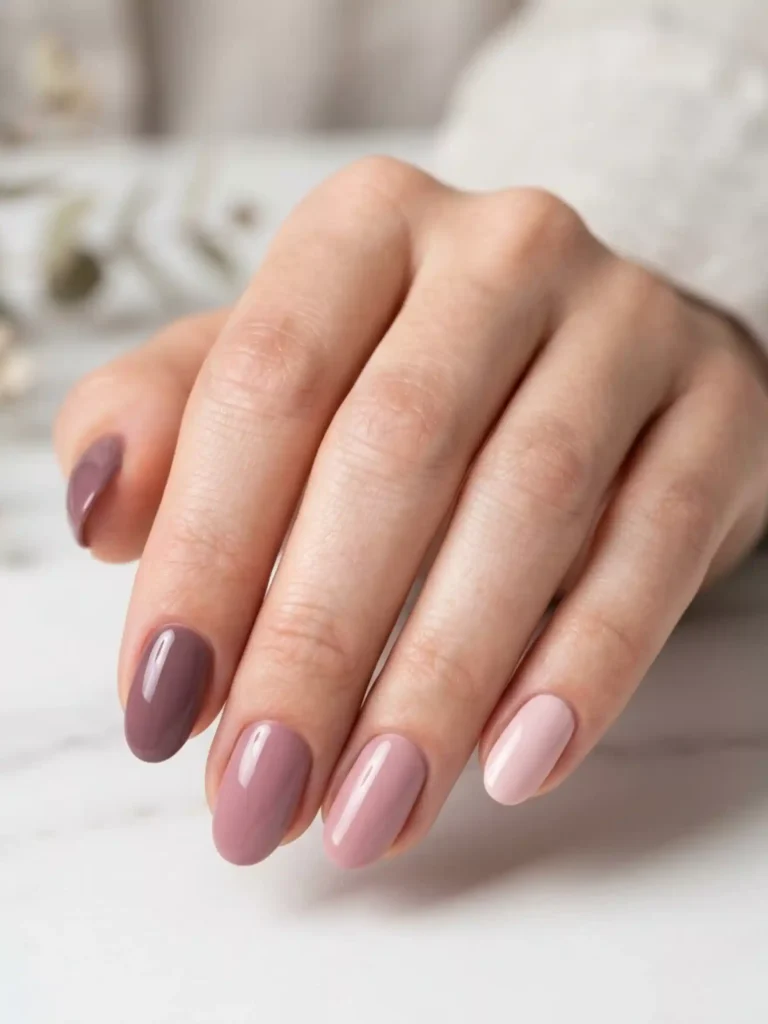
A tonal gradient manicure paints each nail a slightly different shade of the same color family, creating an ombré effect across the whole hand instead of on a single nail. It’s the easiest gradient there is, because every individual nail is just one solid color.
Pick four or five polishes in one family – think blush to raspberry, sand to chocolate, or sky to navy – and paint them lightest to darkest from thumb to pinky. If you don’t own five shades, mix a drop of white polish into one color on a piece of foil to create your own in-between tones.
This is my go-to when I want my nails to look “done” for a week of video calls with about eleven minutes of effort.
5. Sticker Half-Moon Nails
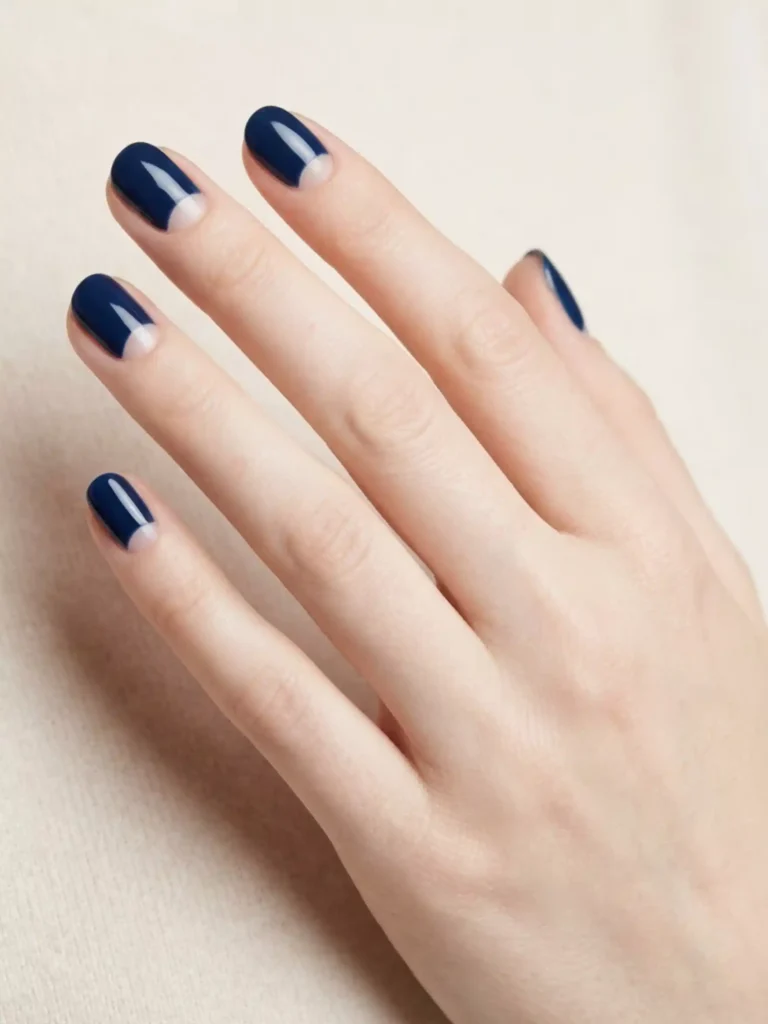
Half-moon nails leave a clean, bare crescent at the base of the nail while the rest is painted in color – a vintage look that’s having a big moment again. The secret tool is a paper reinforcement sticker, the little ring-shaped labels made for hole-punched paper.
Press a sticker over the base of each dry, base-coated nail so it covers the half-moon area. Paint your color over the rest of the nail, going slightly over the sticker’s edge. Peel the sticker off while the polish is still slightly wet, and you’ll reveal a crisp, perfect curve. Deep red, forest green, and black all look stunning with that little window of bare nail.
Peel slowly and pull toward the nail tip – yanking sideways can smudge the curve.
6. Cotton-Cloud Smudge Nails
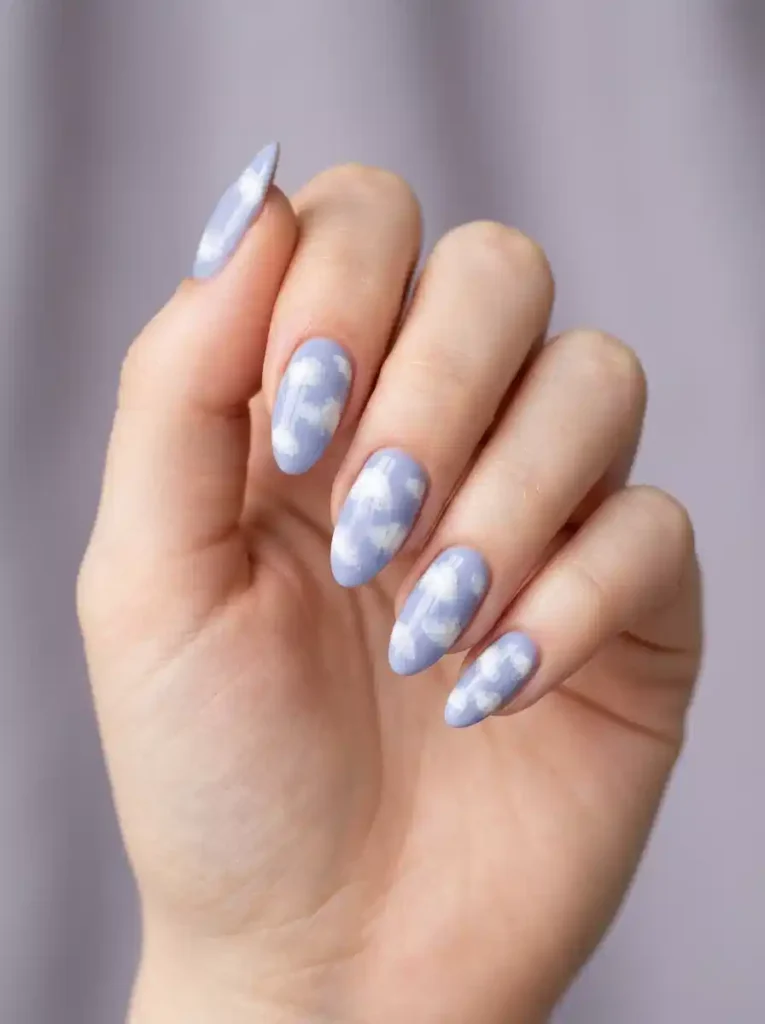
Cloud nails float soft white smudges over a blue or lilac base, like a daydream on your fingertips. Because clouds are naturally fuzzy, this design actively rewards imperfect technique.
Paint your nails a soft sky blue, baby lilac, or even pale grey. Once dry, pull a tiny wisp off a cotton ball, roll it into a loose pad, dip it lightly in white polish, and dab small irregular puffs onto each nail. One or two clouds per nail is plenty. Finish glossy for a fresh “after the rain” feel, or matte for a softer, velvety sky.
The wispier the cotton, the softer the cloud. A cotton bud gives harder edges – save that for cleanup instead.
7. Vanilla Glaze with a Cinnamon Accent Nails
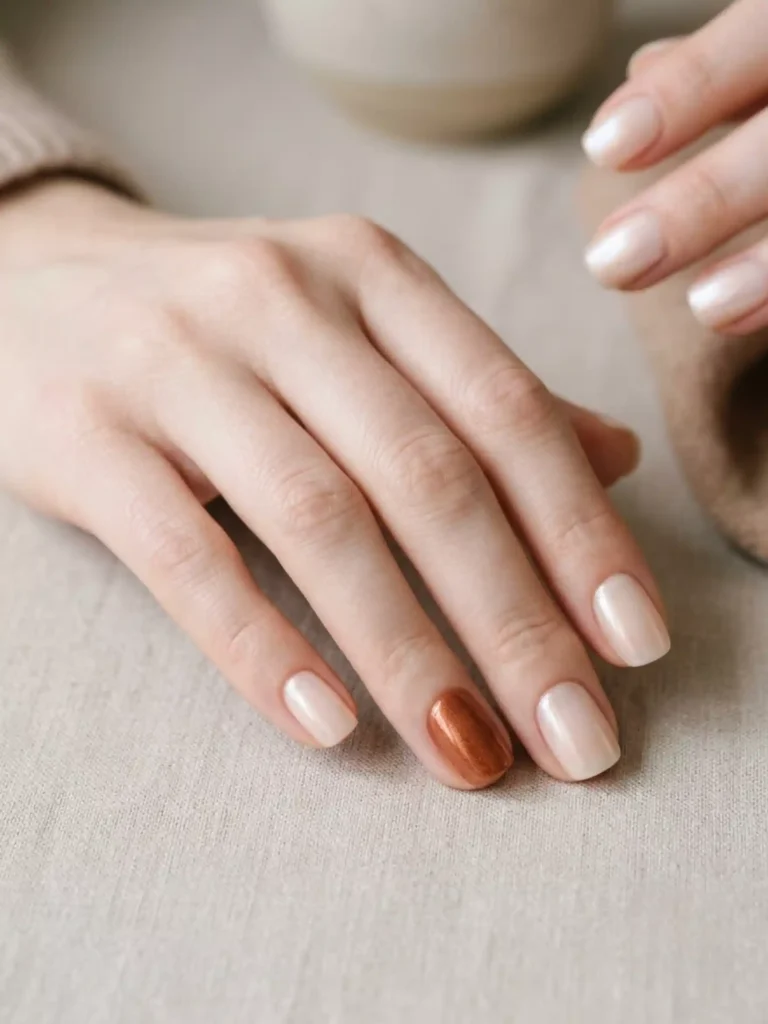
This idea pairs sheer, milky “glazed” nails with one single warm-toned accent nail, and it’s the quiet-luxury manicure of this list. Nine nails whisper; one nail speaks.
Apply two thin coats of a milky white or sheer pearl polish on every nail except your ring finger. On that one nail, paint a warm cinnamon, caramel, or terracotta shade. The contrast between creamy and spiced feels intentional and styled without a single drop of nail art.
Thin coats are non-negotiable with milky polish – thick layers turn streaky and lose that glassy, glazed-donut sheerness.
8. Cling Film Marble Nails
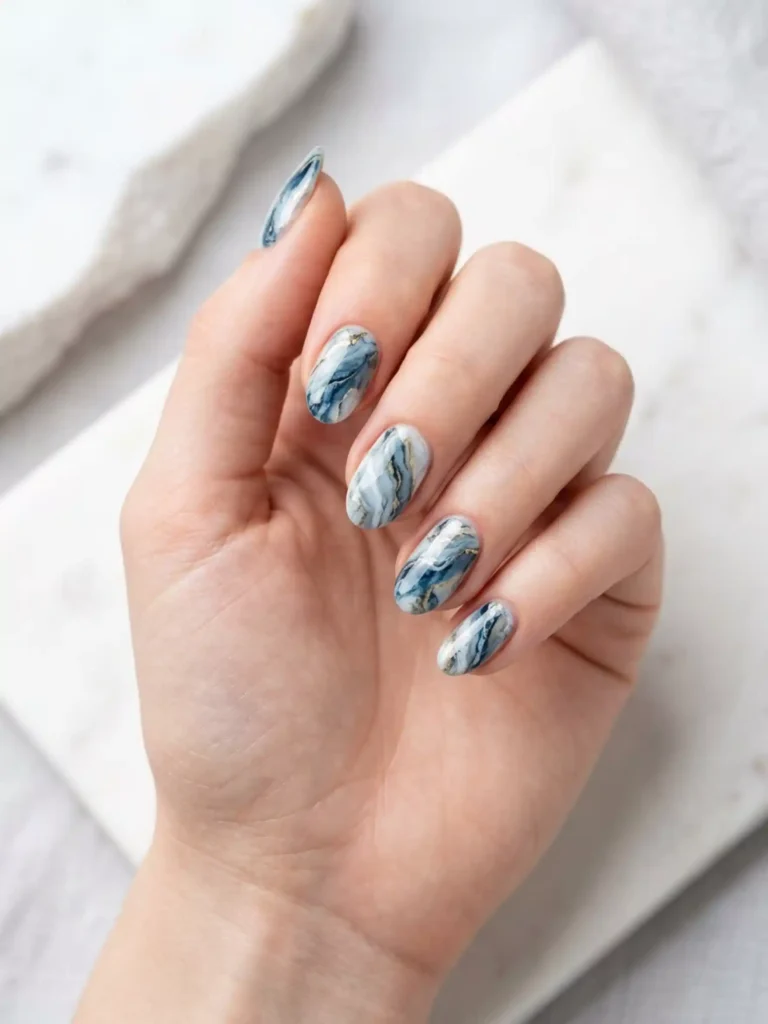
Cling film marble uses ordinary plastic wrap to press an organic, stone-like texture into wet polish. It’s the closest thing to real marble you can create at home without water marbling (which, let’s be honest, ruins more manicures than it makes).
Paint a base color – white, sage, or greige – and let it dry fully. Then apply a second, contrasting color, and while it’s still wet, press a scrunched-up ball of cling film onto the nail and lift straight up. The film pulls away patches of the top color, revealing veins of the base underneath. Every nail comes out different, exactly like real stone.
Work one nail at a time. If you paint all ten first, the polish dries before the film can lift it.
9. Tape Color-Block Corner Nails
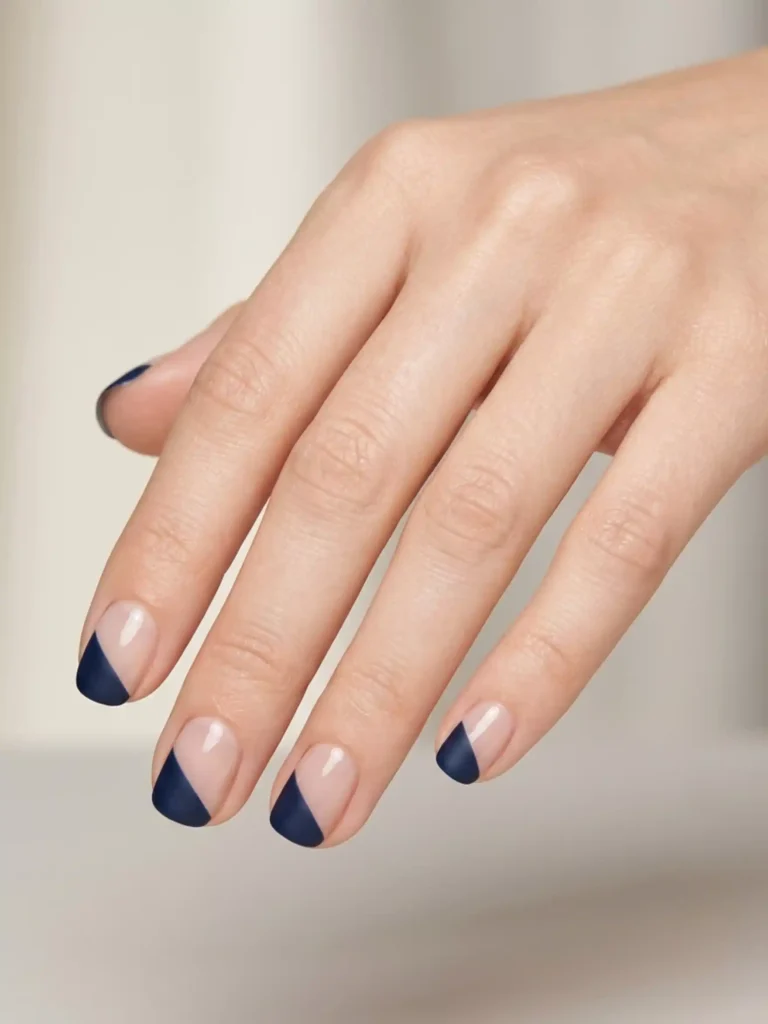
Color-block nails use tape to paint one crisp geometric section of the nail – usually a corner or diagonal tip – leaving the rest neutral. Tape does all the precision work, so your lines come out laser-sharp.
Over a fully dry nude or sheer base, press a strip of regular sticky tape diagonally across the nail. Paint the exposed corner in a bold shade – cobalt, tomato red, or glossy black all pop beautifully against nude. Peel the tape off immediately, while the polish is wet, and seal with top coat once dry.
Press the tape onto the back of your hand first to reduce its stickiness. Full-strength tape can lift your base color right off.
10. Matte and Gloss Mix Nails
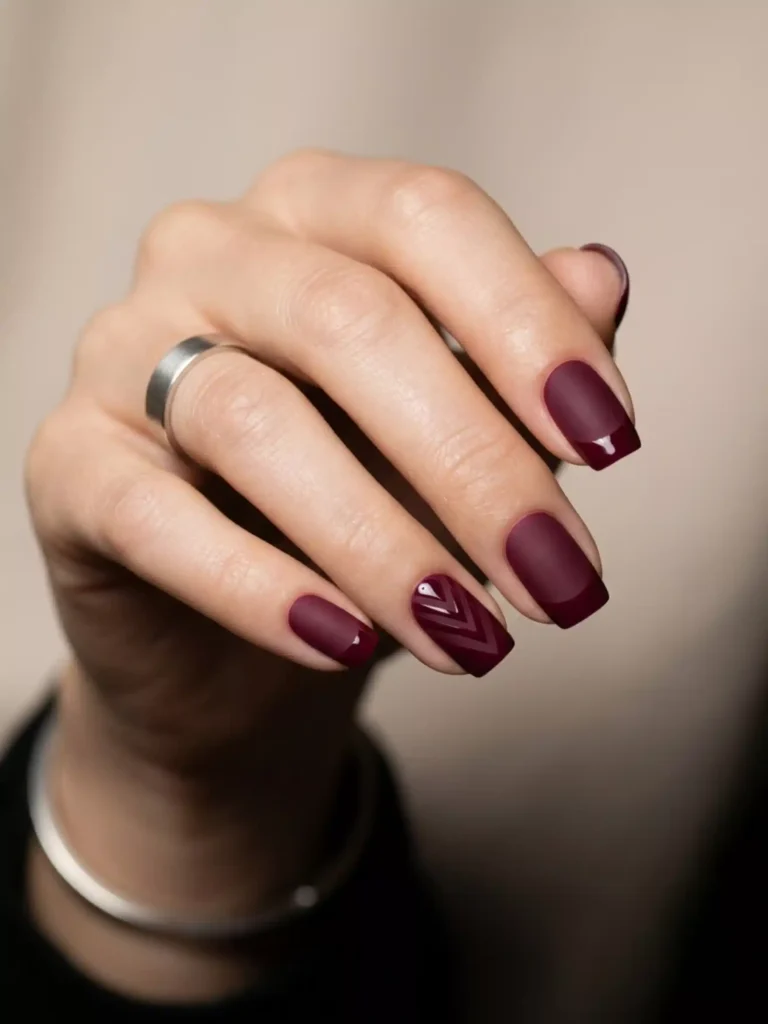
A matte-gloss manicure uses one single polish color in two finishes – a matte base with glossy details on top – and it might be the most underrated trick in at-home nail art. From across the room it’s a plain manicure; up close, it’s texture play.
Paint all ten nails in one shade (deep colors like burgundy, navy, and espresso show the contrast best), then apply a matte top coat. Once dry, use your regular glossy top coat to add a detail on top: a glossy tip, a thick stripe, or dots. The shine-on-velvet effect catches light every time you move your hands.
This is the design people ask about most, and the answer – “it’s one polish, two top coats” – always surprises them.
How to Make Your At-Home Manicure Last
A little prep turns a two-day manicure into a week-long one. Here’s the routine that works:
- Buff the surface of each nail lightly so polish has something to grip.
- Wipe every nail with remover or rubbing alcohol right before painting – natural oils are the number one cause of chipping.
- Apply a base coat, always, even under sheer colors.
- Paint in thin layers, and cap the free edge by running the brush along the very tip of the nail.
- Seal with a quality top coat, then refresh that top coat every two to three days.
- Protect your hands with gloves when washing dishes – hot water is a manicure’s worst enemy.
Common Mistakes to Avoid with Easy Nail Designs
- Skipping dry time between steps. Most smudged nail art fails come from painting details onto a tacky base color. Give it 10 full minutes, or use a quick-dry spray.
- Using thick coats to “save time.” Thick polish bubbles, streaks, and takes ages to cure. Two thin coats always beat one heavy one.
- Overloading your dotting tool. Whether it’s a bobby pin or a toothpick, one dip should make several marks. A flooded tip creates blobs.
- Painting right after a shower or hand cream. Soft, oily nails reject polish. Paint on clean, completely dry nails.
- Trying all ten nails at once with wet-polish techniques. Cling film, marble, and tape designs need one-nail-at-a-time patience.