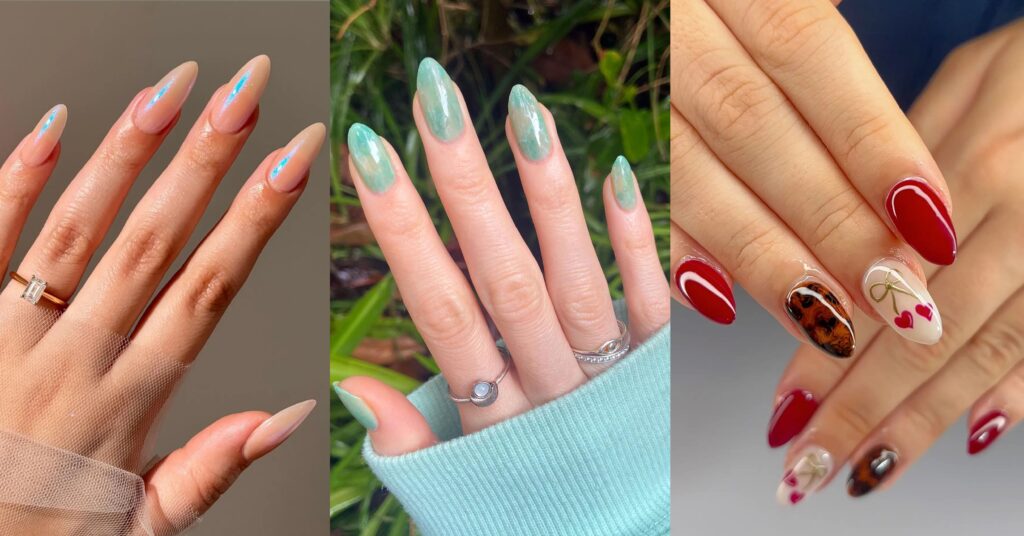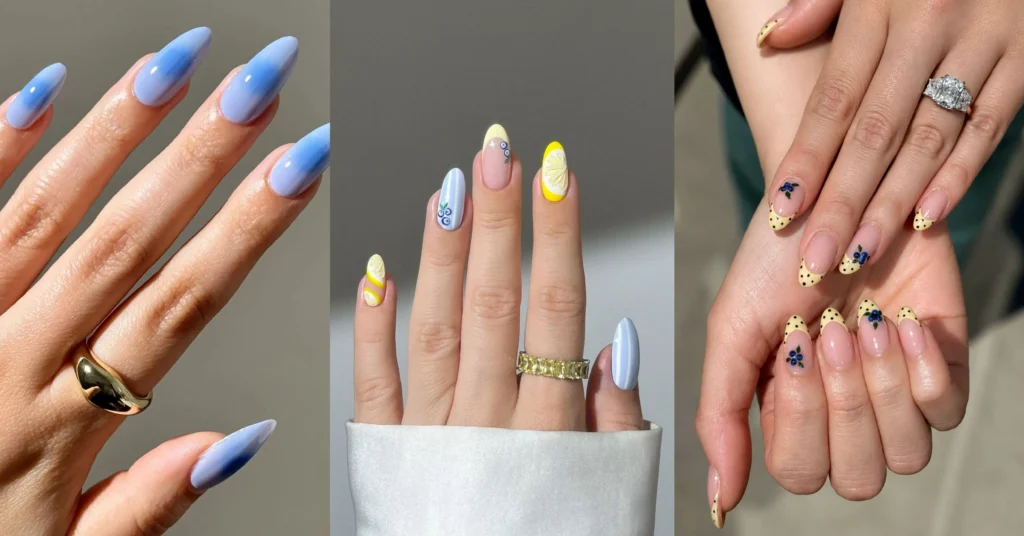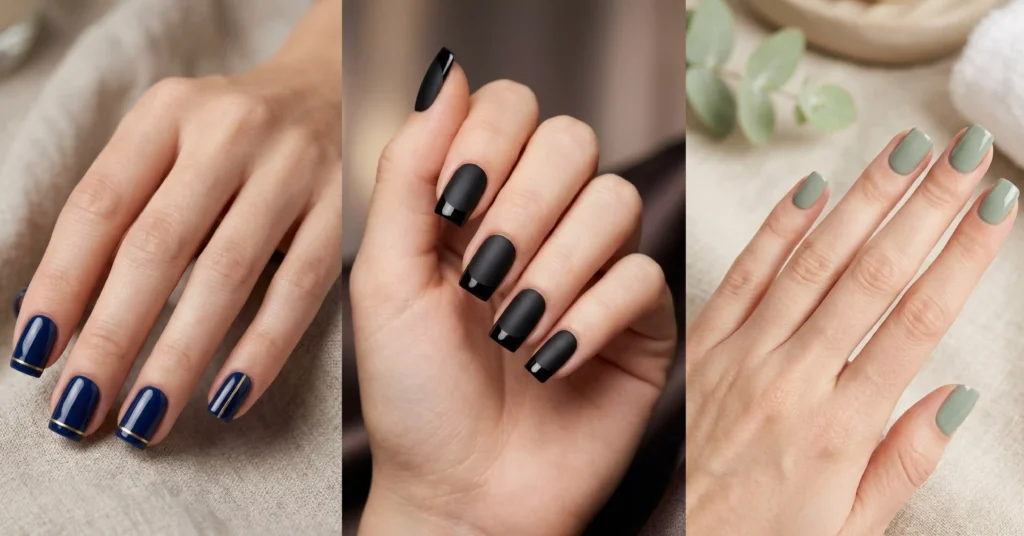
I switched to square nails about three years ago after one too many almond tips snagged on my sweater sleeves, and I’ve never looked back. There’s something about that clean, straight edge that makes even a plain polish look intentional – like you actually planned your manicure instead of just surviving it.
This guide walks through 10 square nail looks that have stayed in rotation for decades, from vintage half-moons to deep oxblood. Every idea includes who it suits, how hard it is, and what you’ll need, so feel free to skip straight to the ones that catch your eye.
What Counts as a Square Nail?
A square nail is filed with a flat, straight free edge and sharp (or very slightly softened) corners, keeping the sidewalls parallel instead of tapering them in. It’s the most structurally sound nail shape because the corners aren’t filed away – which is exactly why it suits people whose nails split or peel. The ideas below all work on short, medium, or long squares, and most translate to “squoval” (square with rounded corners) if true sharp corners feel too severe on your hands.
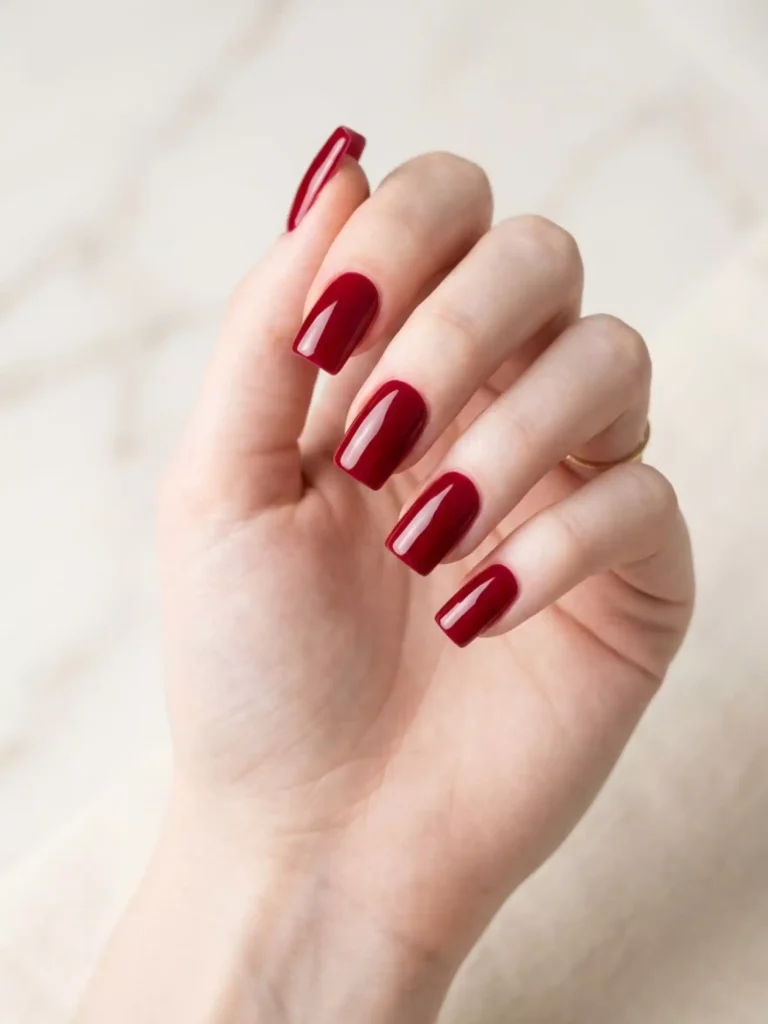
1. Glossy Cherry Red Square Nails
A glossy cherry red square is the little black dress of manicures – one opaque, blue-toned red on a squared tip with a high-shine top coat.
Best for: literally everyone, but especially short square nails, where red looks crisp instead of clawlike.
Difficulty: easy.
Tools: a creme red polish, a base coat, a quick-dry glossy top coat.
Blue-based reds flatter more skin tones than orange-based ones. My first attempt with an orange-red made my hands look sunburnt; switching to a cooler cherry fixed it instantly.
2. Skinny Micro French Tips Nails
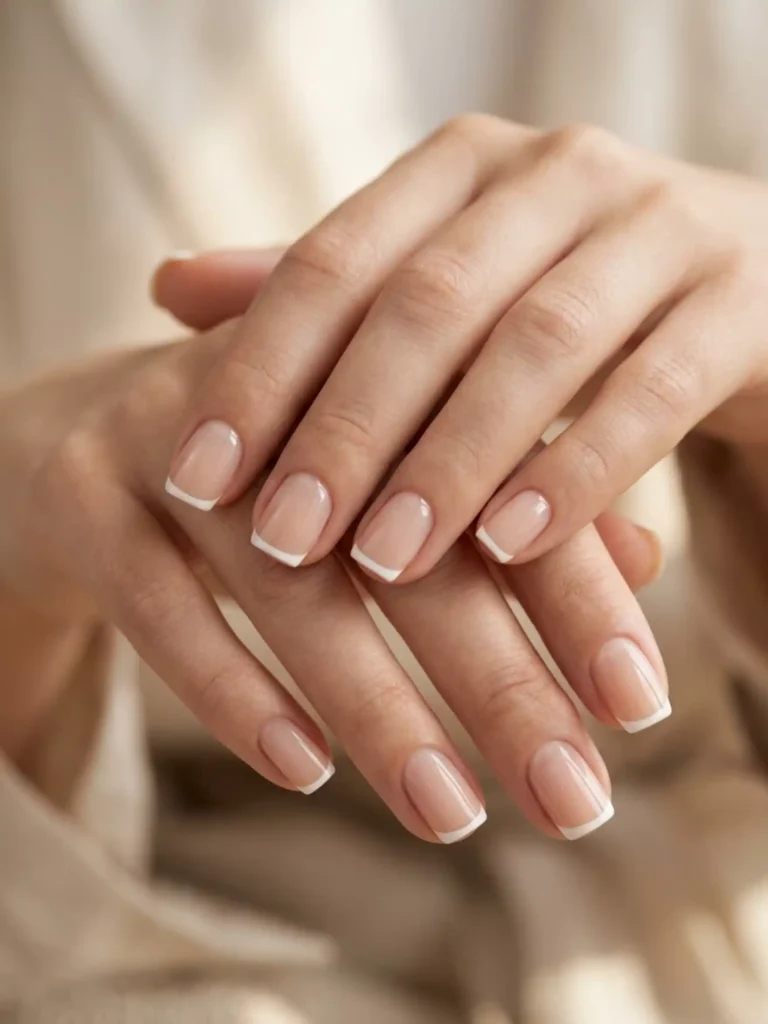
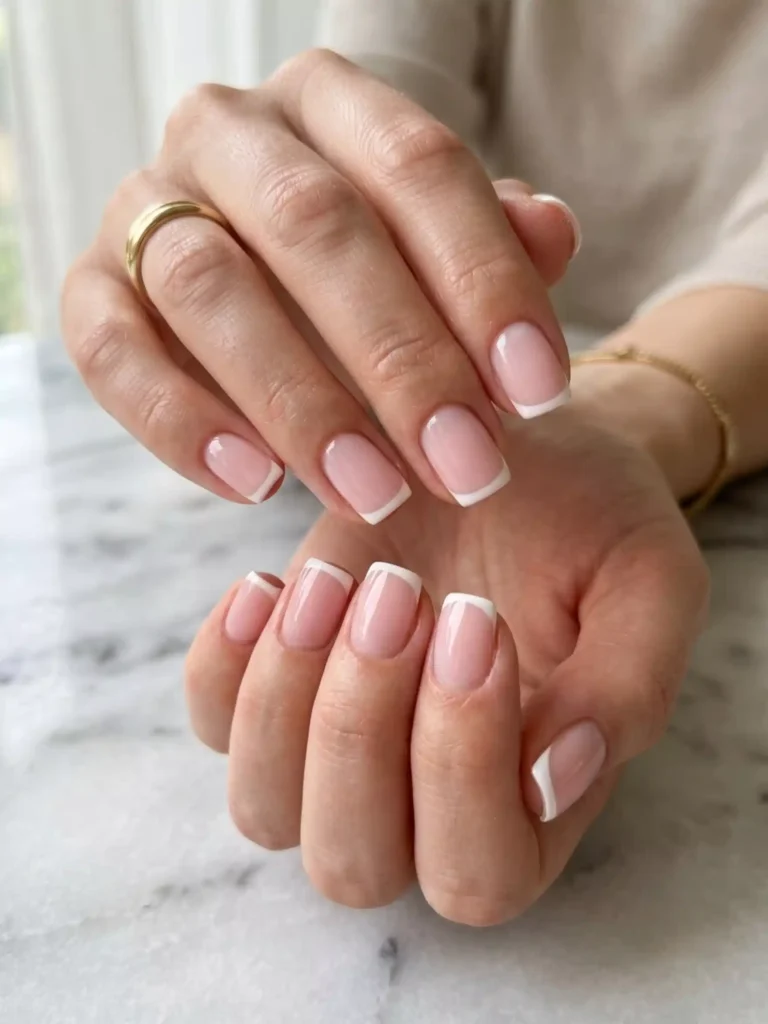
Micro French tips shrink the classic white smile line down to a hair-thin stripe along the very edge of a squared nail.
Best for: short natural nails and anyone who finds a chunky French tip dated.
Difficulty: medium – steady hands required.
Tools: a sheer nude base, white polish, a fine striping brush or a French-tip stamp.
The straight edge of a square nail is your built-in guide, which makes this far easier than doing micro French on almond nails. Wipe the brush almost dry before you drag it across; a loaded brush is how you end up with a flooded tip.
3. Tortoiseshell Square Nails
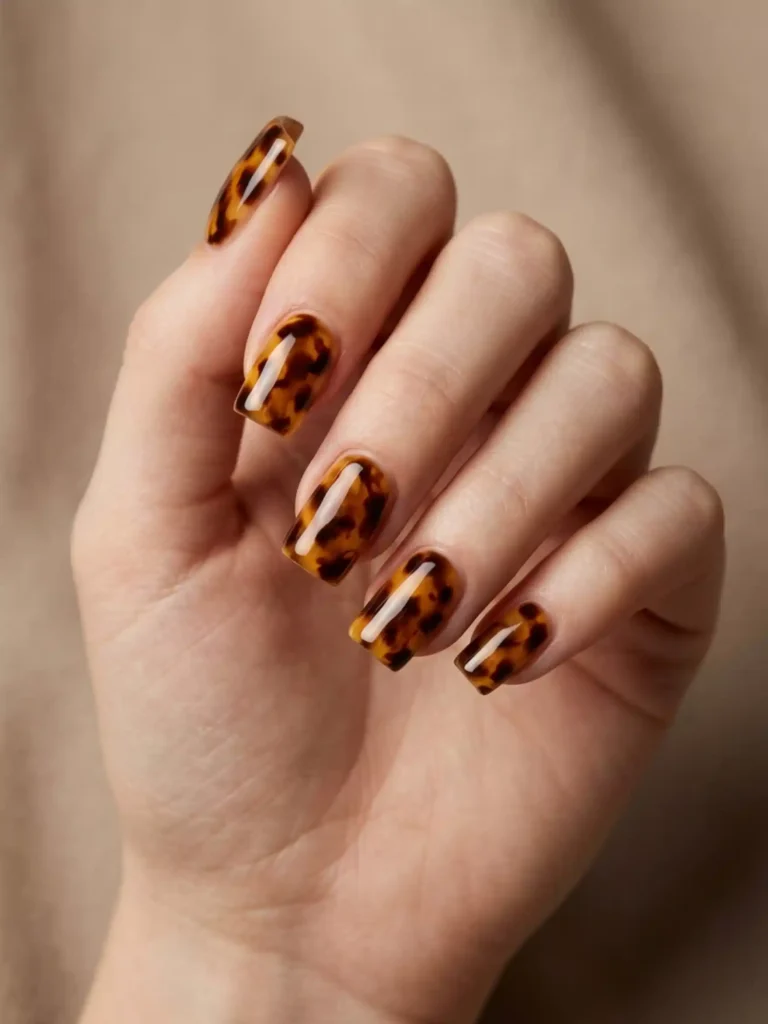
Tortoiseshell nails layer amber, caramel, and dark brown blotches under a sheer honey topcoat to mimic vintage tortoiseshell glasses.
Best for: medium-length squares in autumn and winter, though it reads chic year-round.
Difficulty: medium.
Tools: a sheer amber jelly polish, dark brown and black polishes, a small dotting tool or sponge.
The blotches are supposed to look random, so this is one of the rare designs where being messy helps. Dab the dark spots on while the amber layer is still slightly tacky so they blur at the edges like real shell.
4. Milky Jelly Pink Nails
Milky jelly pink is a semi-sheer, blurred pink that looks like your natural nail on its best day – clean, hydrated, and softly diffused.
Best for: offices, weddings, and anyone growing out damage who wants nails that look “done” without color commitment.
Difficulty: easy.
Tools: a milky pink sheer polish (two thin coats), a glossy top coat.
Resist the urge to build it to full opacity. The whole point is the soft see-through finish; three thick coats turns “milky” into “wall paint.”
5. Vintage Half-Moon Manicure Nails
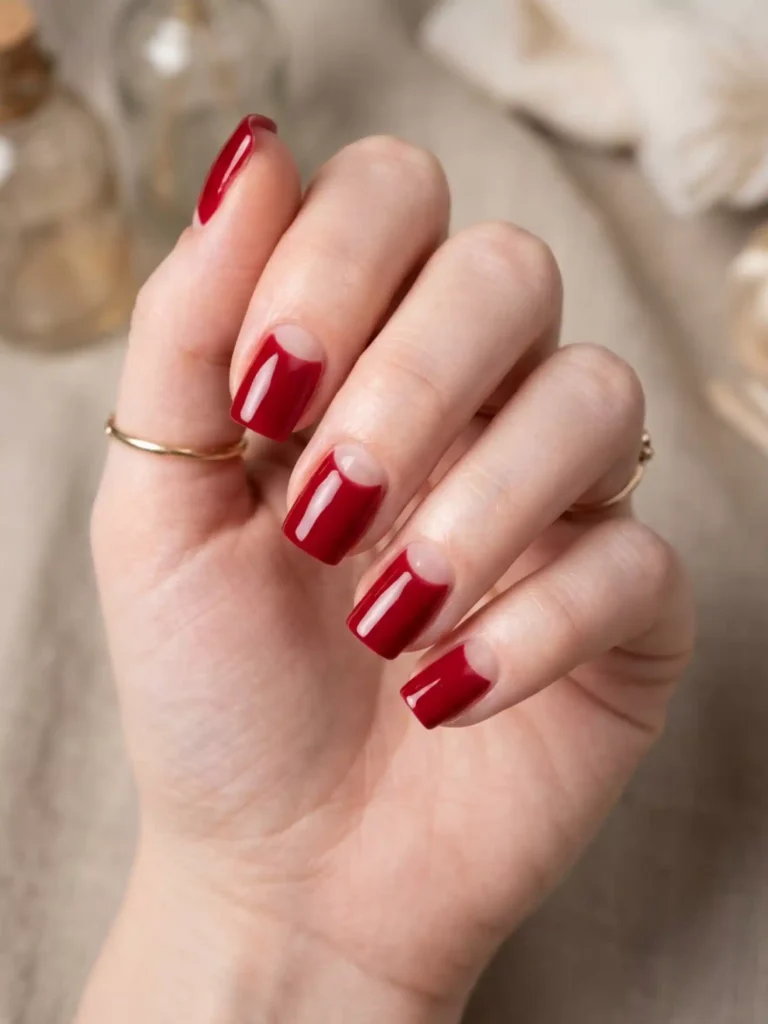
The half-moon manicure leaves the lunula – the little crescent at the base of your nail – bare or in a contrasting shade, a look straight out of the 1930s.
Best for: medium to long squares; the negative space needs a bit of nail real estate to read clearly.
Difficulty: medium.
Tools: hole-reinforcement stickers (the office-supply kind) as stencils, one main polish, optional contrast shade for the moon.
Those paper reinforcement stickers are the old-school trick, and they still beat freehanding it. Press them down firmly at the cuticle, paint over, and peel while the polish is wet for a sharp curve.
6. Deep Oxblood Nails
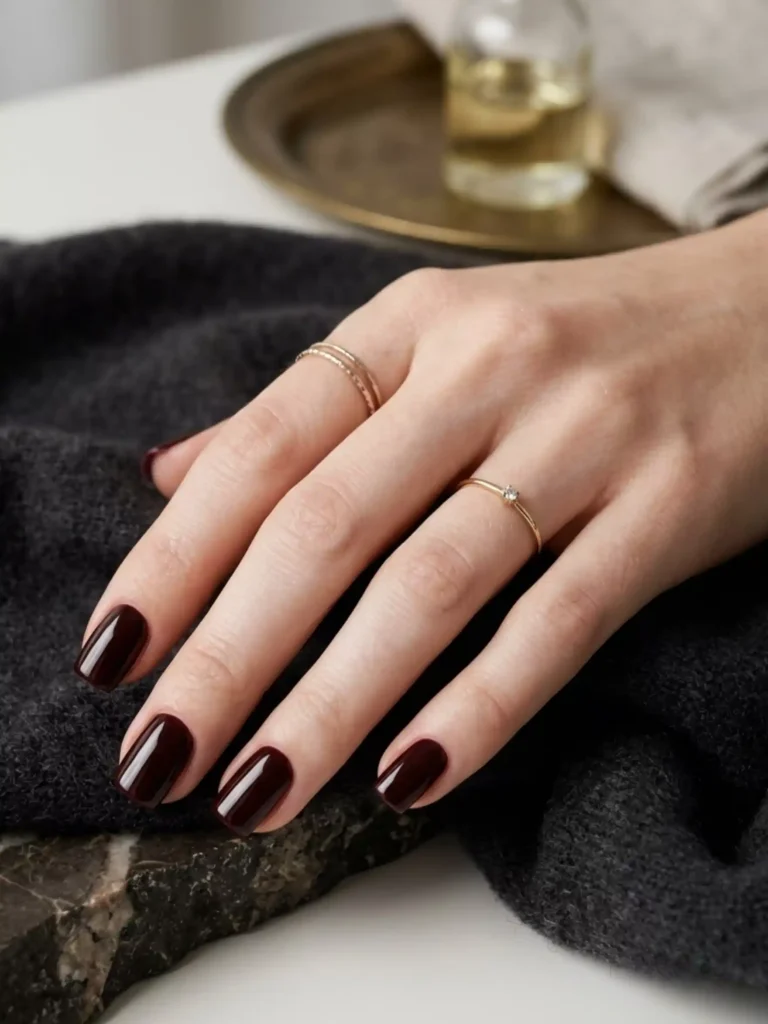
Oxblood square nails use a near-black red – think dried wine – for a moodier, more grown-up take on the classic red manicure.
Best for: short squares and colder months; dark shades make short nails look expensive rather than stubby.
Difficulty: easy, with one catch.
Tools: an oxblood or black-cherry creme, base coat (non-negotiable), glossy or matte top coat.
The catch: dark pigments stain. I skipped base coat once and spent a week with faintly pink nail beds. Two thin coats also beat one thick one, which floods cuticles with a shade this dark.
7. Matte Black with a Glossy Tip Nails
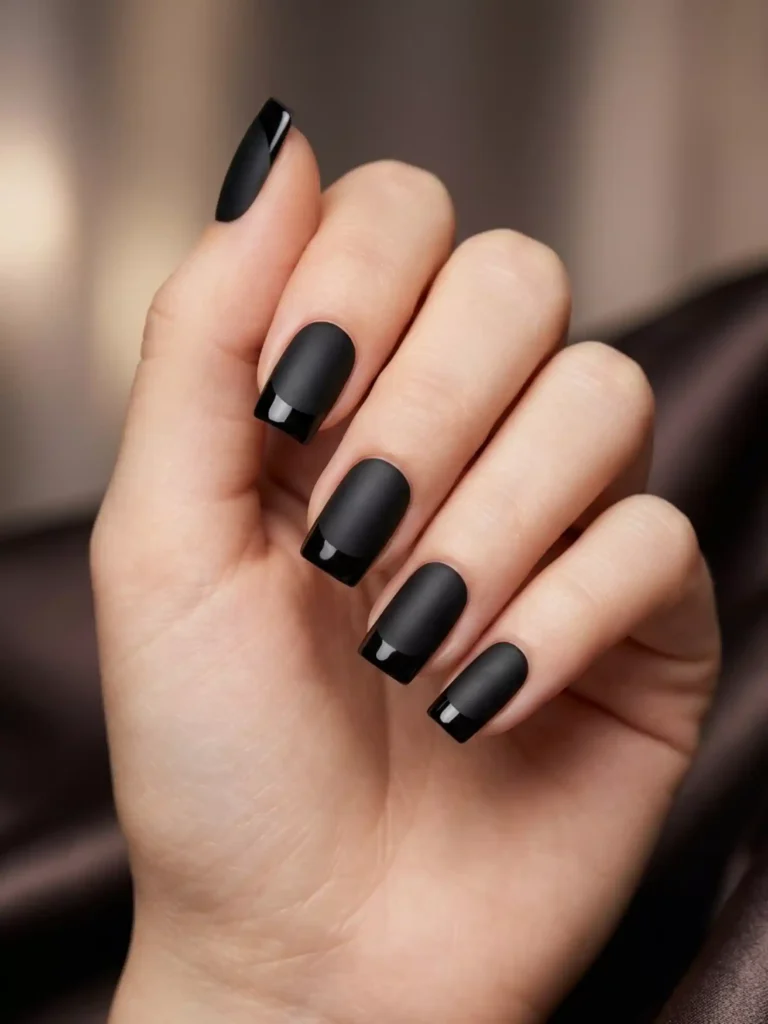
This design paints the whole square nail black, mattifies it, then adds a glossy black French tip so the finish – not the color – creates the contrast.
Best for: medium squares and anyone who wants an edgy look that still works at a desk job.
Difficulty: medium.
Tools: black polish, a matte top coat, a glossy top coat, a thin brush.
Do the full matte layer first and let it dry completely, then trace the tip in glossy. If the matte layer is even slightly wet, the gloss bleeds and the crisp line disappears.
8. Sage Green Solid Nails
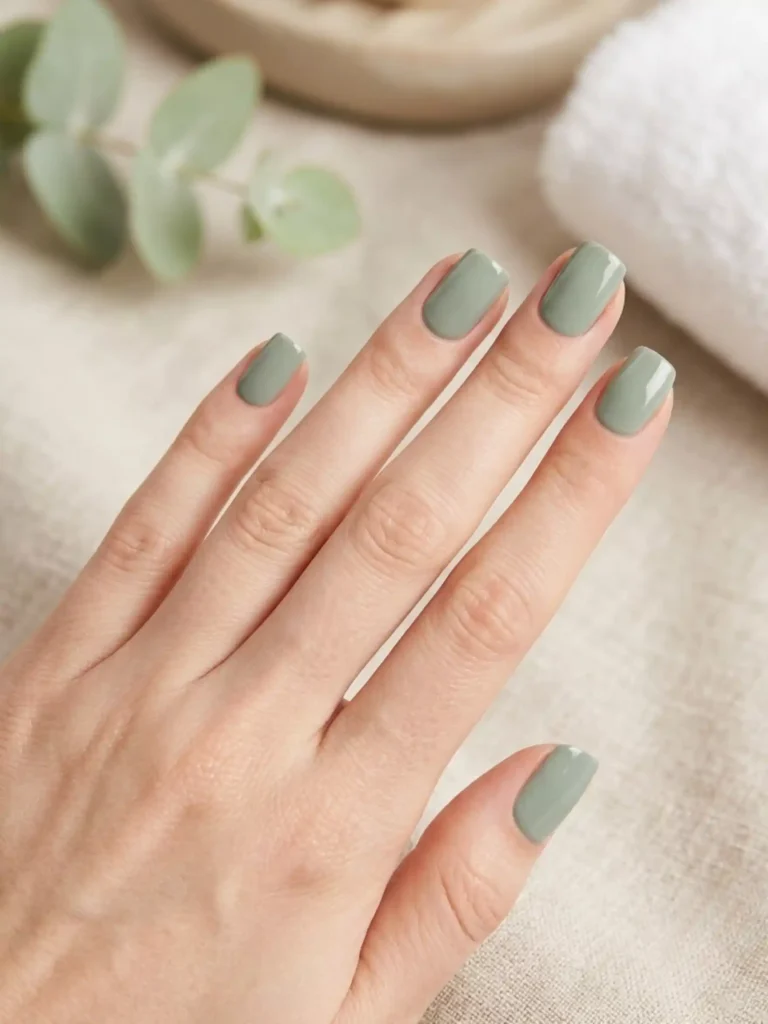
Sage square nails use a soft grey-green creme for a muted, earthy manicure that behaves like a neutral.
Best for: any length; it’s one of the few greens that flatters in both summer and winter.
Difficulty: easy.
Tools: a sage creme polish, top coat.
Muted greens can apply streaky on the first coat – don’t panic and don’t overwork the brush. The second coat self-levels and evens everything out.
9. Chrome Silver Mirror Nails
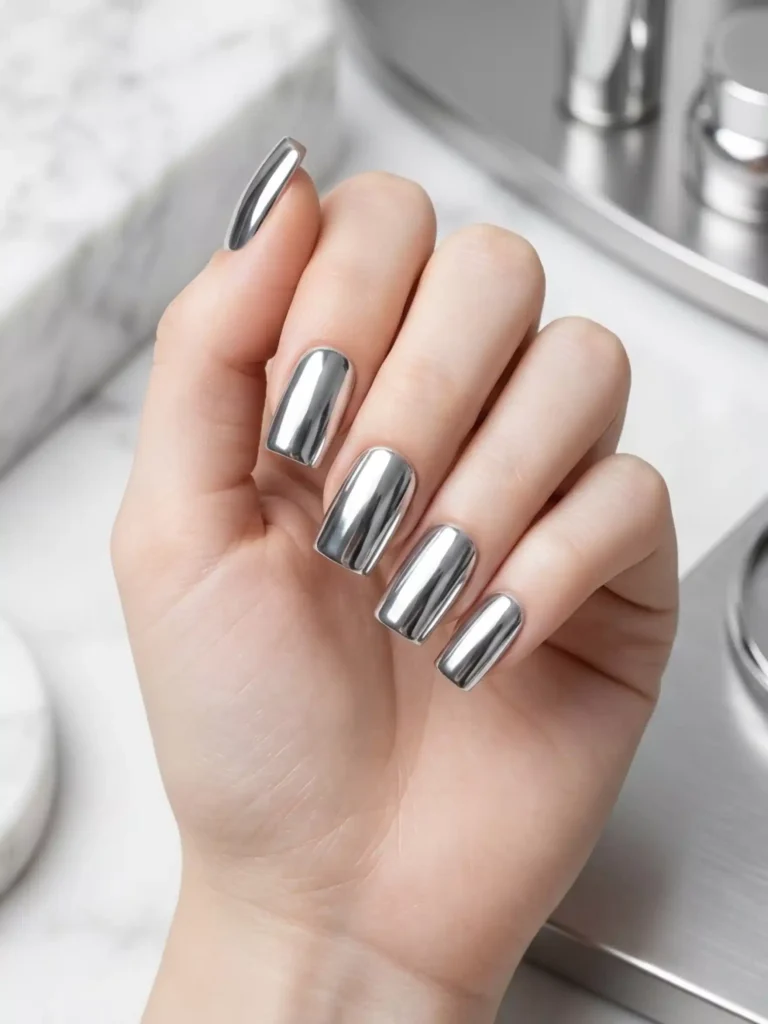
Chrome square nails buff a metallic pigment powder over gel polish until the surface turns into a liquid-mirror finish.
Best for: medium squares; the flat surface of a square nail shows off the mirror effect better than any curved shape.
Difficulty: hard at home without gel, easy at a salon.
Tools: gel polish, an LED/UV lamp, chrome pigment powder, a silicone applicator, no-wipe gel top coat.
Chrome powder needs a no-wipe gel base to grip – it will not work over regular air-dry polish, which I learned after twenty minutes of buffing powder into a smeary grey mess.
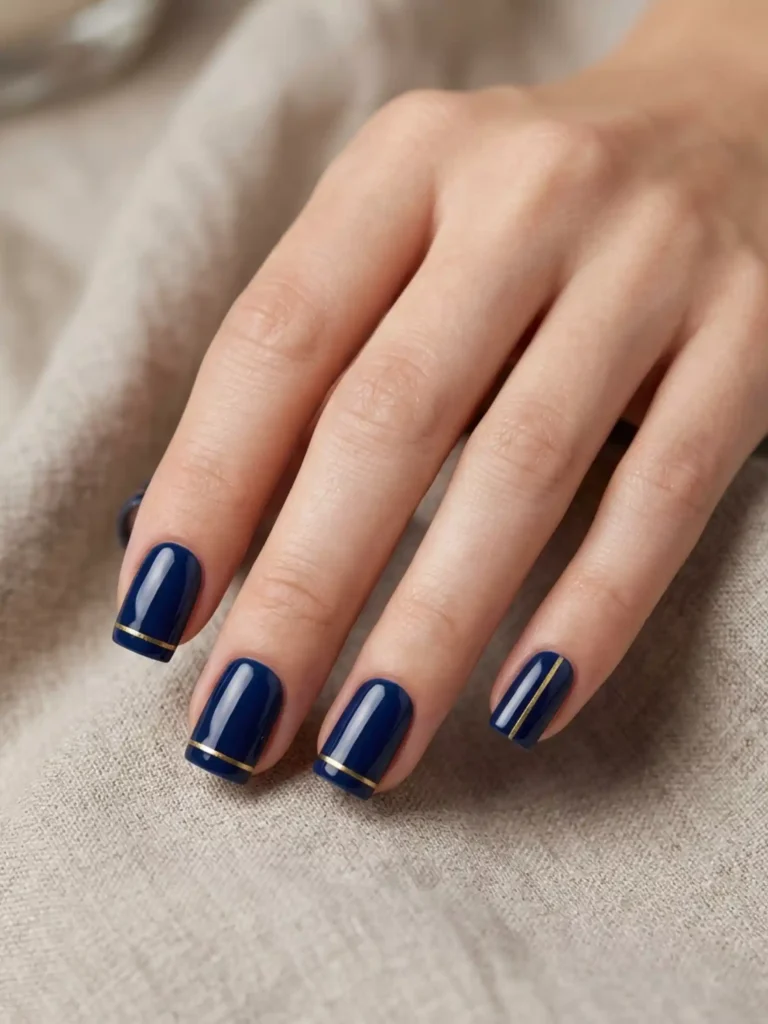
10. Navy with a Thin Gold Line Nails
This look pairs a deep navy square nail with a single thin gold stripe – horizontal near the tip, or vertical down one side for something more modern.
Best for: medium squares; navy is the rare dark shade that photographs well in daylight.
Difficulty: medium.
Tools: navy creme polish, gold striping polish or striping tape, top coat.
Striping tape is the cheat code. Lay it over fully dry navy, paint the gold, and lift the tape immediately – you get a line no freehand brush can match.
How to Make Square Nails Last Longer
Square nails hold up beautifully if you protect the corners – that’s where all the strength lives.
- File in one direction only, from the sidewall toward the center; sawing back and forth frays the edge and weakens corners.
- Cap the free edge by swiping base coat, color, and top coat across the tip of the nail, not just the surface – this seals out water and stops tip wear.
- Reapply top coat every two to three days; it’s a 90-second habit that roughly doubles a manicure’s life.
- Wear gloves for dishes and cleaning, because hot water and detergent are what actually lift polish, not typing.
- Oil your cuticles nightly – flexible nails bend on impact instead of snapping at the corner.
- Trim small snags immediately rather than letting a lifted corner peel into a full break.
How to Fix a Broken Square Corner
A chipped corner doesn’t have to mean filing all ten nails down. If the break is above the nail bed, file the damaged nail into a squoval and gently soften the corners of the rest so the set still matches – most people won’t notice one slightly rounder nail.
For a crack that’s still attached, the tea-bag patch is an old trick that works: cut a tiny piece of paper tea-bag mesh, lay it over the crack with base coat, seal with another layer, and file smooth once dry. It buys you a week or two of growing room.
If the break is below the free edge and painful, skip the DIY and keep it covered with a plaster until it grows out – gluing a live tear usually makes it worse.
Common Mistakes to Avoid with Square Nails
- Filing the sidewalls inward. Tapering the sides turns your square into a coffin shape and removes the corner support that makes squares strong.
- Skipping base coat under dark shades. Reds, oxbloods, and navies stain bare keratin, and the yellow-pink tint takes weeks to grow out.
- Going sharp-cornered with very short nails. Truly sharp corners on short nails dig into the fingertip skin; soften them a touch until you have some free edge.
- Thick coats to save time. Thick polish bubbles, dents, and peels off in sheets. Two thin coats always outlast one thick one.
- Cutting cuticles before painting. Nicked skin around the nail catches polish and can get infected – push them back after a shower instead.